 |
Photo Description
Building a KIS Cruiser Wing
by
Bill Schertz, December, 1998
(Part 3)
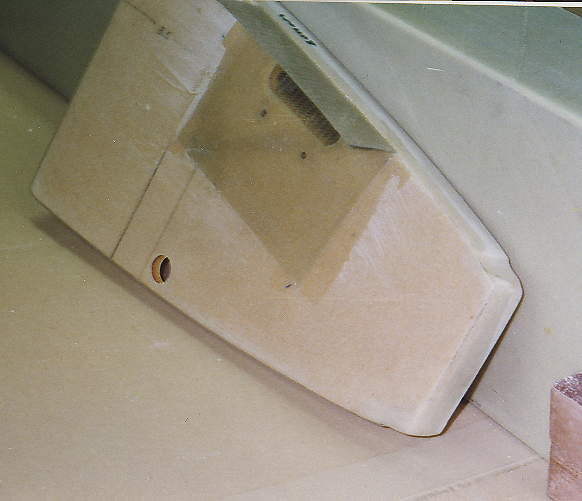
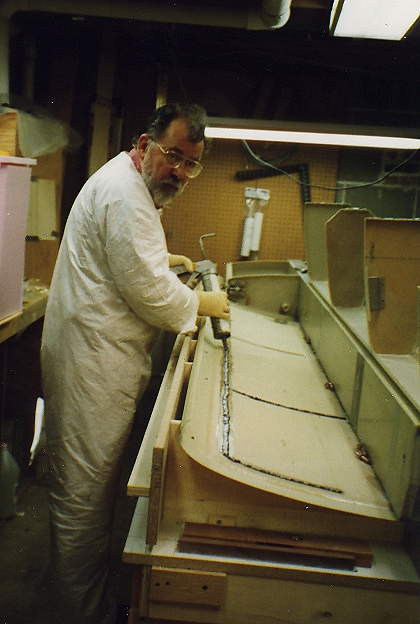
Slosh Valve - Fuel Bay
|
Slosh valve rib. Note hole in top of rib to allow air to escape from inner chamber of tank. Slosh valve not mounted in this picture. You can see the overhang lip that is to keep wing-closeout Hysol from dripping down the rib and interfering with the slosh valve. I installed such a lip on BOTH wings, even the one where the natural flange ‘protects’ the slosh valve.
Wing Assembly
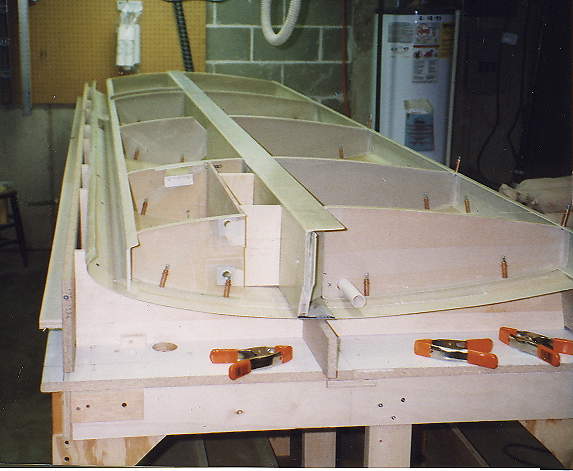 |
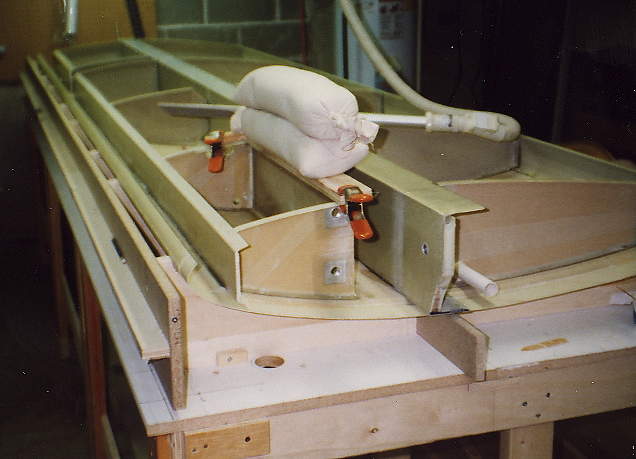
All the spars, ribs, etc. layed out in place, prior to bonding anything down. You can see the hardpoints in BL-25.5 for the fuel strainer and a return fitting if I decide to use fuel injection. If not, a plug goes into that hole.
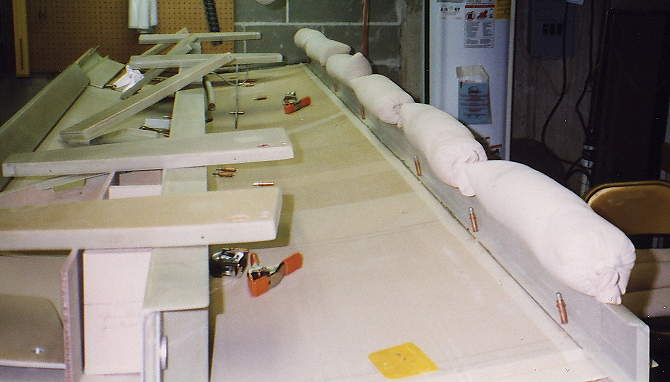 |
Bonding rear spar in place. I placed sandbags along the spar to ensure a tight seal between the cleco’s. THIS WAS A MISTAKE!! What happened is that the spar took a slight set as the Hysol cured, and it was more difficult to get the rear end of the ribs to fit back into the spar. I was able to recover, but on my other wing, I will dry fit the ribs into the spars while the spar bond is curing. Sigh -- lessons learned
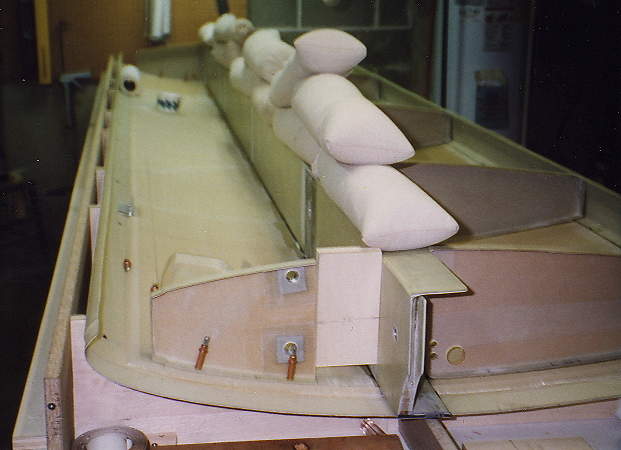 |
Bonding the Main Spar into place. The ribs had been bonded into the rear spar and to the skin, so I buttered the ends of the ribs with Hysol/flox, then placed Hysol/flox on the area where the spar went, and placed it into position. Used the end ribs (plus spacer) to ensure proper alignment, then sandbagged spar down to ensure good squeezout.
 |
Spreading Hysol/flox mixture on all the bond lines for the front ribs and front spar.
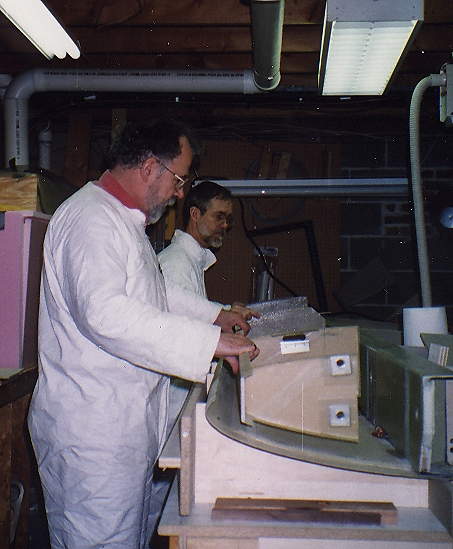 |
Placing the front ribs/spar combination into place (two man job). I previously had bonded the front ribs to the front spar, so that they would go on as a unit.
 |
Making the ‘flange’ on the spar closeout pocket. The board has a tape covering for ‘mold-release’, and is held by the clamps and sandbags. 2” bid is layed up underneath the board, using a micro-flox fillet.
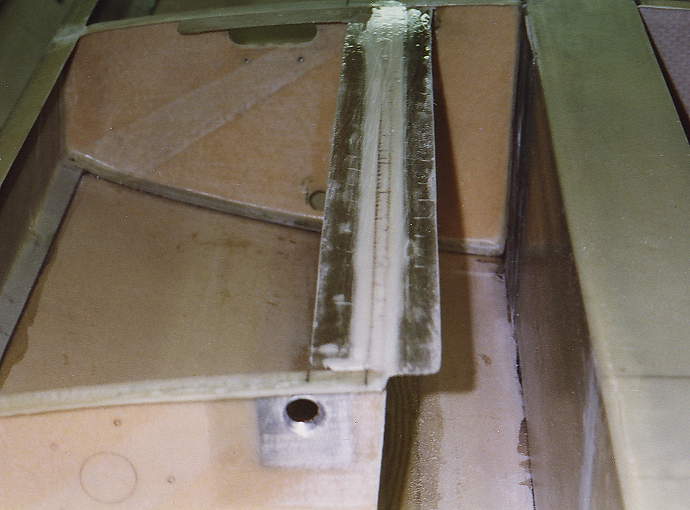 |
After curing, the board is removed to show the resulting flange on the spar pocket closeout.