 |
Photo Description
Building a KIS Cruiser Wing
by
Bill Schertz, December, 1998
(Part 5)
Working on Bottom Skin
|
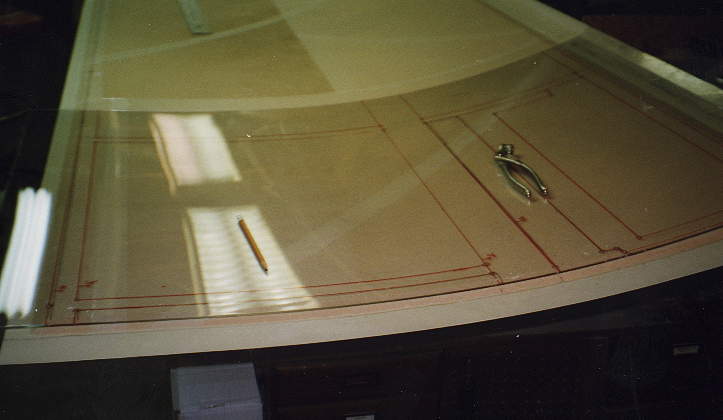
You need an accurate layout on the bottom skin of where every rib, spar, etc is order to prepare the surface for bonding, knowing where the gas tanks are, etc. The technique used here was suggested by a local Lancair builder. There are several steps:
First the skins were lined up in place, and a few Cleco holes drilled in the front leading edge to mark them in position. Then the skin was removed and laid upside-down on the work bench. I then took a sheet of plexiglas wide enough to span the chord of the wing, positioned it on the ribs/spar assembly, and drilled through the cleco holes to position it in place just like it was a wing skin. Now I could look through the plexiglas, and mark every intersection of a rib and spar, etc. using a colored marker. I would also drill through the plexiglas at each major intersection. I then slid the plexiglas down the wing, and repeated, marking each intersection with a different color marker. (three colors made the wing.)
 |
Then the plexiglas was removed from the assembled rib/spar combo’s and I clecoed it to the bottom skin, (upside down). I could then mark through the holes to get the intersection points, play connect-the-dots, and have an accurate representation of where all the bond joints were going to be on the lower skin.
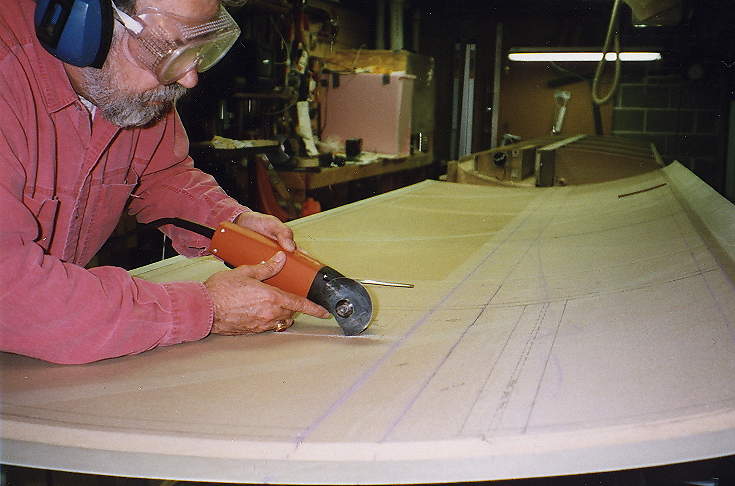 |
You can see the outlines of spar components/ ribs, etc marked on the skin. Here I am cutting out an access panel for the spar attach bolt. The tool I am using is a FEIN detail sander, outfitted with the optional saw blade. I cannot recommend this tool too strongly for working on fiberglass airplanes. The saw blade does not spin, it rotates back and forth through a 2-degree arc, cuts a very fine kerf, and does not make a cloud of dust/smoke like a Dremel grinder does.
Access Panel
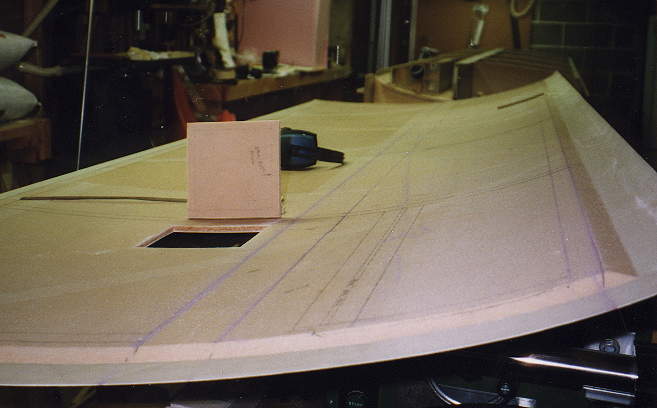 |
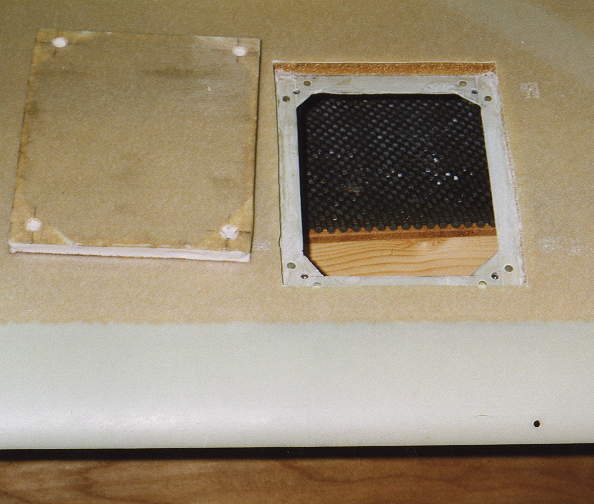
The access panel as cut out
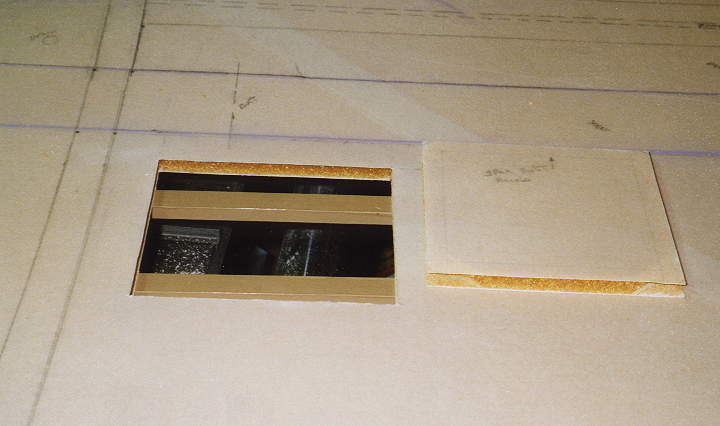 |
Preparing to fiberglass the lips for the access panel. The tape-covered support bars that keep the panel in alignment on the top side of the skin are visible. They are held in place with double sided carpet tape -- a wonder set of third hands for the composite builder.
 |
The completed access panel, with Fiberglass lip and the rivited in place captured nuts