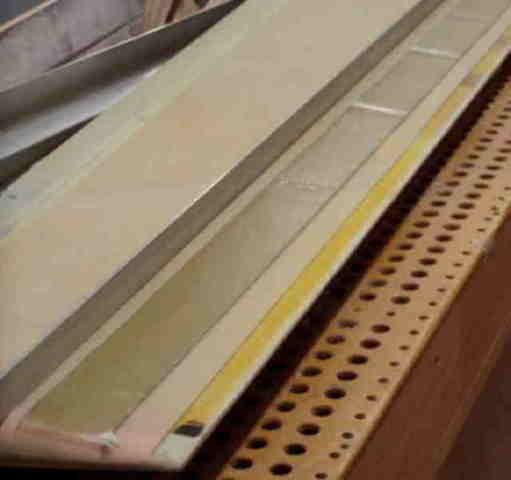
The top of the elevator is flat, so I set a straight edge on the surface, and used a router bit to machine off a 3/4 inch wide groove that was about as deep as a 5 layer bid piece that I had laid up on a flat table. Here you can see the recess, the straight edge, and the multi-layer bid that was made up. In hind-sight, it would have been better to lay up the extension on a piece of glass, using just peel-ply on the top surface to get a straighter piece. My layup had some small residues from the plastic folds, it worked out okay, but just caused more filling and sanding later. |
|
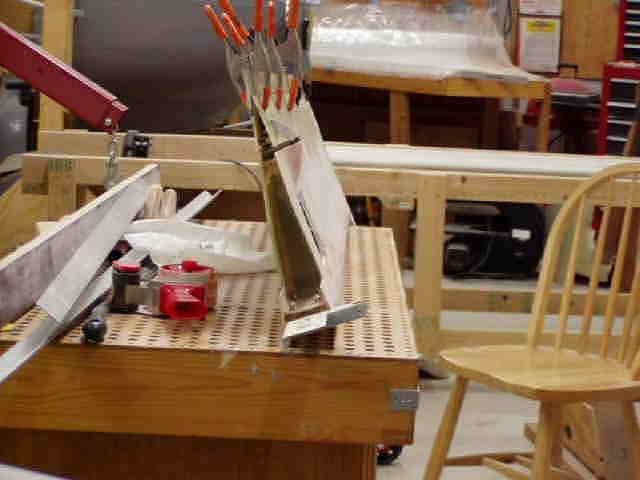
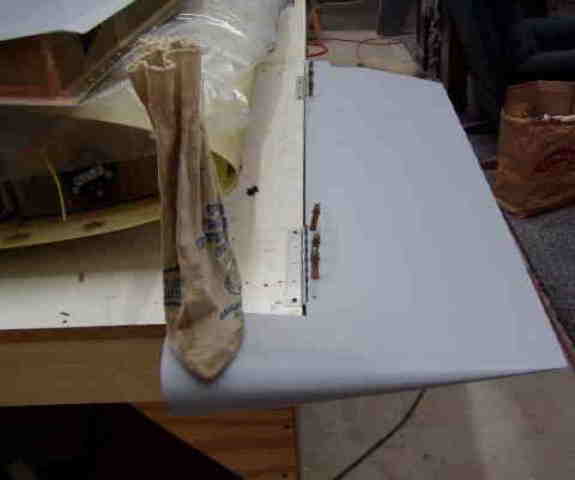
Here the strip is being bonded into the recess, while being held flat by an aluminum angle. The adhesive used was Aeropoxy – 6228. This side of the elevator has the trim tab. I just aligned the trim tab with the edge of the elevator, and bonded it all at once. Only cut it apart after filling and sanding. |
|
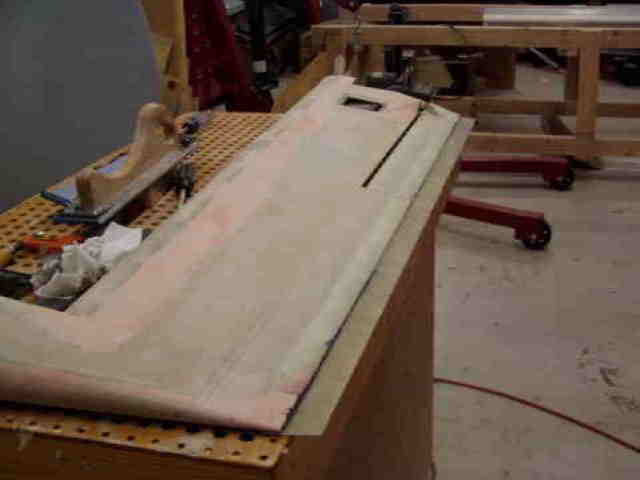
View showing strip bonded in place, needs to be filled. I elected to make the transition from the edge of the trim tab back to the rear of the elevator. |
|
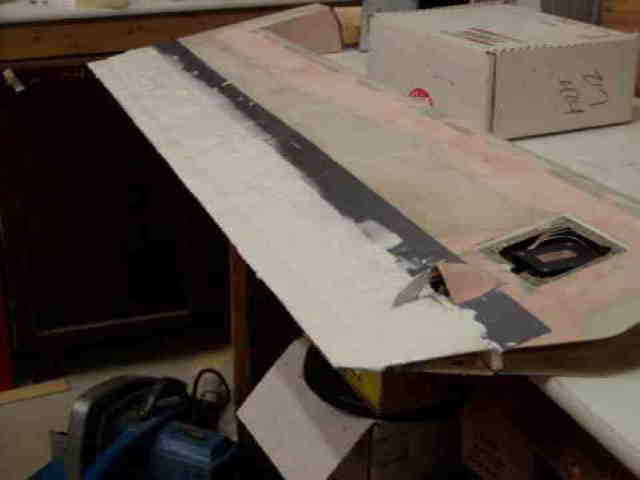
After cure, I then masked off a region (duct tape) and applied a thick layer of Micro to fill the gap.
|
|
After much sanding and filling, I then primed the elevators, and they look pretty good, however they are no longer balanced. That is they need to have more weight in the horn area. As those who have done this know, there is little room for any more lead in the horn, so I tried to come up with another way of balancing it. |
|
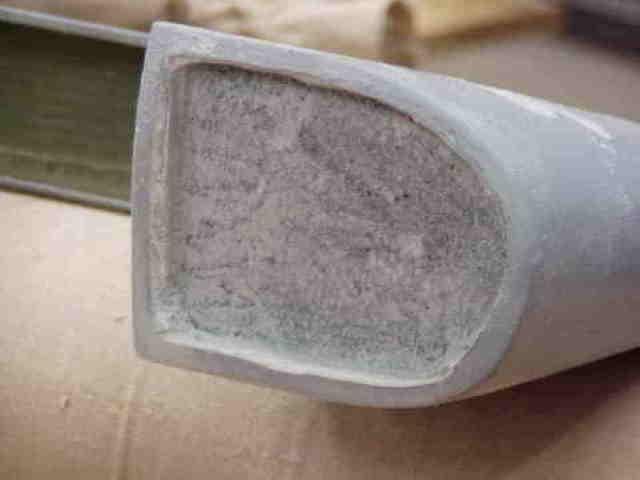
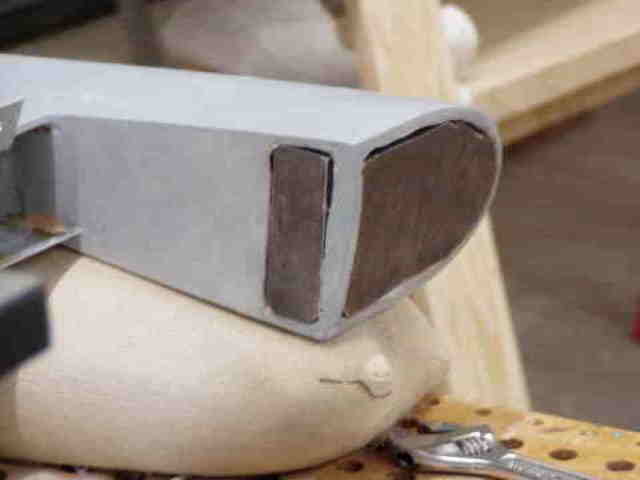
I routed out the foam and fiberglass at the front of the horn, this shows the cavity. The foam has been routed out down to the lead shot that previously balanced the elevator. |
|
I was able to put two 1/8” sheets of lead into the cavity, and then cut a 1” x 2.7” piece on the side and put two 1/8” sheets into this space. This almost brings the elevator back into balance, without changing the dimensions of the horn. Some others had mentioned cutting out some of the lead shot and pouring molten lead into the cavity, to increase the density. I wanted to avoid this if possible. |
|