 Fuselage &
 Wing Turning Jig
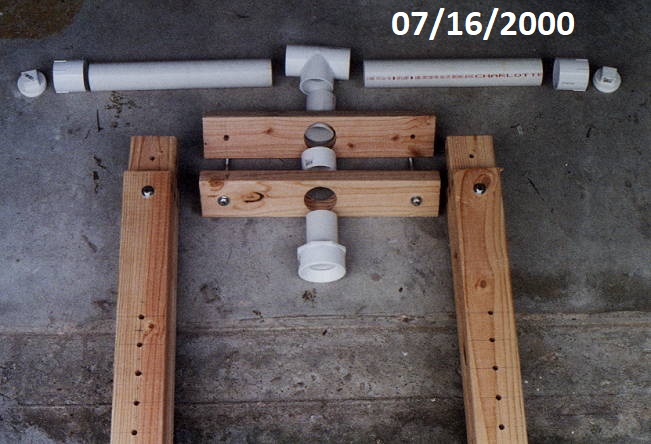
The turning jig is constructed using 2-1/2 inch PVC plumbing pipe and fittings. These are assembled and glued together with a framework of 2x4's. The two vertical legs are made to slip down on either side of the 2x6 of the sawhorse. There is a 2x4 spacer used to lock the pieces together and keep the jig from sliding too far down on the sawhorse. The space is used to place a jack from my car for raising the jig. The holes are used for a nut and bolt which can be tightened to lock the jig at any desired position.
|
|
 |
 |
 |
 |
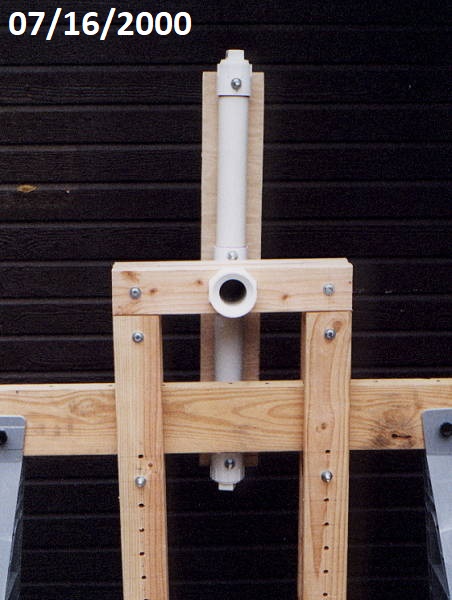 |
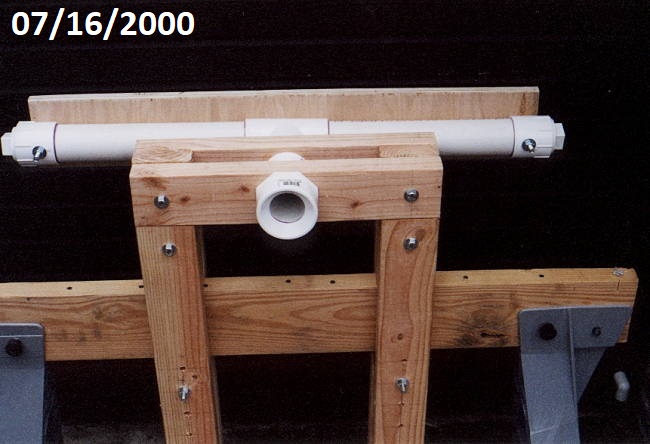
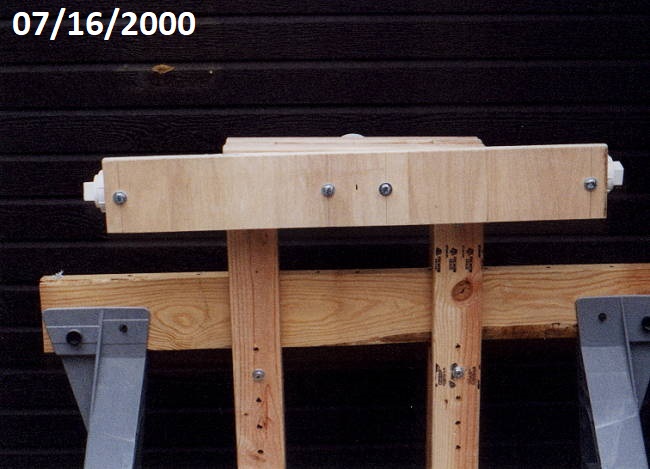
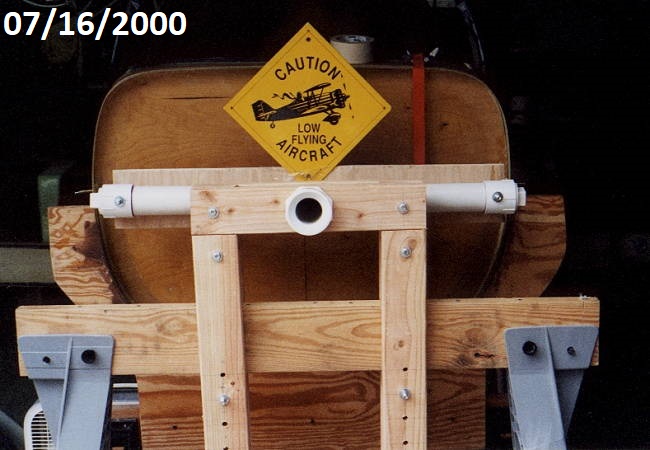
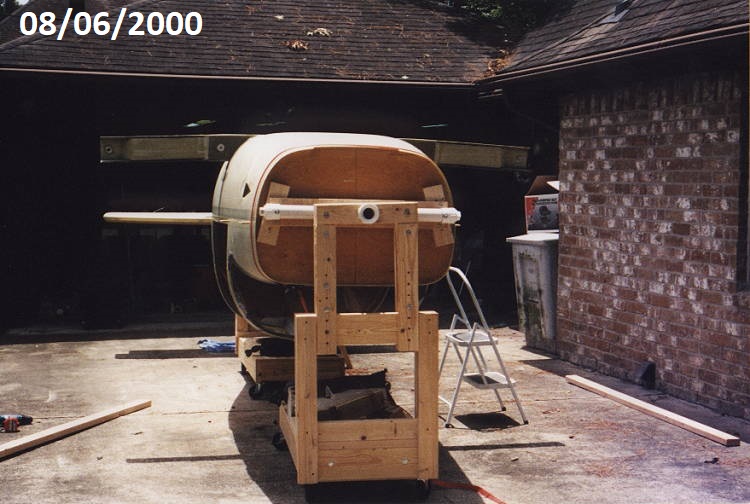
Top Left: Shows the component parts and the assembly Order. Top Right: Full Assembled Unit on Sawhorse. Upper Left: Front view. Upper Right: Position of jig for firewall. Lower Left: Turned 90degrees. |
| It's a great idea but when I put the units in place I found
that the sawhorse was too tall and I could not get the sawhorses under the unit in my garage. The plane and sawhorses were too long and it left no room to work or turn the unit. I also found that I would have to move the entire fuselage outside in order to jack it up high enough to rotate. BUMMER! |
|
 |
The proof of a concept is in the final application and use. Will it work? Will it work as planned? Sometimes yes, sometimes not, but in this case the design and units worked as planned with the addition of some wheeled carts. See the Roll-Me-Over for more on the how. |