
HORIZONTAL STABILIZER
| Separation & Preparation | Construction | Finished Unit |
|
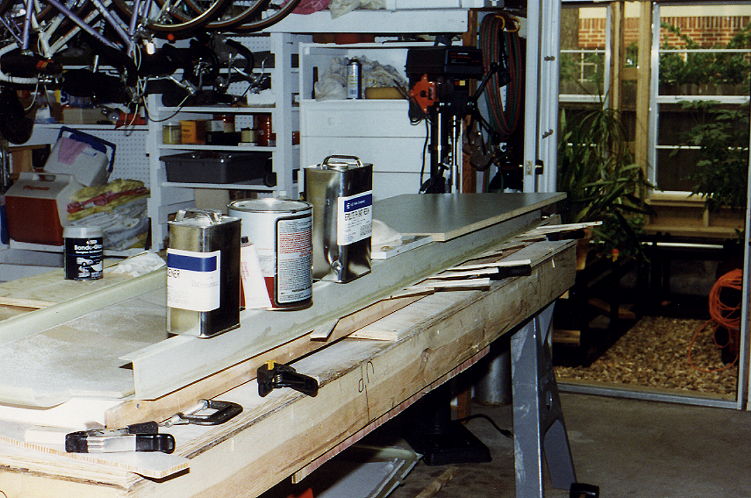
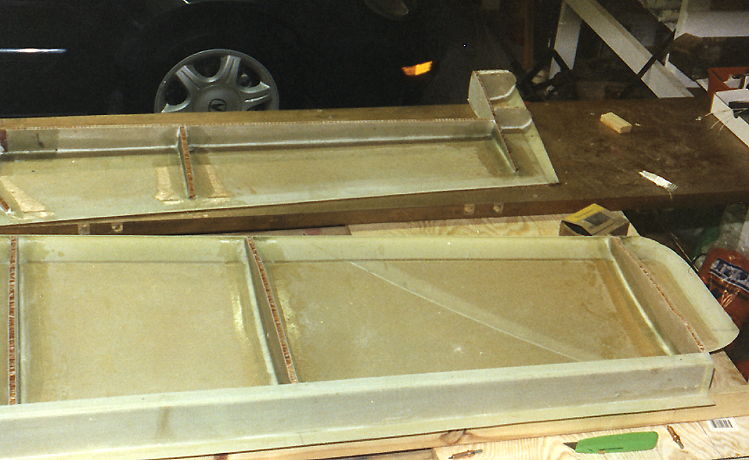
Once separated, the top of the stabilizer is mounted on the work area and the rear spar positioned and bonded into place. |
|
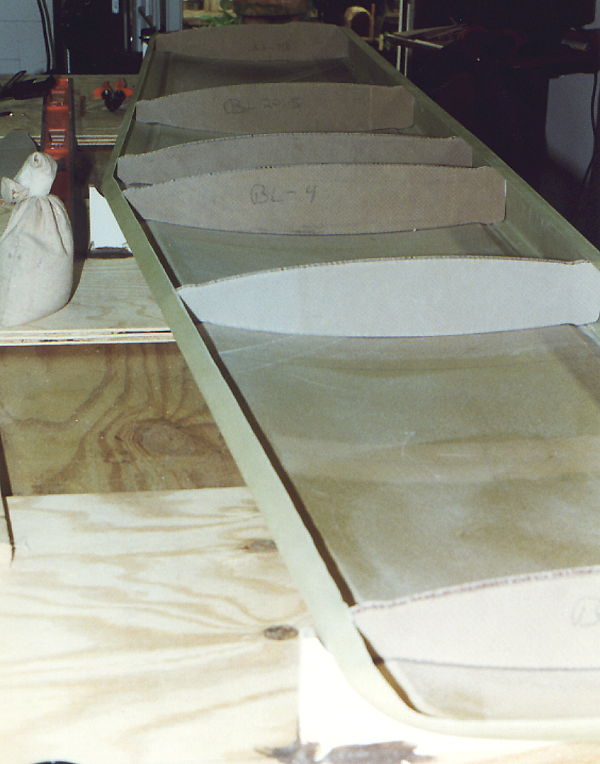
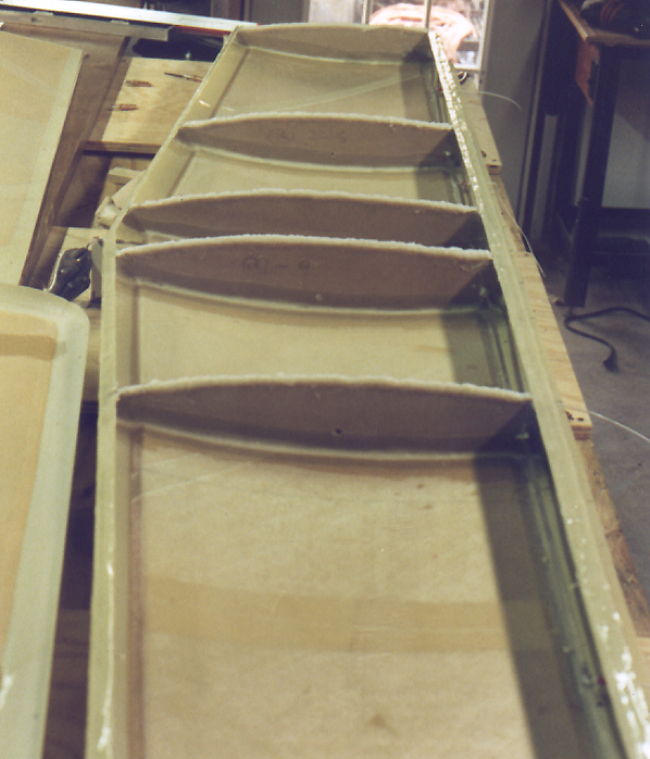
The ribs, which are cut from flat prepreg panels, are then positioned, checked for proper fit, and glassed into place. |
|
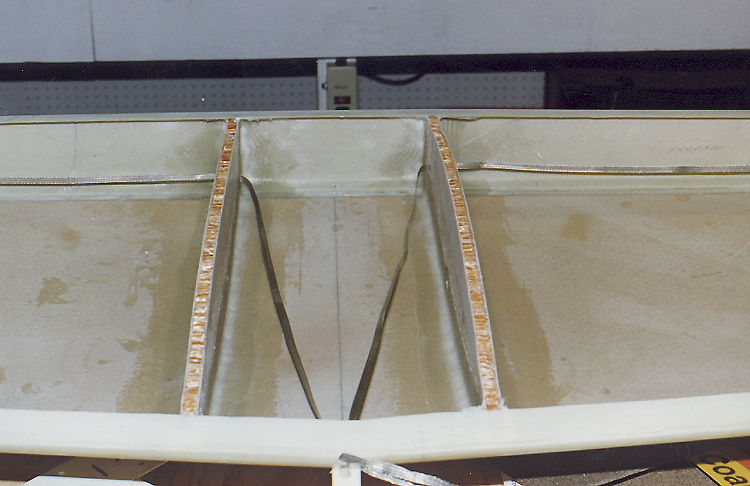
Once all the ribs are glassed in place, they are trimmed to fit with the bottom panel. This shows the ribs prepared to receive the epoxy/flox mix for joining to the bottom stabilizer panel. Shown also are the electrical bonding ground wire which I chose to include. This is part of a bonding wired that links all metal parts of the airplane. |
|
|
|
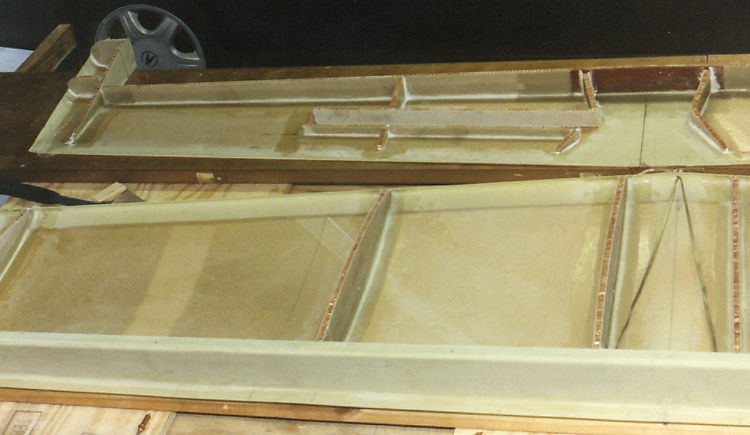
The above photos and left show the horizontal and vertical stabilizer both ready for closeout. |
|
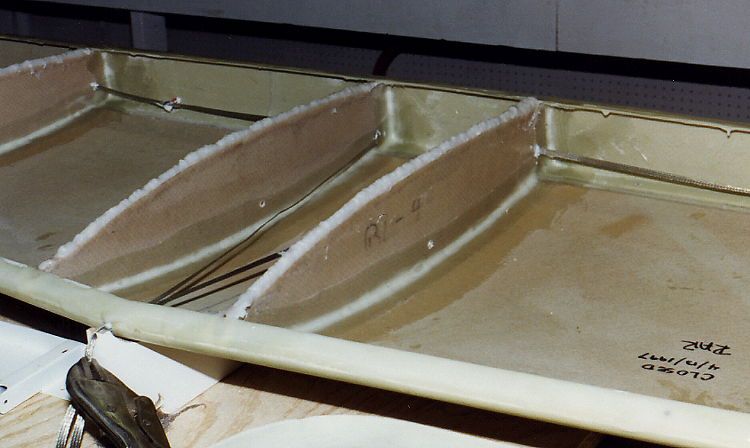
The stabilizer has been finished, the front edge and spar have been covered with Hycell Glue, and the ribs have and epoxy / fox fillet for bonding to the bottom panel. Everything is ready for final closing of the Horizontal Stabilizer. |
|
The above is a close up of the epoxy / flox fillet just prior to close
out. The inside of the bottom panel have been painted with epoxy and
glue spread on the leading edge and spar joints.
|
|
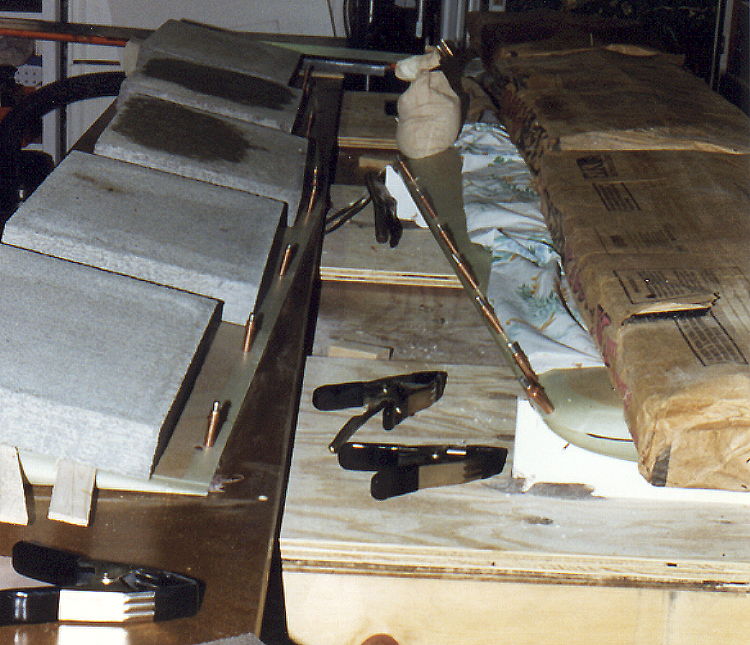
A lot of clecos, some lead, several bundles of shingles and you have enough weight to close out the stabilizer. |