
N247BR
Doors Preparation - Latch/Lock Install
|
I have broken the door preparation into several sections to
keep
the individual pages smaller and give some logical sections.
|
|
 |
Lyle Hendricks Telephone: 208-476-7740 (Pacific Time Zone) For Quotations and Capabilities: Lyle Hendricks, President,
Lyle@HendricksMfg.Com For Purchasing and Accounting: |
 |
The door latch I received from Lyle was an early
production model with stainless steel 1/4" by 1/2" bars instead of
rods. After some debate regarding the wight penalty I decided to
use them anyway. I liked the extra strength and shape they
provided.
I used the concept Bill Schertz had used for his installation but (as usual) gave it my own intrepretation. |
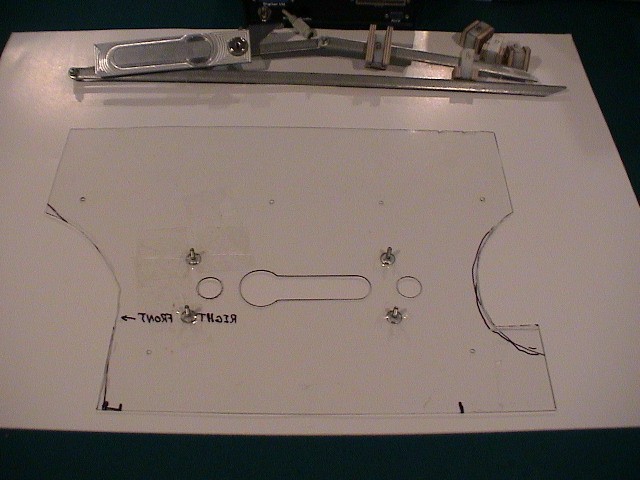 |
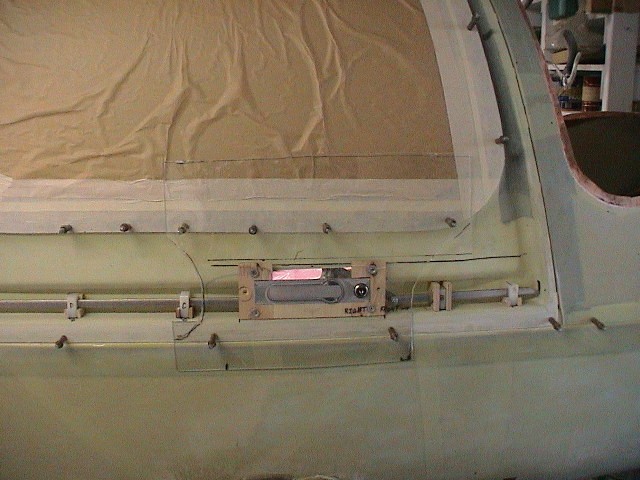
I had some clear plastic sheet available and decided to see if I could get the shape of the opening without having to use Lyle's metal template. I laid the plastic over the handle, traced the shape, cut it out (inside the line) and trimmed to shape. The result was as accurate as I could hope for. |
 |
I constructed the mounting bracket from 1/4 inch plywood. The resulting bracket was sanded down to the same thickness of the latch plate. I used 1/8" aluminum brackets to lock the latch in place. The screws for mounting the locking plates were mounted from the outside and bonded in place. |
 |
I wanted the locking bar to slide smoothly without binding so the nylon guides seemed the best solution. Problem was that nothing sticks to the nylon so I fabricated plywood brackets that are riveted to the nylon and then bonded to the inside of the door skin. These were cut so that if the nylon does wear they would also be able to support the bar. |
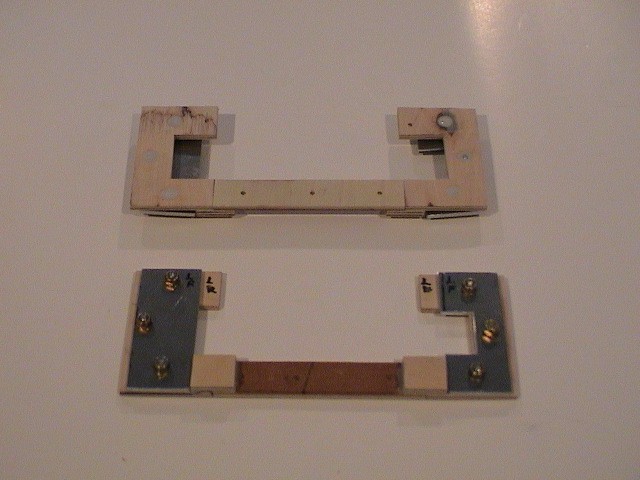 |
This shows the mounting brackets from front and back.
The screws for holding the locking brackets are recessed and
bonded in place. Make sure the hold down brackets will hold
against the latch without play. I sanded the wood to the
thickness of the latch mounting plate.
|
 |
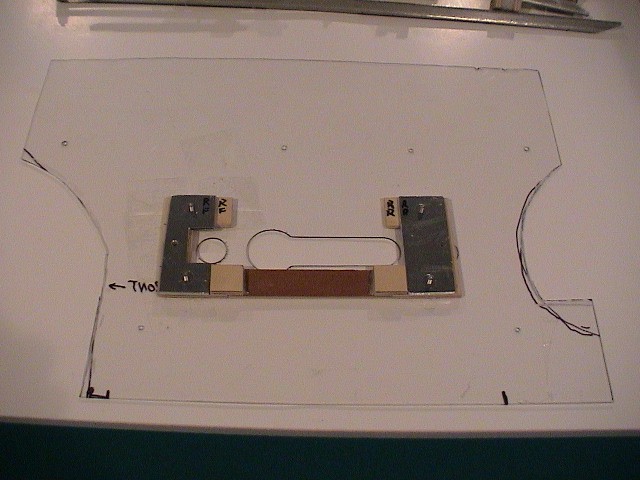
A trial fit shows the positioning of the latch and the guides. The mounting bracket was positioned to fit against the bottom of the inner door skin so it could be bonded in place to the inner skin as well as the outside skin. |
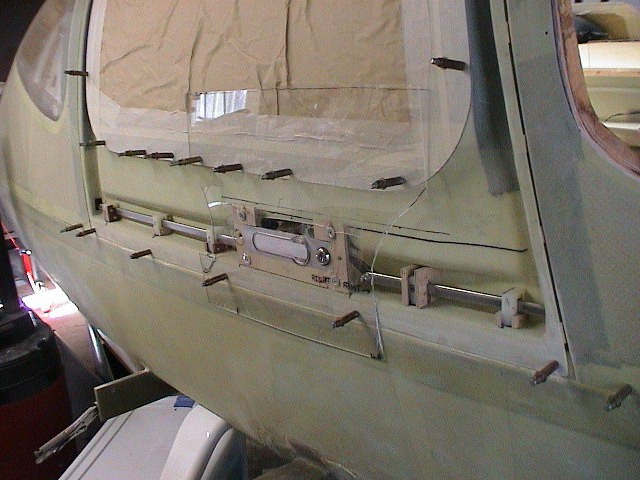 |
Because the rear rod was so long, I used three guides.
Probably an over kill but it should provide an even pull down to
the door. I also tend to beef up those items that will be subject
to mechanical stresses. I want this thing to LAST!
|
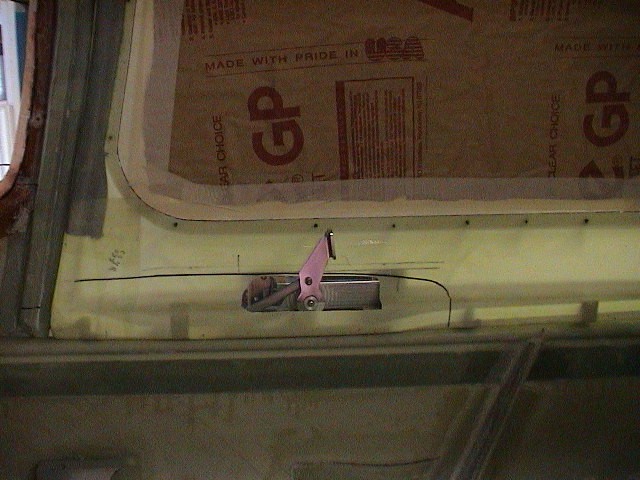 |
The initial cutout for the inside shows the position of the latch. Much more of the skin had to be removed to provide adequate working area. |
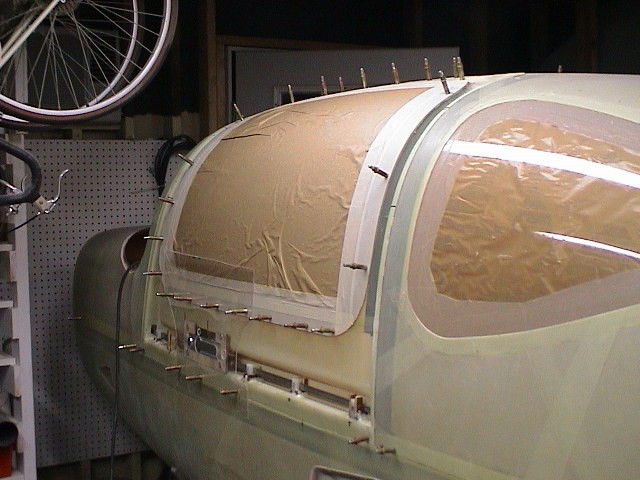 |
As you can see, I used a lot of clecos to hold the window in place as well as position the latch. |
Continued on Part 2