
N247BR
Fuselage Bulkheads And Inserts
| There are a couple of real advantages to the quick build kit. Namely the installation of the firewall, the main bulkheads along with the main and rear spars. The disadvantages are that you then must work around these preinstalled componets to install hard points for controls and seatbelts. You are also required to cut out the front and rear seat backs from the preinstalled parts. The advantage to not getting the quick build are being able to install many of the hardpoints on the work bench before installing in the lower fuselage. I am not sure how much time difference there is but it sure is a lot easier on the back. | |
 |
 |
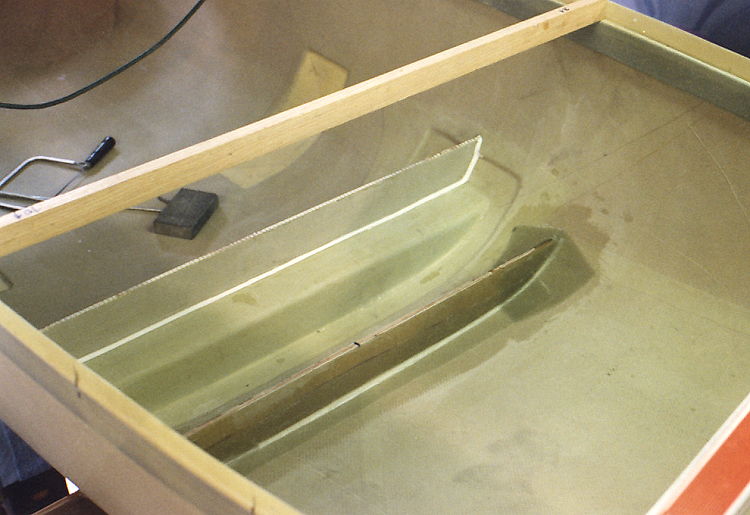
| Initial start of bonding of the rear spar. The 1 x 2 is an oak spacer used to keep the fuselage at the correct width until interior bulkheads are installed. | This shows the lower portion of the rear seat back being fit for installation. I installed all hard points for the rear seat belts before installing the seat back. Saves a lot of time. |
 |
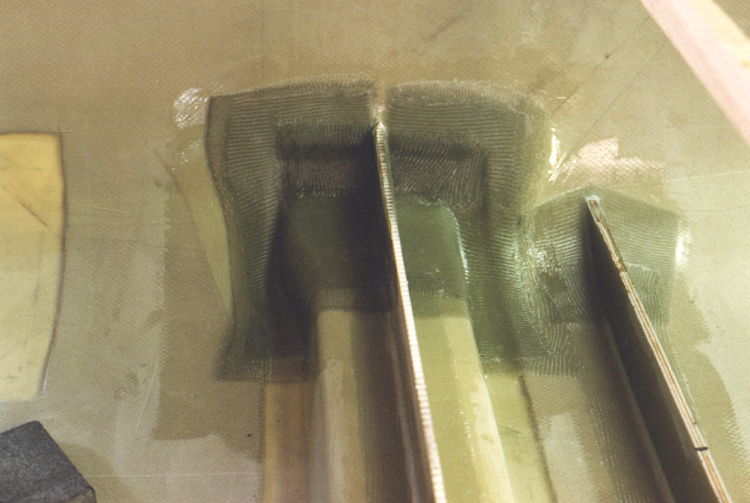 |
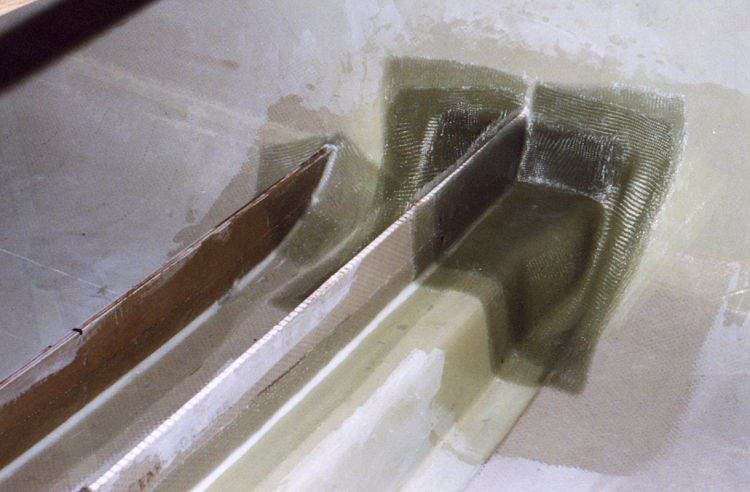
| Here is one view of the layups for the rear spar and the stiffner for the landing gear recess. | A view from the other side showing the rear spar and gear re-enforcement. |
 |
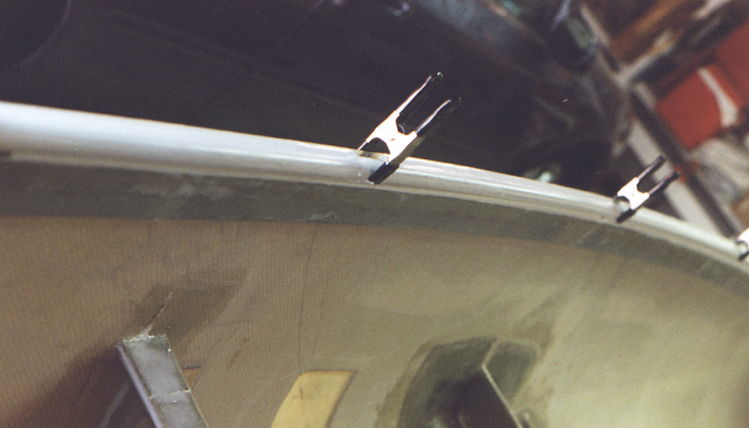 |
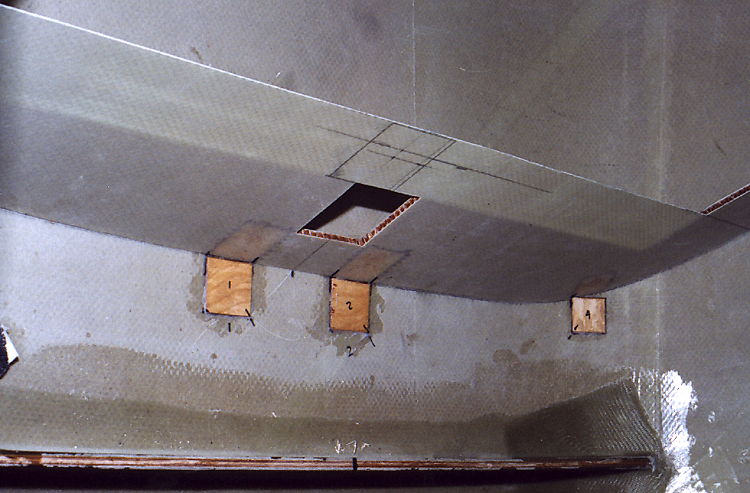
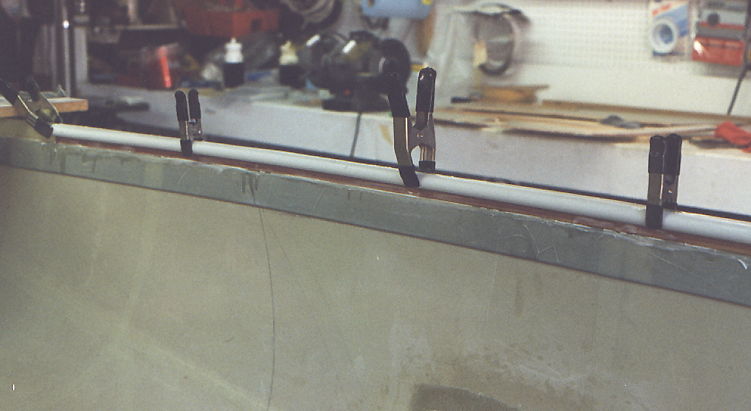
| A shaped length of 1/4 inch plywood has been bonded above the longeron. The PVC conduit is being bonded on above that. | A micro filler has been used to fill the gap between the sides and the PVC conduit. Micro Filler is also used to fill and level below the PVC. |
 |
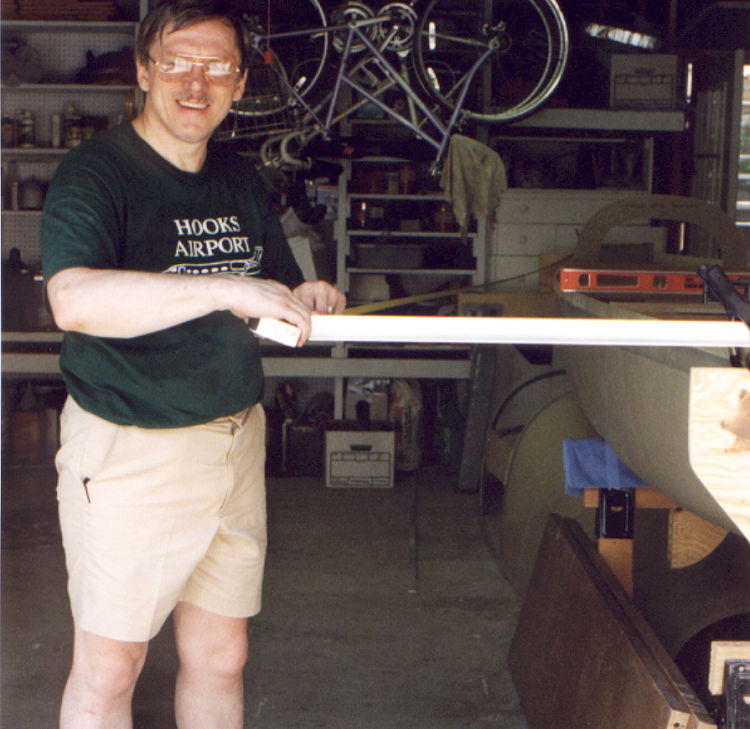 |
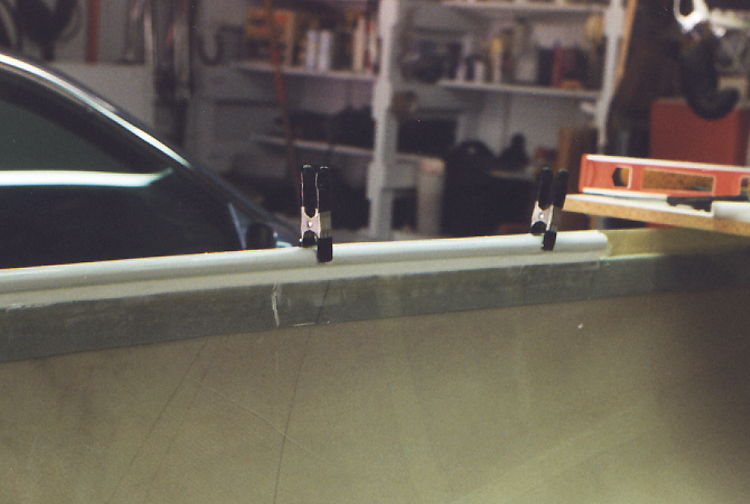
| This shows the conduit in place and ready to add the two plys of glass to complete the conduit and add strength to the fuselage sides. | A total waste of film and paper but required from time to time just to prove that I am me and I am the builder. |
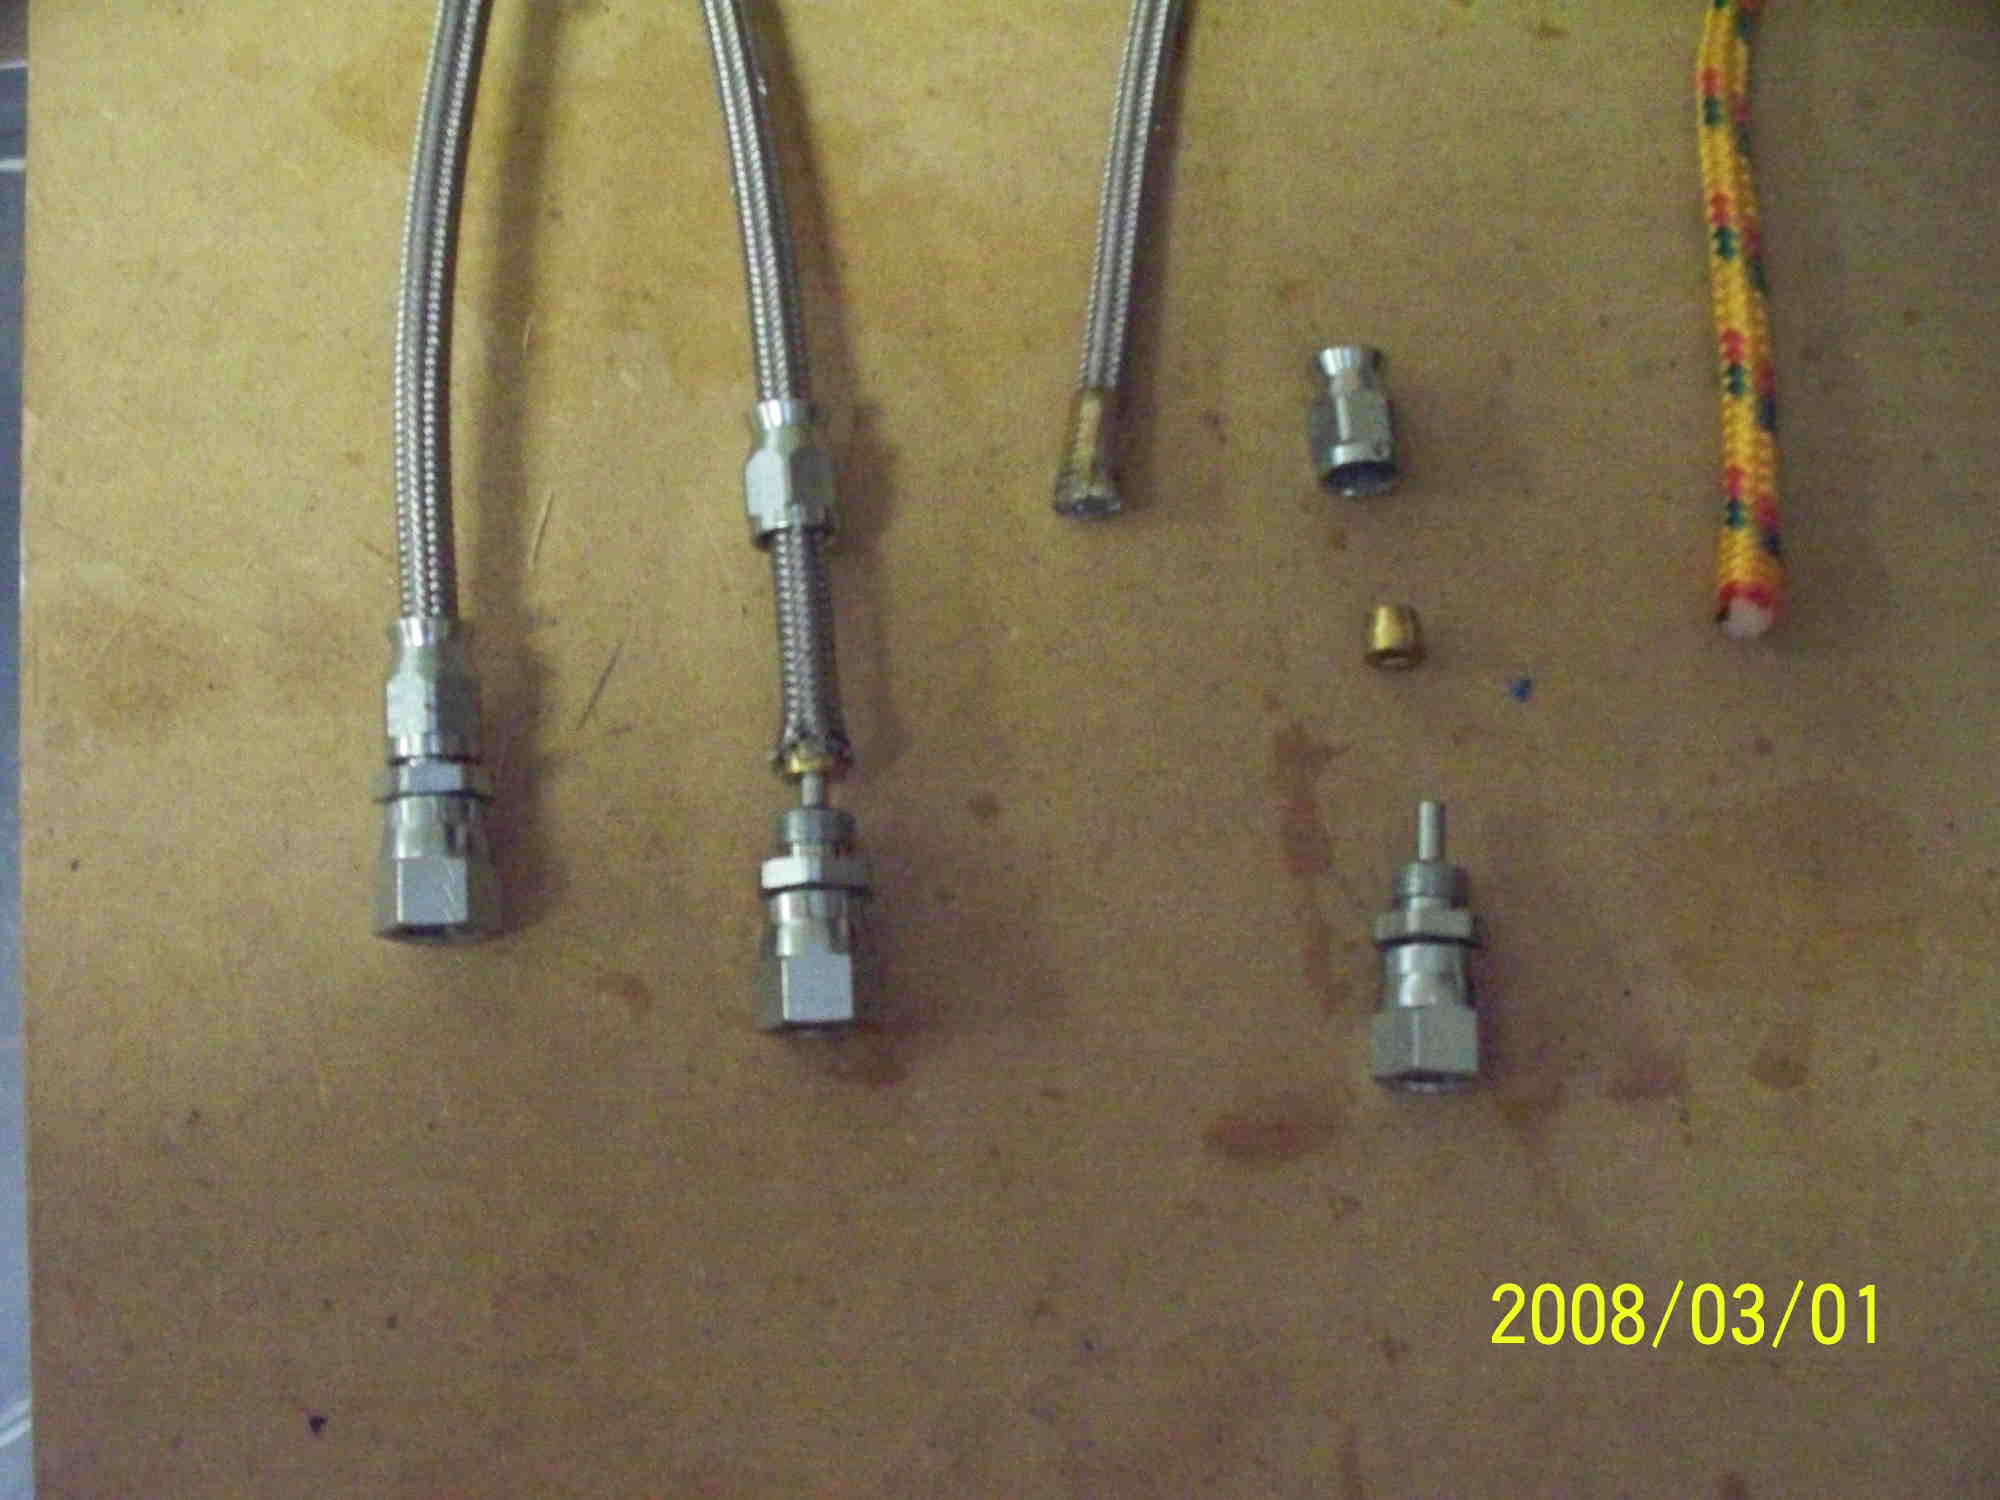
BRAKE LINES
|
The photos below show the parts and assembly steps for Stainless Steel Brake Line connectors.
|
|
 |
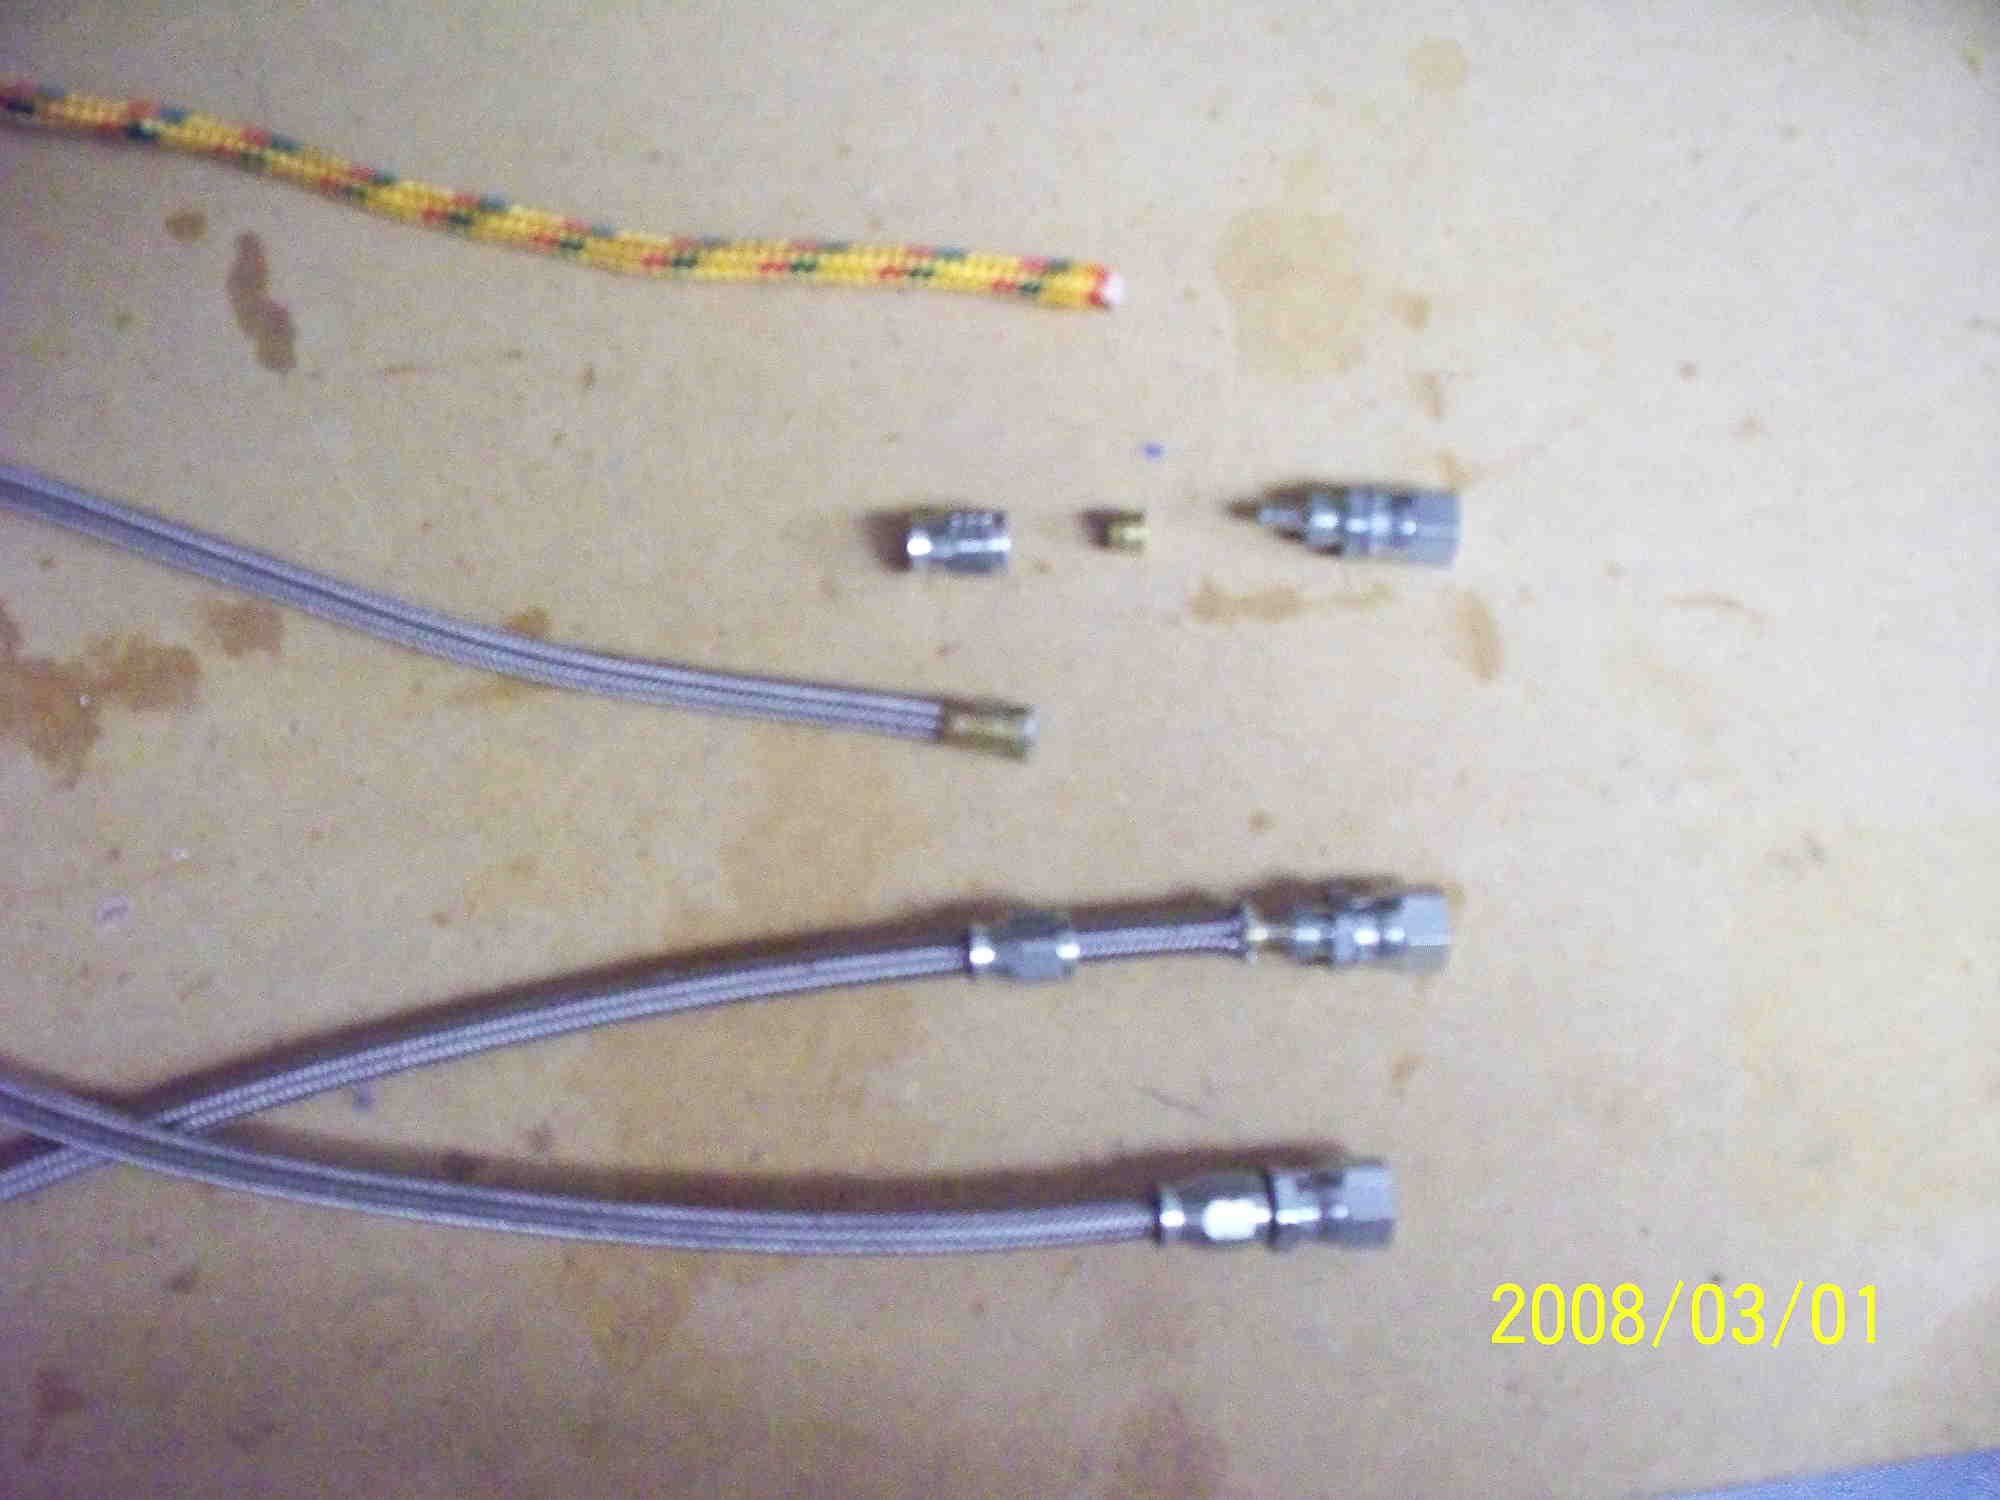 |
I am using 3/16 braided stainless steel brake lines throughout. The assembly process is simple enough if you don't mind tearing your fingers up with those sharp little stainless wires. I had some rope of the exact same size as the brake lines which I used to measure the required lengths. It is not shown here but I wrapped masking tape around the SS Line and used a hack saw to cut in the middle of the tape. This keeps the jacket from coming unraveled. Slip the connector sleve over the line while the tape is still on. It will go if you have more than 1-2 layers of tape. Remove the tape and Clean up the cut end. Slide the brass tip over the inner plastic tube and under the SS Braiding. Push the end on by pressing against the work table. Lubricate the SS Braid with a couple of drops of oil and slide the sleve over the end. Push the connector end into the brass end and screw the connections together. You will need to put the unit into a vise and use 1/2 inch open end wrench to tighten. It is a very easy process and produces a very clean tight connection. |
|
Much More to Come!