
N247BR
Fuselage Firewall and Bracing
| Once the fuselage
is level and anchored, the first operation is to get
the firewall cut and mounted. This operation is probably the
single
best reason for the fast build kit. The plywood which I received
with
the kit had both warped and bowed which required some real work to get
it
right. I first cut and shapped the firewall close to the final
shape.
Next, I glassed the face with a single bid and placed the panel
between
a 3/4 inch plywood board and a very solid and flat glass panel and
weighed
it down. This seemed to work fairly well and got rid of some of
the
problem. The panel warped again during installation however and
required
additional work to get straight. |
|
 |
 |
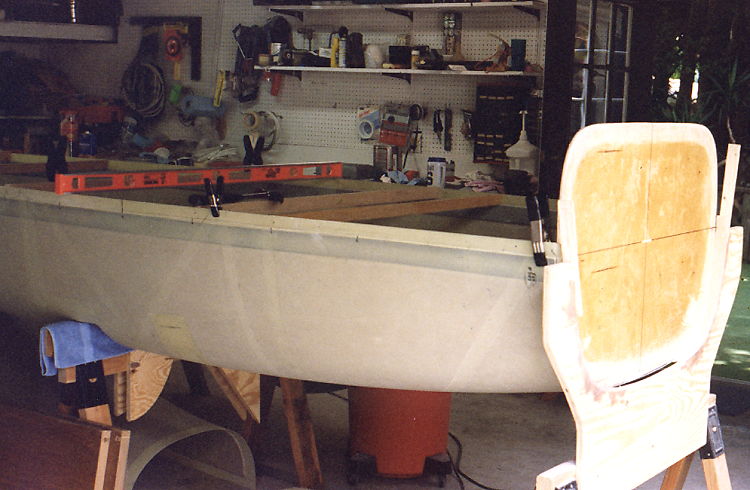
| Vertical level for sitting firewall. Note the fuselage spacers to hold fuselage shape. |
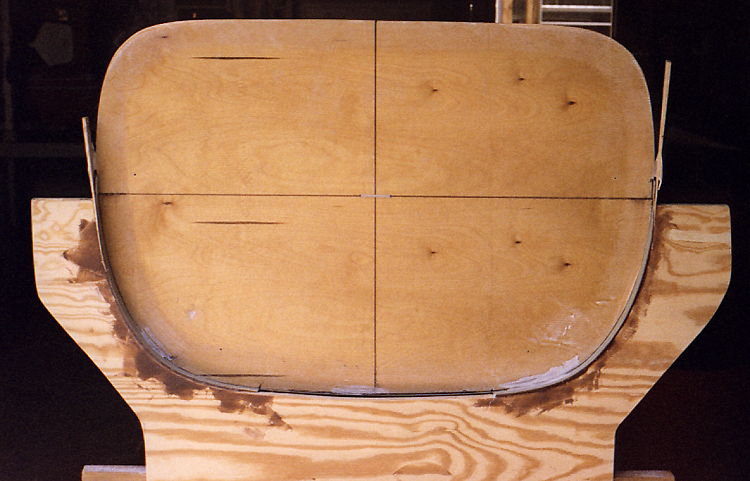
Firewall cut and shapped with horiz & vert alignment lines. Initial bonding operation. |
 |
 |
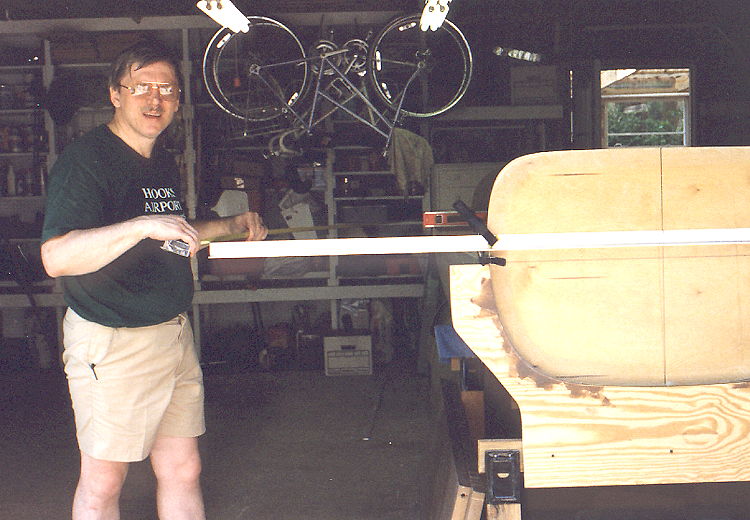
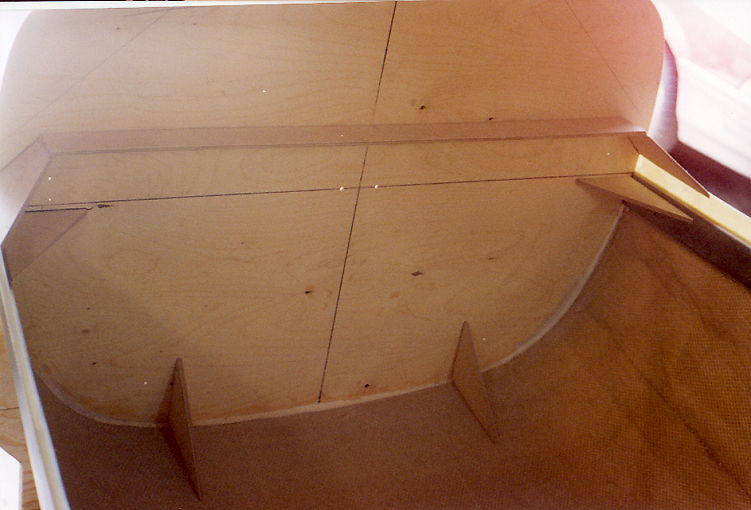
| Squaring the firewall to the fuselage. I used an 8 ft. straight edge to improve accuracy. |
The bonding of the firewall is complete on the front side and now ready for inside. |
 |
 |
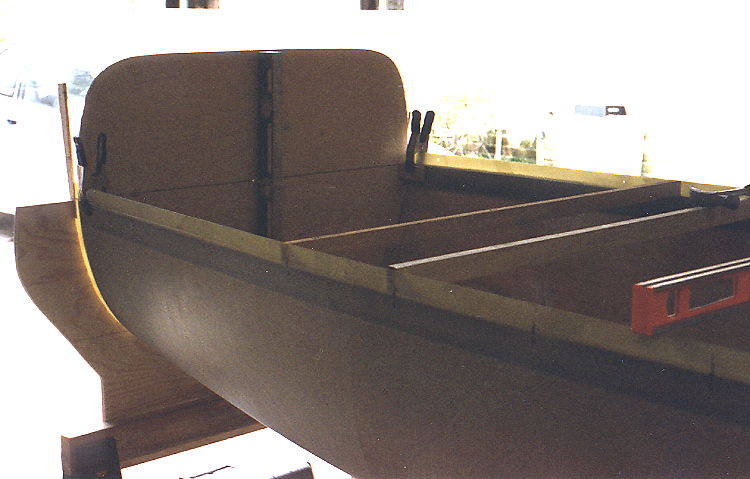
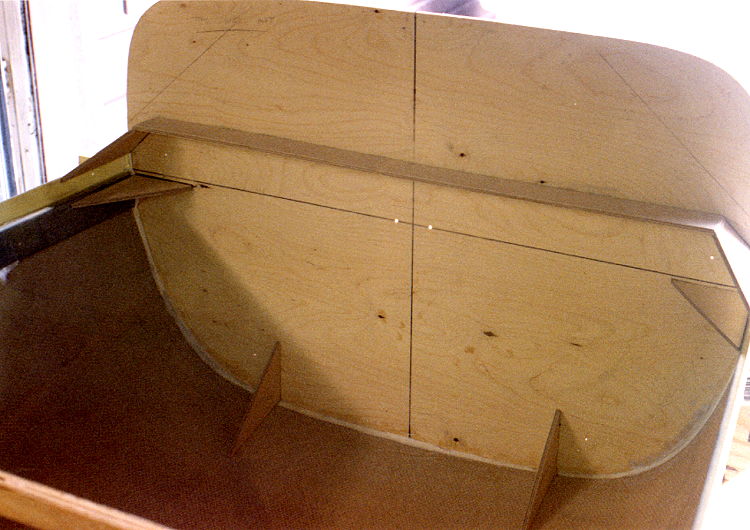
| Firewall has been initially bonded into place and bracing tacked in place. | Note the horz and vert alignment lines. The two holes are for nylon strap to hold tape measure for one handed measurements. |
Once the firewall is correctly positioned and squared, plywood braces are positioned and these are then glassed into place. Each of the lower braces are positioned just inside of the engine mount holes. The upper bracing brackets the upper engine mounts. The cross brace adds support for the nose gear. The glass work for the inside of the firewall is probably the most difficult you will do. This involves multiple layups with the individual layups having multiple overlaps. |
|