 |
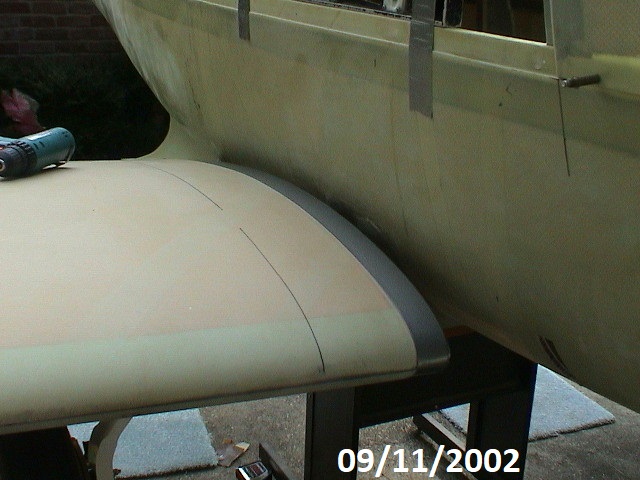
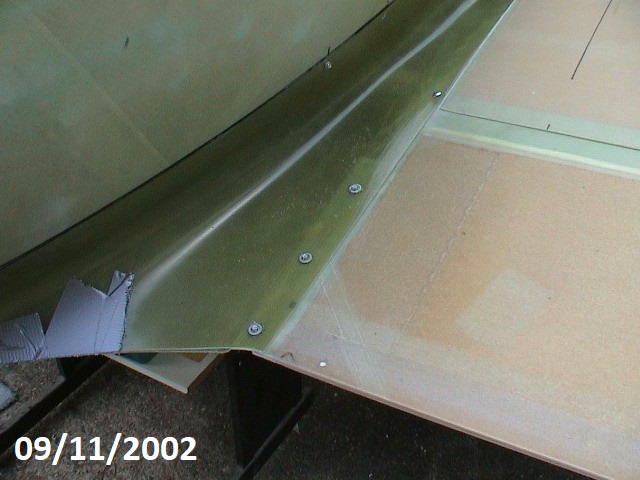
To keep the fairing from fitting too tight and making
subsequent installation and/or removal of the wing a real problem, I
put three layers of duct tap over the wing joggle. This should
provide enough spacing to allow a small clearance that can be covered
by a gap seal.
You can also see the line I used for placement of the
angle of incidence jig.
|
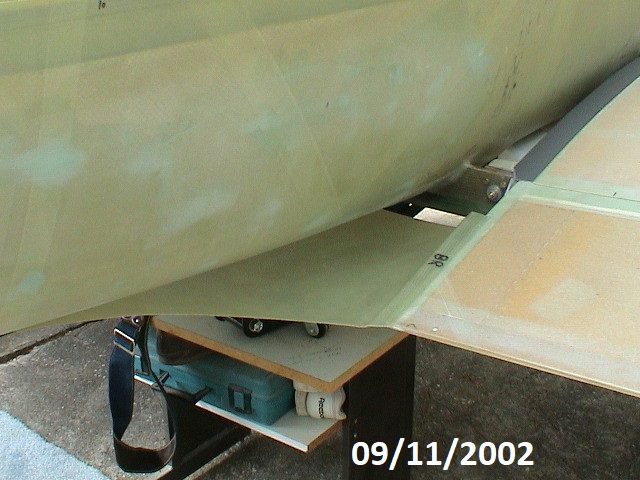 |
I found it best to position the lower fairing in position
setting on the edge of the flap and taped under the fuselage. |
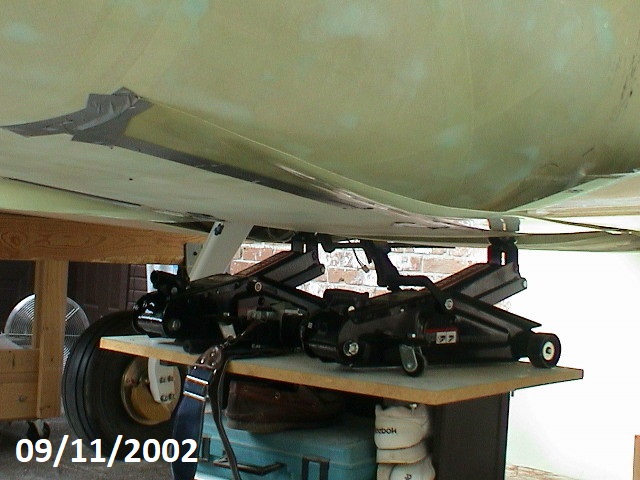 |
I don't know how I could have done this without duct tape.
I was just sticky enough to hold the pieces in place if you could
find enough hands to hold the parts and tape at the same time.
The tape did allow for placement and removal and adjustment as
needed. Once the position is determined I installed screws to
hold it inposition. |
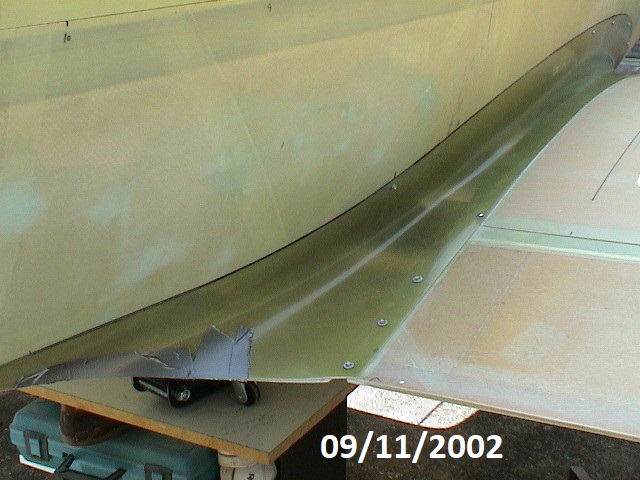 |
The Right wing fairing is in position and and I've started
to install the screws that will both hold it in position during bonding
and clamp it against the fuselage for bonding. |
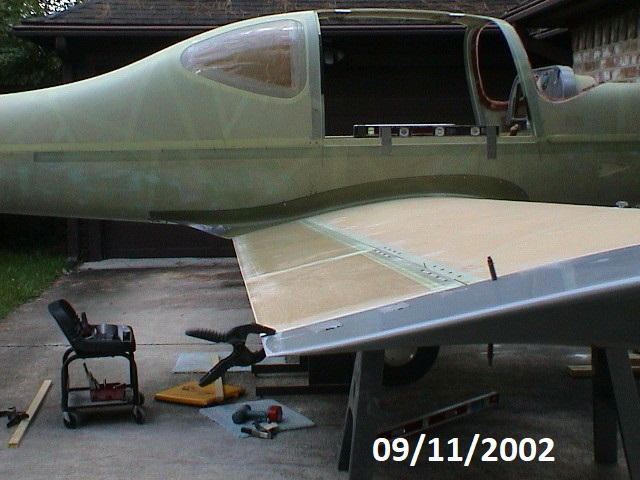 |
Part of the trial fit of the wing fairing is fit the
fairing to the trailing edge through the length of the wing. The
trailing edge should be even along the entire edge when the flaps are
fully retracted and the aileron is in the neutral position.
All the gaps, 1/16" between ailerons, wing tip and flaps,
were very consistant and the fit was great. The space between the wing
and flaps is tight but non-binding. I do wish I had reduced the
hinge gap from 1/8 inch to 1/16".
|
 |
The screws next to the flap are needed to hold the bottom
and top of the fairing together. I will lower the flaps during
the bonding and use a 1/2 wood strip on the underside to screw into.
This should help hold a constant pressure on the entire length. |
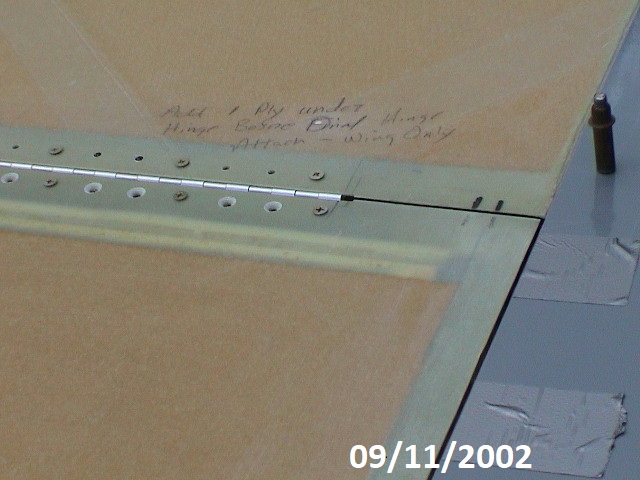 |
During the trial fit up I found that the aileron was just
slightly high and that one flap was slightly low. I made note on
the wing to add a one ply bid under the hinge to act as a shim and
effectively lower the aileron.
One aditional note: I used a longer hinge than
called for in the builders manual and placed the screw holes at the
strongest portion of the hinge every inch. That's more screws and
they don't line up. I will countersink the screws , bond them in
place and fill the holes. I use removable hinge pins for removing
the ailerons and flaps.
|