
N247BR
Wing Finishing Steps
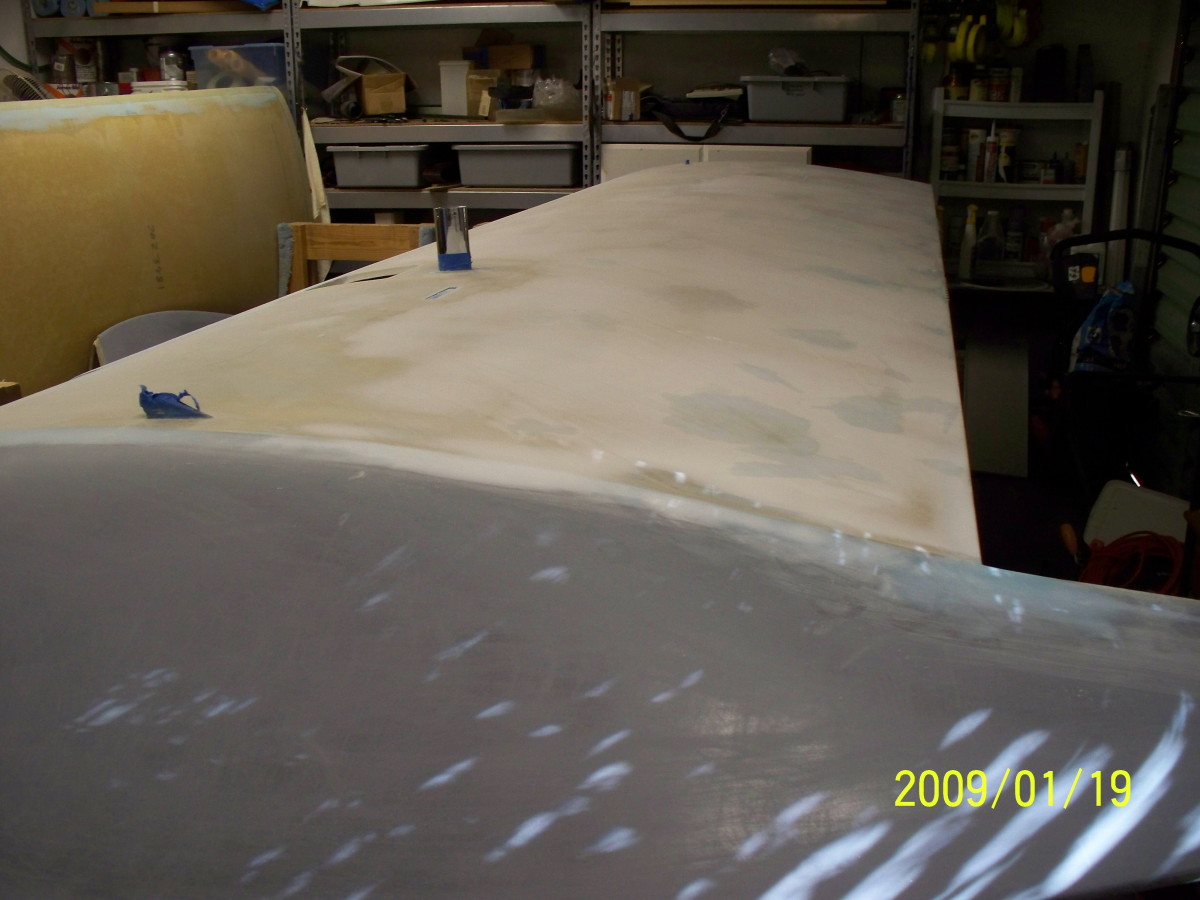 |
With the wingtip installed, I filled and sanded the wing removing all low spots and seams around the wingtip. |
 |
The fill and sand process resulted in a very smooth surface but the glass bead filler and resulting wing still had a large number of those pesky pin holes. |
 |
In order to get a uniform pin hole free surface, I am using a final surface of 1.5 oz. glass cloth. This cloth uses a very fine glass fiber with a tight weave containing more threads per inch than the normal glass fabric. |
 |
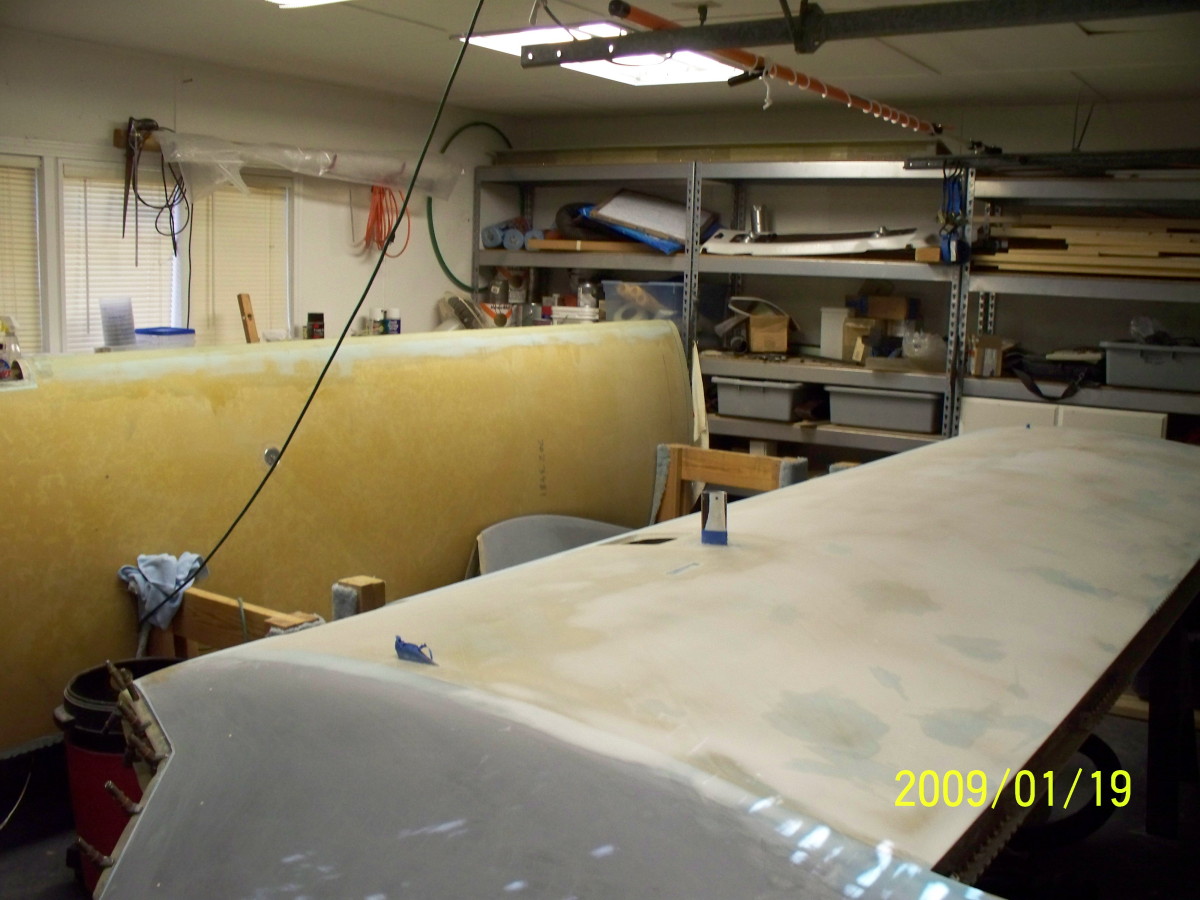
The entire wing, top and bottom is covered with the deck cloth and epoxied. Following cure, a final sanding is performed to remove any resulting epoxy buildup or imperfections and the resulting surface is clear of pin holes and ready to start application of paint. |
 |
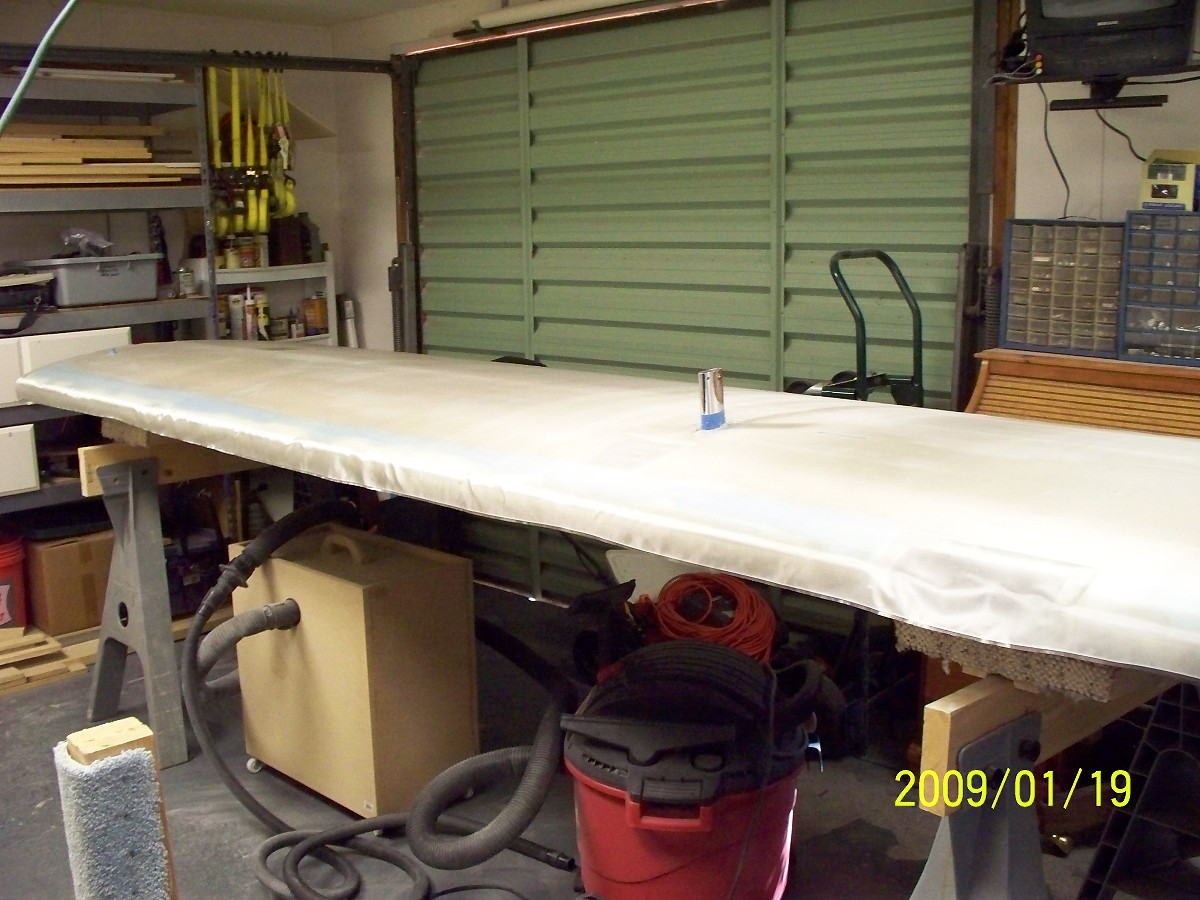
The first two coats of primer have been applied. I am using System Three Yaght Primer and will follow-up with the System Three base color coat and a final coating of System Three clear gloss. The UV Blocker is built into the color coats. |
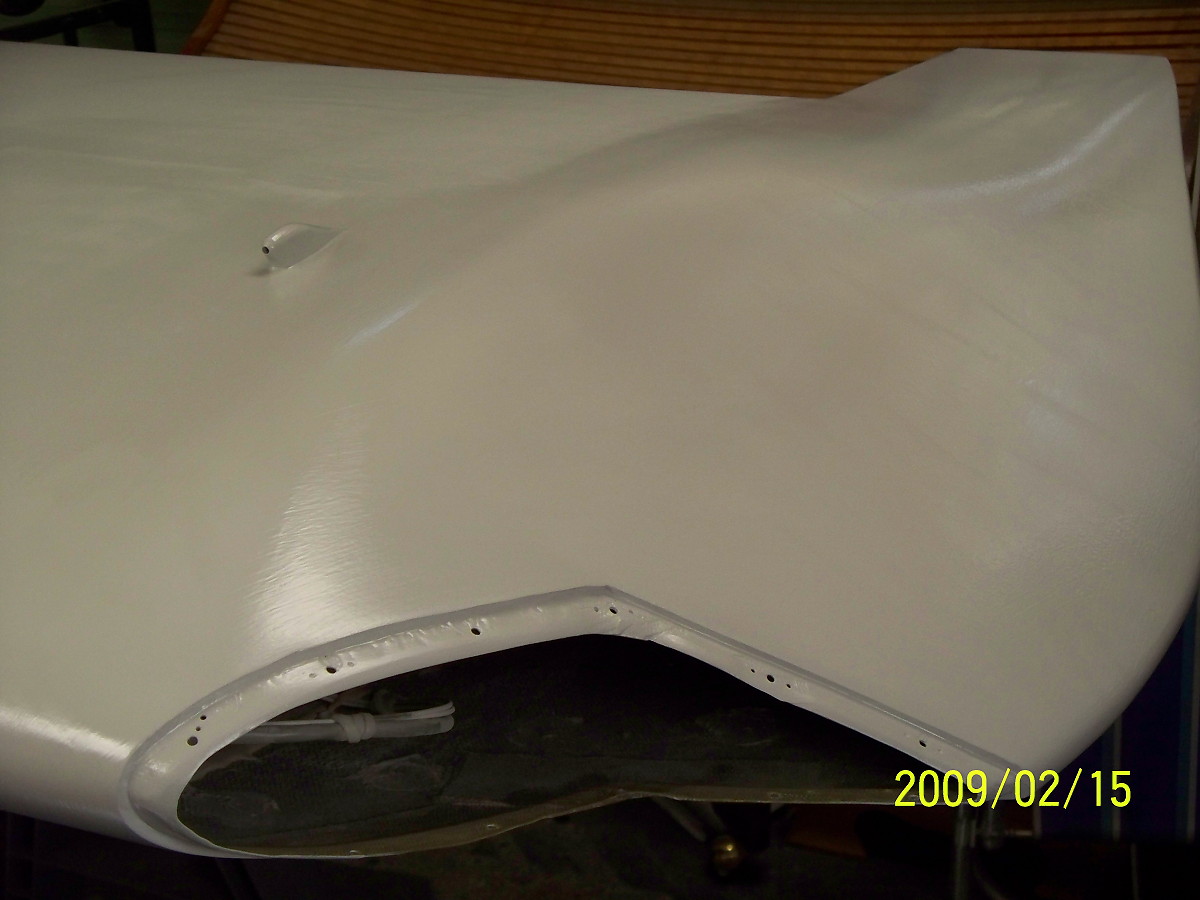 |
The primer coats are applied with a roller and tipped off
with a brush. The result does show some slight brush marks but
not much more than than with spraying. It goes on real easy and
is a high buildup primer. Sanding is fairly easy and some test
sanding did not show any bleed through.
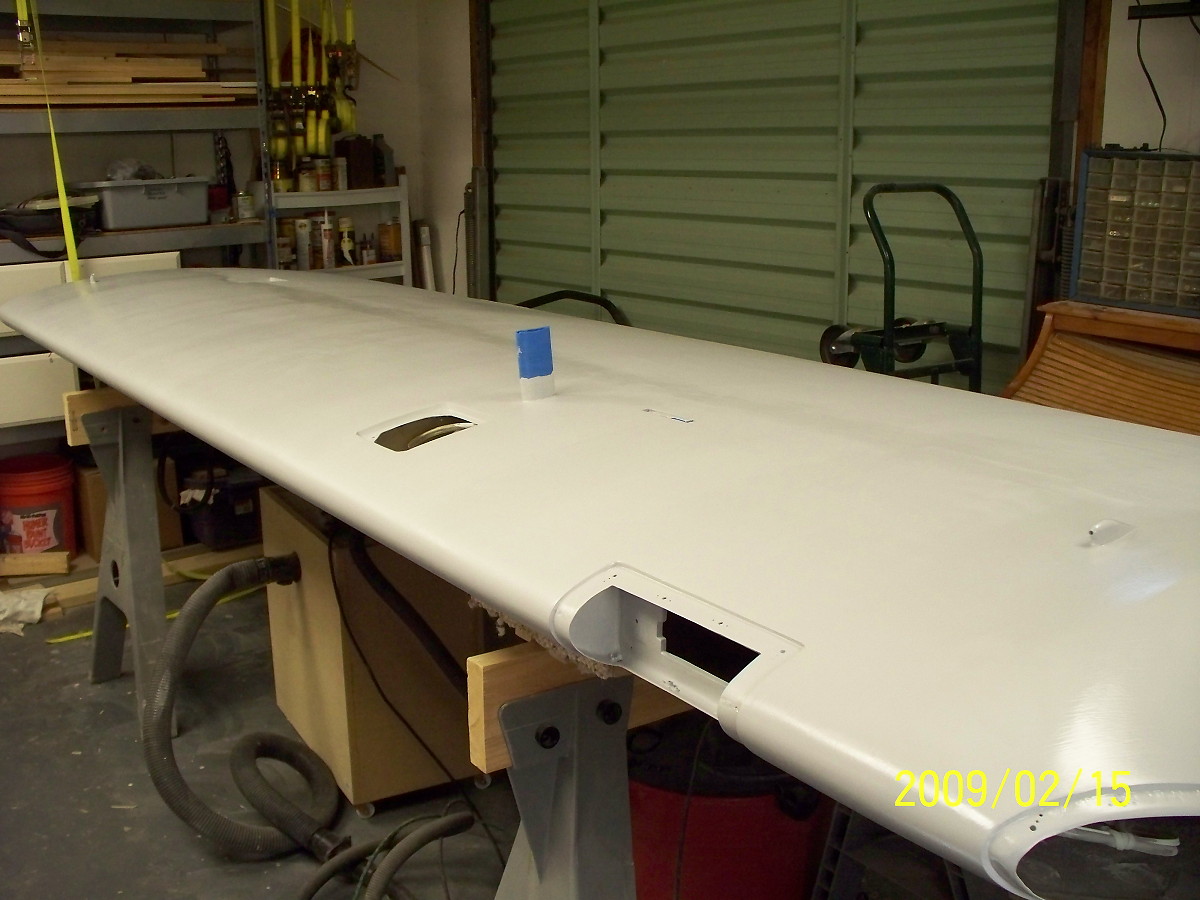
Note the fuel vent. |
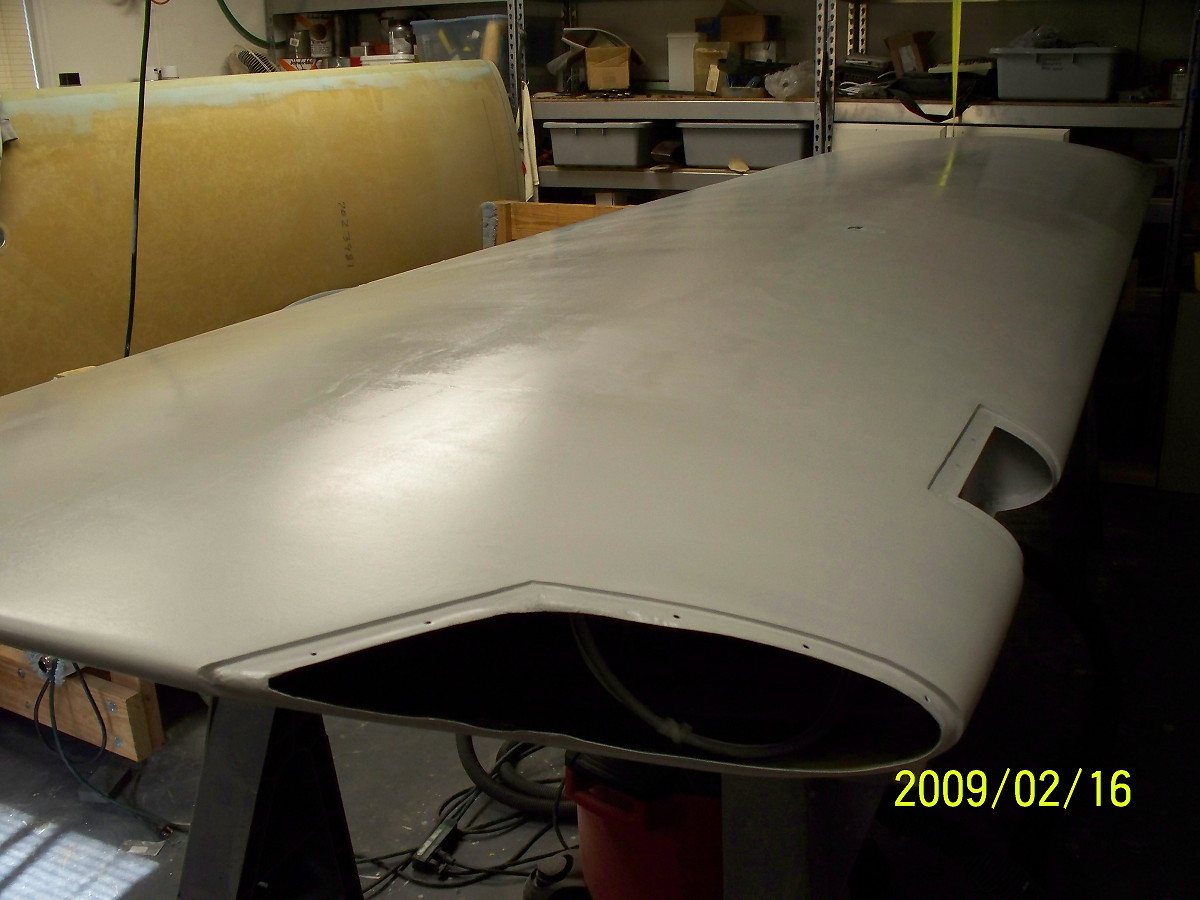 |
This shows the top of the wing following the initial primer coats but before any sanding has been performed. You can see some of the overlap of the roller and slight imperfections. I will sand this and take another shot following the sanding for paint application. |
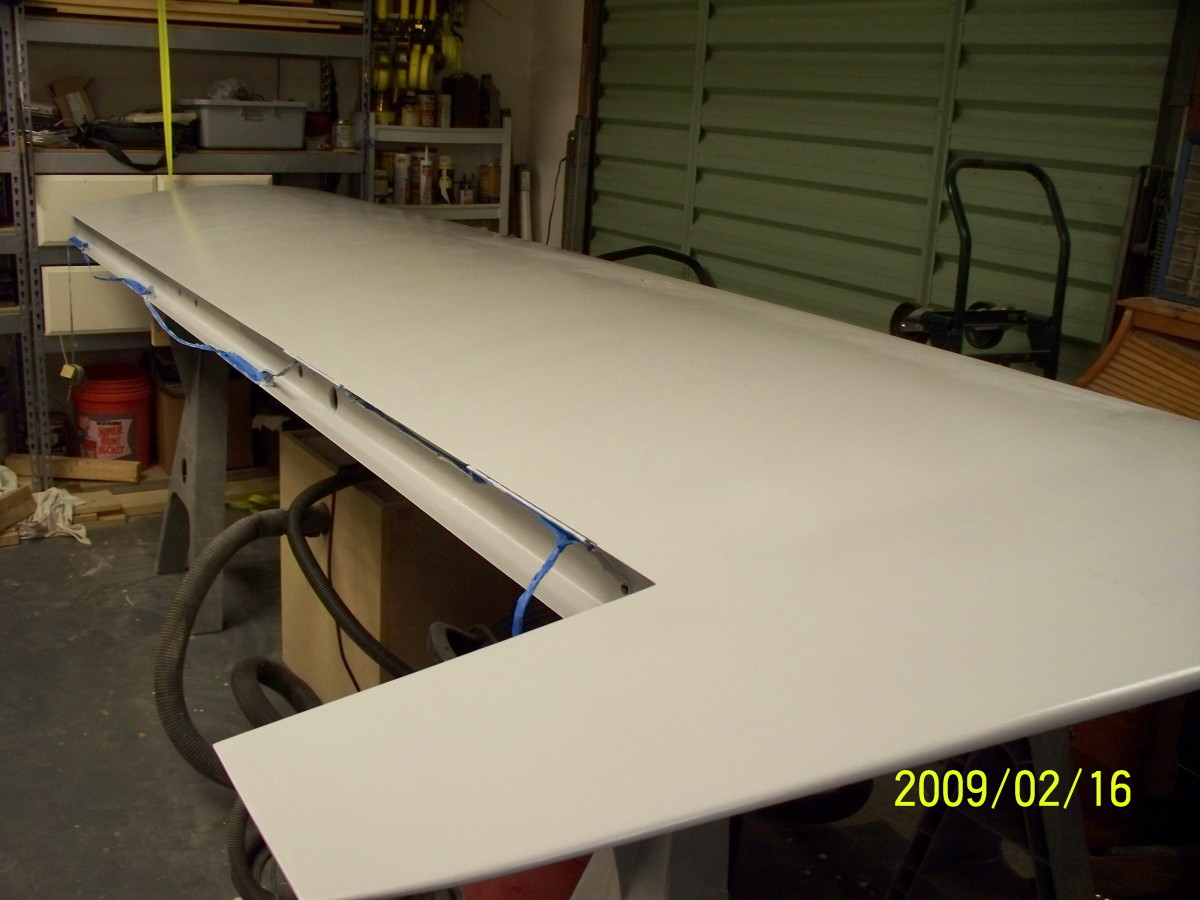 |
View of the same wing from the back. All the hinge screws have been hidden and glassed over. The blue painters masking tape is covering the hinges and the grounding strap. |