
Main Wing Spar - Preparation and Installation
| The KIS Cruiser Wing Spars consist of a Center Spar and individual Wing Spar's. The Center Spar spans the width of the fuselage and extends close to two feet on either side of the fuselage. The Wing Spars are each joined to the Center Spar by two large bolts. | |
| MAIN FUSELAGE SPAR | |
 |
 |
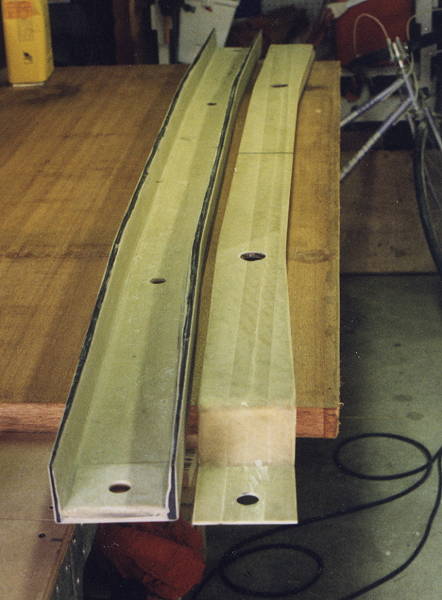
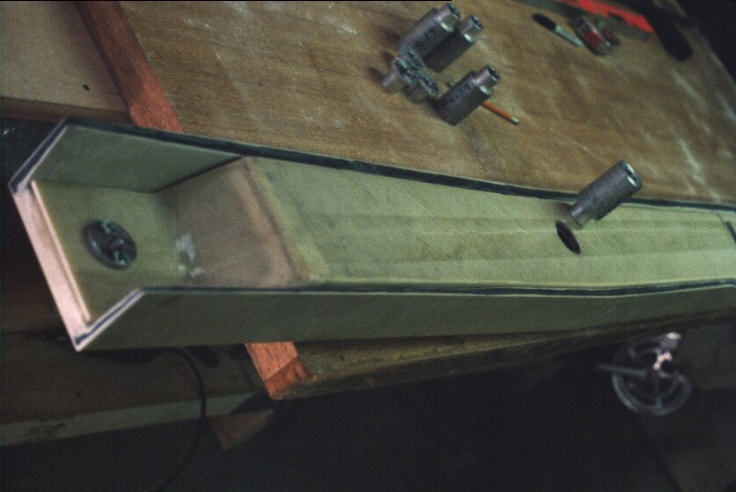
| The above shows the two sections of the Center Spar before being joined. The ends have been trimmed and the holes for the mounting bolts cut. | This shows the flange for the bolts. A substantial amount of sanding is needed to the inside surfaces to get the two pieces to fit together properly. |
 |
 |
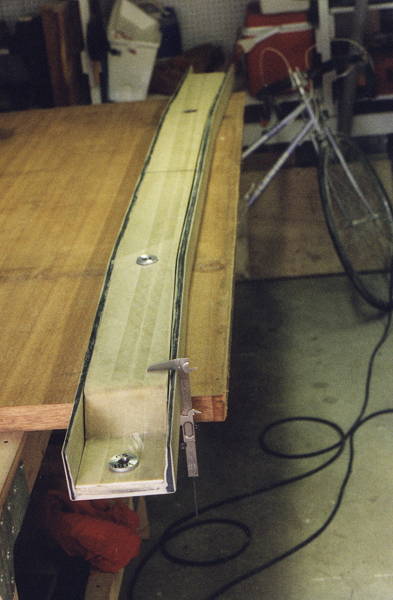
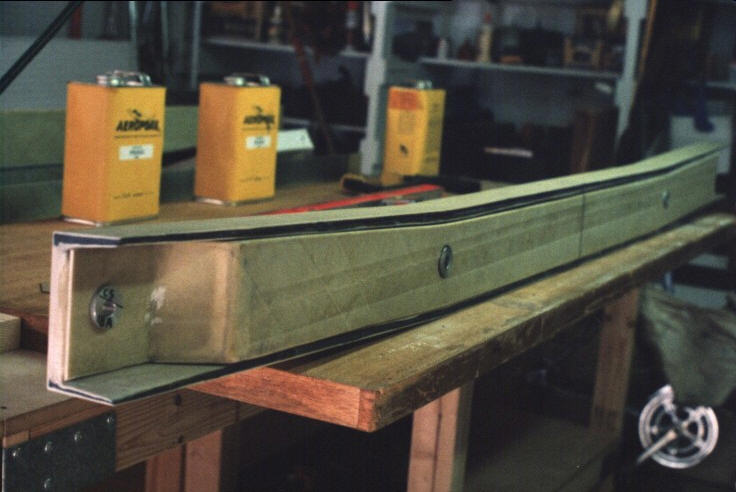
| Checking the pre-assembled spar for the correct assembled thickness. | Spar Clamped to work surface with shims used to level and remove any twist. Level and check both ends. |
 |
 |
 |
Cutout in the fuselage to receive the finished Center
Spar. The black horizontal line indicates the top of the spar
position. The opening is required to be a bit larger to allow the spar to slide into position. |
| The main spar show here is installed into the fuselage. I failed to take photos of that installation process. The spar must be centered on the fuselage and leveled while the fuselage is leveled. The spar is installed at a 3 degree angle to the belt line of the fuselage. Once positioned, it is then bonded and glassed into place. | 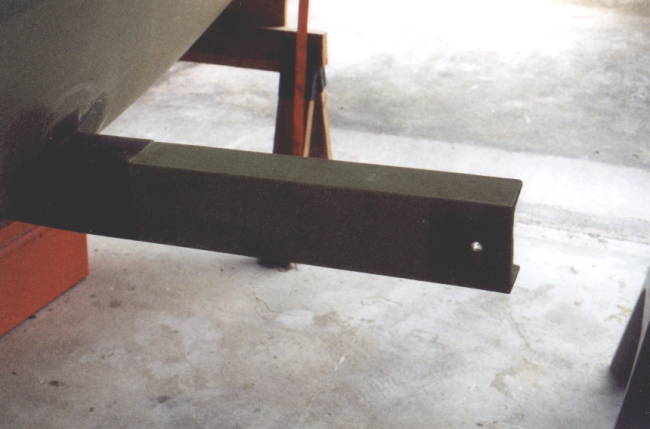 |
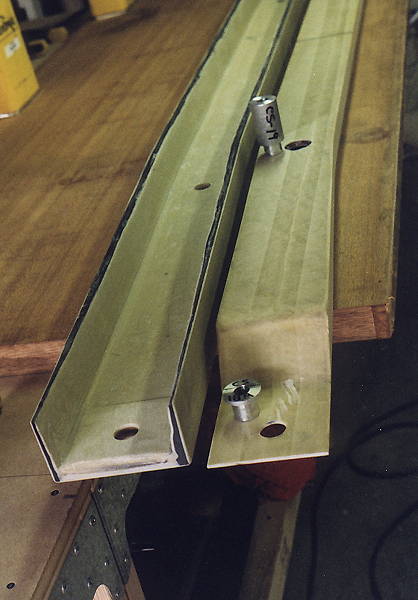
| The final operations on the main and wing spars involve the bonding of the aluminum inserts into the main and wing spars. These inserts must be bonded very carefully and help control the proper positioning of the wings. This must be completed before the main spar can be installed in the fuselage. | |
 |
 |
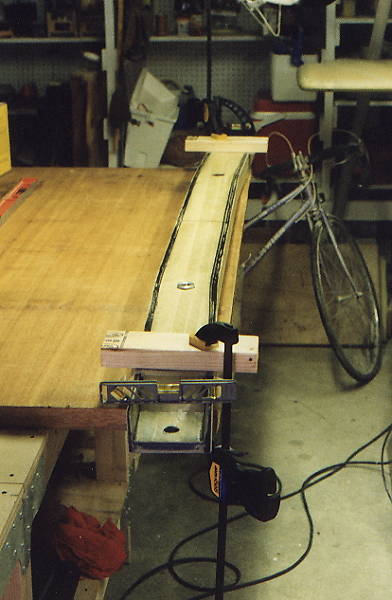
| Preparing to bond in the aluminum inserts into all of the
spar sections at one time. The tape is to keep the spars from
sticking together during this process. I also purchased some
bolts from the local hardware store to use for this operation so that
no possible damage could result to the actual nuts and bolts. |
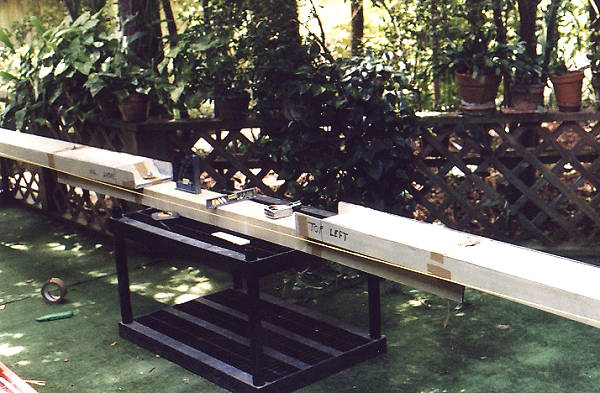
I moved this operation to my deck on a warm (hot) clear
day. I placed the ends of the wing spars and the main center spar
on some shelves (like shown) and leveled everything out. I streached a tight string between the ends and measured to the center point to set the angles. A bit of grinding and twiching and everything matched. I let it sit overnight and then disassembled. |
| NOTE: I
highly recommend the fastbuild option be used if at all
possible. This is a critical portion of the building process and
a
mistake here would be very costly. I can only hope that I didn't
make
a mistake which would only show up at the final assembly stage. |
|