|
When I built the mounting jig for the
horizontal stabilizer, I followed
the plans exactly. It started out ok but after mounting the top
of
the stabilizer in the jig and starting construction, the straight edge
board
warped slightly and transferred that warp to the trailing edge of the
stabilizer.
It did not end up as an unrecoverable problem but it did teach me
that
the jig is important enough to do it right and make sure it is built to
do
it's job. So when I got ready to build the jig to hold the wings,
I
listened to those who had gone before me and built it with extra ribs.
I
also wanted to try and use materials that started out straight and true
and
would probably remain that way. The humidity in Houston can cause
just
about anything to warp.
I picked prefinished 12 x 48 inch shelves of 5/8 inch MDF
boards. Using
the kit supplied pattern I cut a total of 12 ribs to roughly the
shape
of the pattern. I then shaped one board to the exact size of the
pattern.
Once satisfied with the initial rib I used it to produce 11 more
exact
copies. For the rails I selected the best and straightest Red Oak
boards
I could find. They were expensive but they were also straight.
I
assembled the system using these and anchored it to my work bench which
had
been leveled. I assembled the whole thing with dry wall screws.
Everything was repeatedly checked for level and square. |
|
|
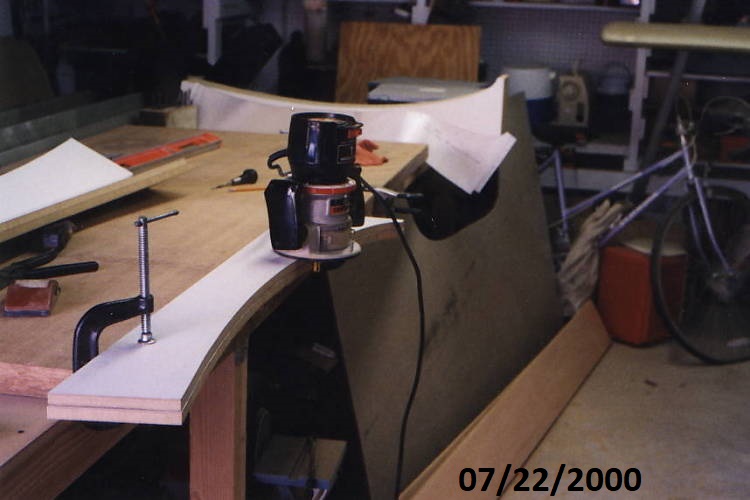 |
The best method I have found for duplicating a wood part
is to use the router. The whole process took less than an hour. |
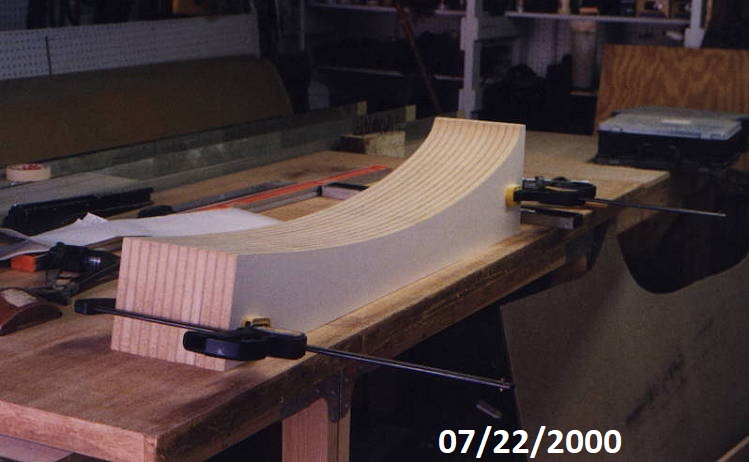 |
All complete ribs were clamped together and checked for
true match. The process was good enough that you could not feel
any edges as you rubbed your hand across the surface. I used the
same process to cut the slots for the center support. |
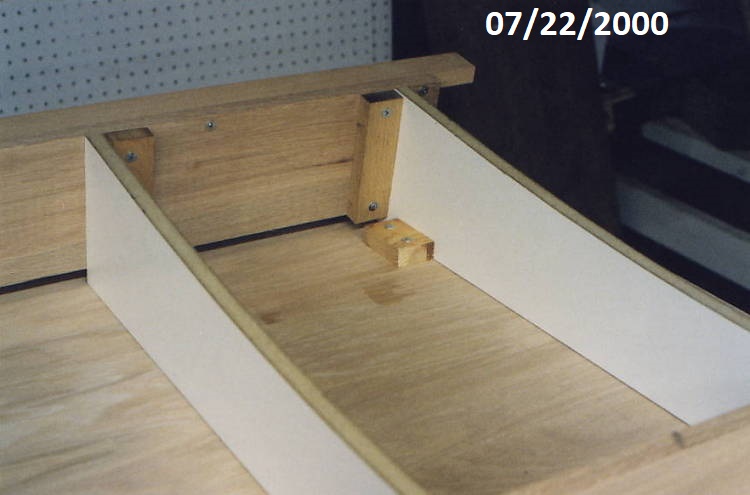 |
I placed the rails together and marked the position for
the ribs on all three at the same time. I used wood block to
provide the exact position of each rib. I then used 1x2 wood
blocks to position and anchor the whole jig to the top of the workbench. |
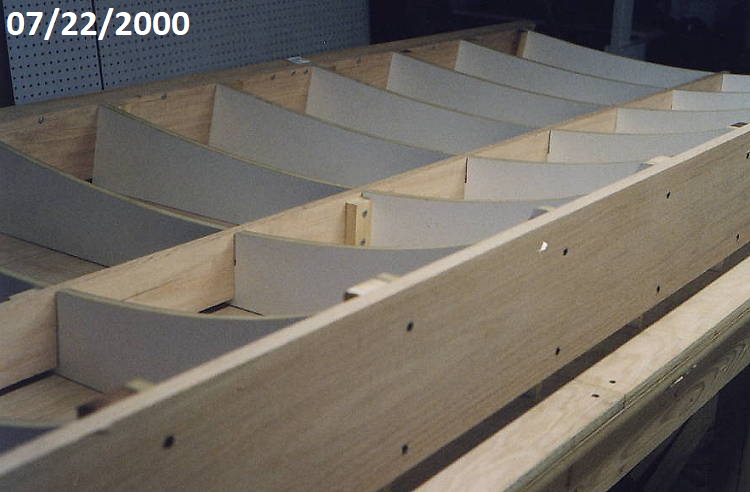 |
All the ribs are screwed into place with liberal anchors
placed to hold the jig in the proper position. |
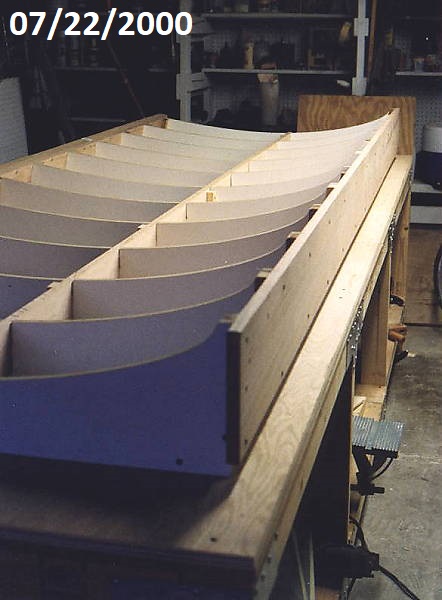 |
This shows the position of the jig on the work bench.
It should last through both wings without warping. |
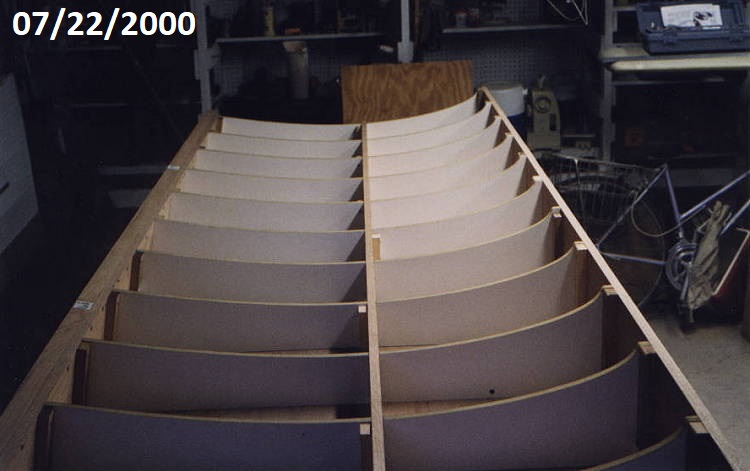 |
It is straight and true. I also added 1x2 oak ledge
to support the back edge of the wing. This is a strait edge which I
used to bond the wing down along the full length of the trailing edge.
I used 1x2 boards to clamp the edge down while the bonding cured.
The full wing was bonded down at each rib to hold it. It
required bonding since the wing had a very strong curl to the inside.
|
|
|
| Overkill?
Well maybe, but I would rather err on the side of caution.
After mounting the first wing skin top I think I may have made a
good
decision. I used a epoxy-flox mix to bond the wing into the jig.
I
had to use screws to pull the front edge of the wing down into the
proper
position. The epoxy-flox was used after attempting to use bondo
and
it failed to hold. I made sure to not sand or clean the wing skin
so
that the bond could easily be broken when the wing was complete.
I
will probably have a bit of a time getting it out but it will stay
until
I am ready to take it out. I will update this when I take the
first
wing out. |
|
|
| 07/31/2001 -
Removal of first wing from the jig was no problem. The
EpoxyFlox mix had held tight through the construction process and
released
with a bit of friendly persuasion (lifted the wing from the front
and
slowly poped the bonds loose.) and left a very straight edge.
Overall
the jig worked as planned and had no damage from the first wing.
Even
though all the duplicate ribs I used are probably not required I highly
recommend
their use for the added support it gives. Besides, it only takes
a
few extra minutes to duplicate the ribs using the router. A
little
clean up and some light sanding was all that was necessary for
preparing
for the second wing. |

