
N247BR
Wing Ribs Construction
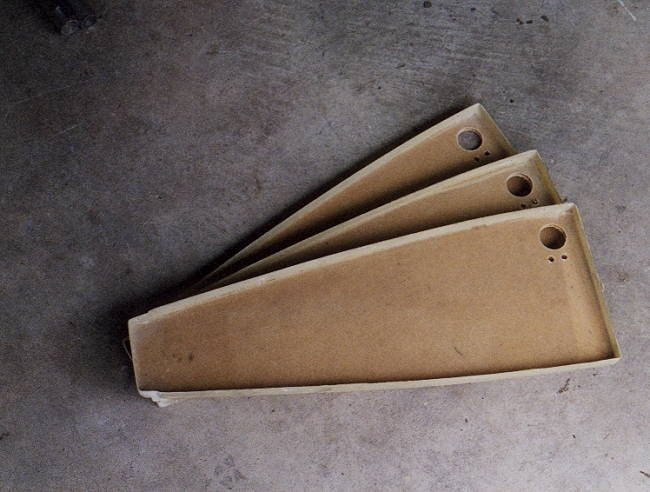
| One main point
here is that the front and rear rib sections are all the
same. Because of the positioning of the flange is the only
difference
between the left and right wings, you can prepare all the rib sections
at
one time without being concerned about left or right. I made a couple of jigs and then proceeded to prepare all the rib sections in advance. It made for a very quick and easy operation. The following shows some of the details of the operation. |
|
 |
 |
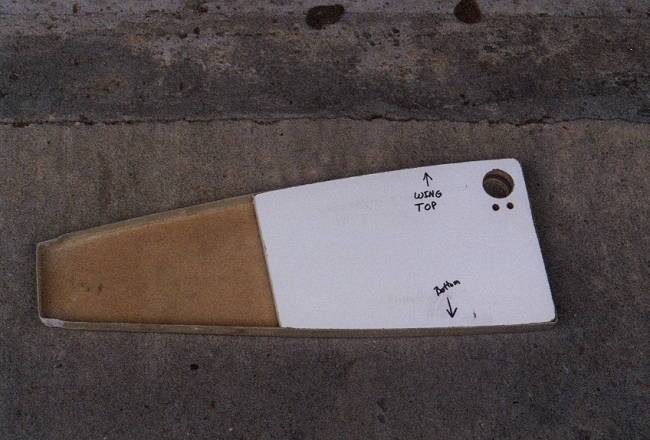
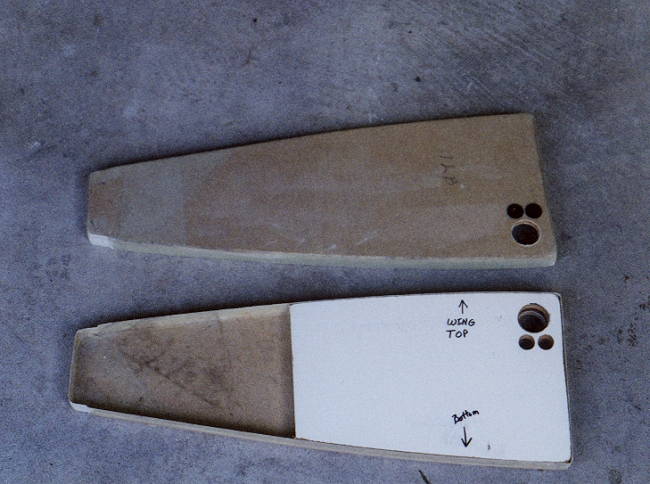
| I fabricated a quick jig for positioning of the holes for the electrical conduit and for the pitot lines. The jig was made from 5/8 in scrap board left over from the wing jig construction. |
Due to the installation of the ribs being the same on both sides, the holes can be place in the same position on all the ribs at once. |
 |
I used plastic gromets with a 1/4 inch inside diameter and bonded these into each of the holes for the pitot lines. The cavity on the inside of each gromet is then filled with silicone sealant once the pitot lines are installed. The result is secure pitot lines without binding or rubbing against the sides of the glass ribs. It is also a very flexible installation and allows the lines or the wing to flex. |
 |
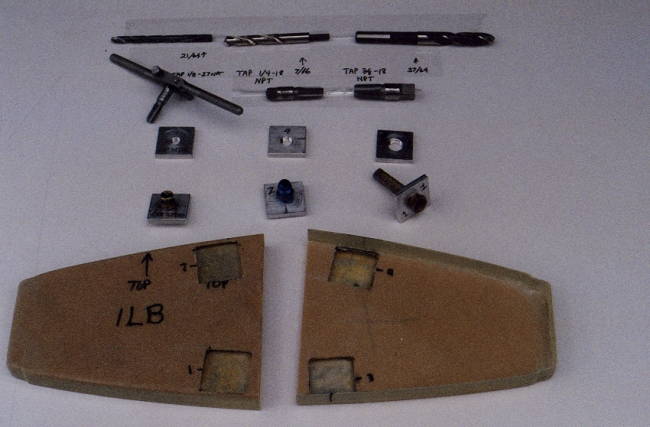 |
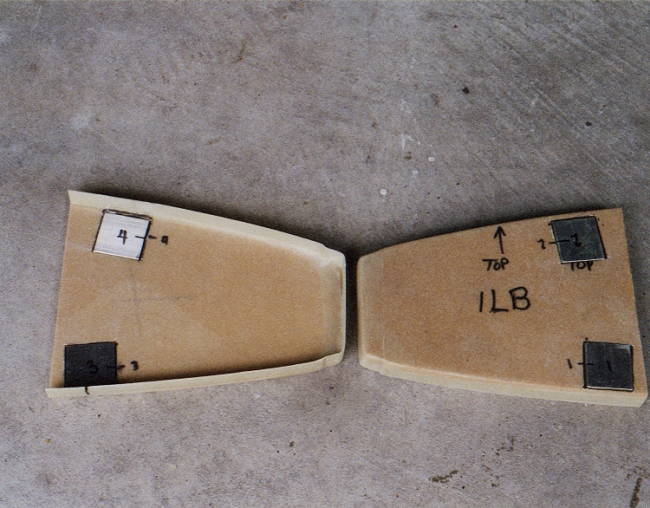
| The two inside ribs of the fuel bay will need one or two aluminum inserts for the fuel outlet and return lines. These are fabricated by the builder and then glassed into place. These ribs are also cut short by three inches for clearance of the main spar. |
The above shows the required drill bits and threading dies required for fabrication of the fuel outlets. My personal opinion is that I would have been glad to pay extra for these to be fabricated by the factory. |