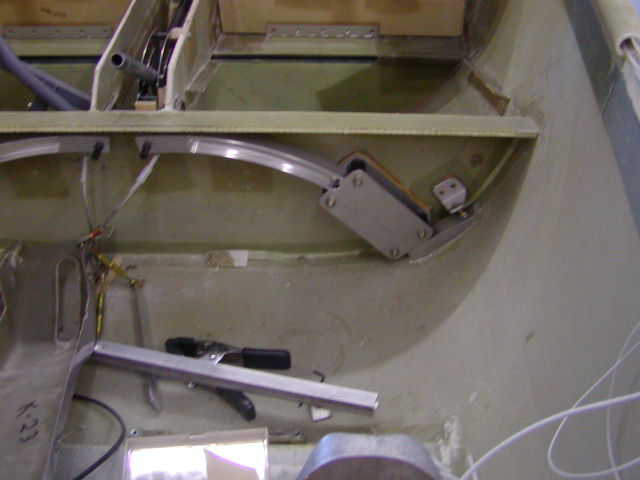
Inside view of step installed
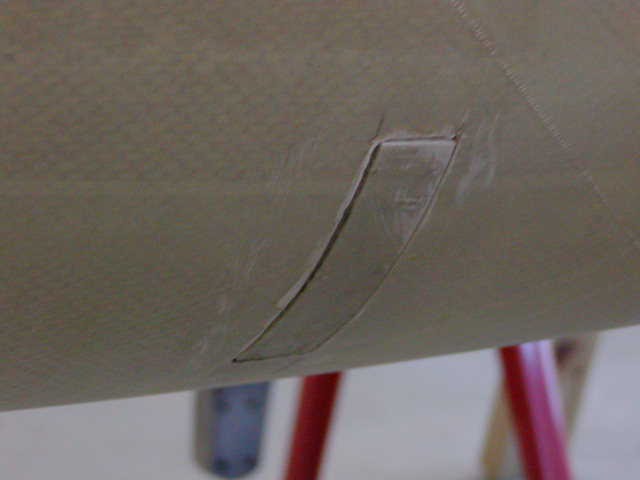
Outside view with step retracted.
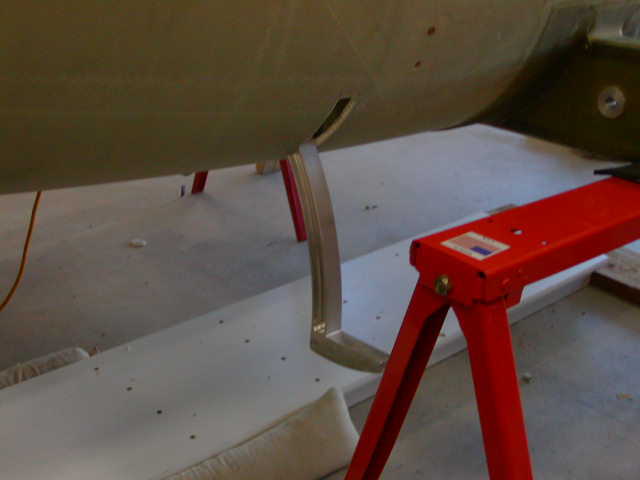
Extended view.
Installation of Retractable Steps
By Bill Schertz
Steps from From Lyle Hendricks - Hendricks Mfg. Inc.
www.HendricksMfg.com
I just finished the installation of Lyle’s retractable steps. I thought I would share a couple of pictures of the installation.
Following Bob Anderson’s suggestion, I spaced them off of the front bulkhead with a ½" spacer, to get them to clear the fillet at the junction of the bulkhead and the fuselage side.
Lacking any instructions to the contrary, here is what I did.
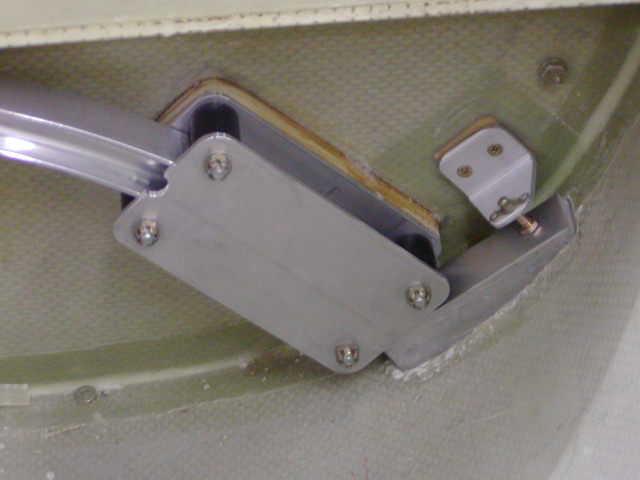
The only other thing I did was make an adjustable stop that lets me tweak the retracted surface into exact alignment with the outer skin. It is just a AN-3 bolt in a nutplate as shown in the photo.
|
|
Inside view of step installed |
Outside view with step retracted. |
|
|
| Adjustable stop to place outer surface flush with skin. | Extended view. |