
Tim Sahagun - Dallas Area TR-4 Cruiser Builder
First, I would like to give my personal thanks to Tim for his help with storing my plane for over a year while I moved and found a hangar. Had it not been for his help I believe I would have been forced to sell my project. Thank You Tim, you have been a great friend.
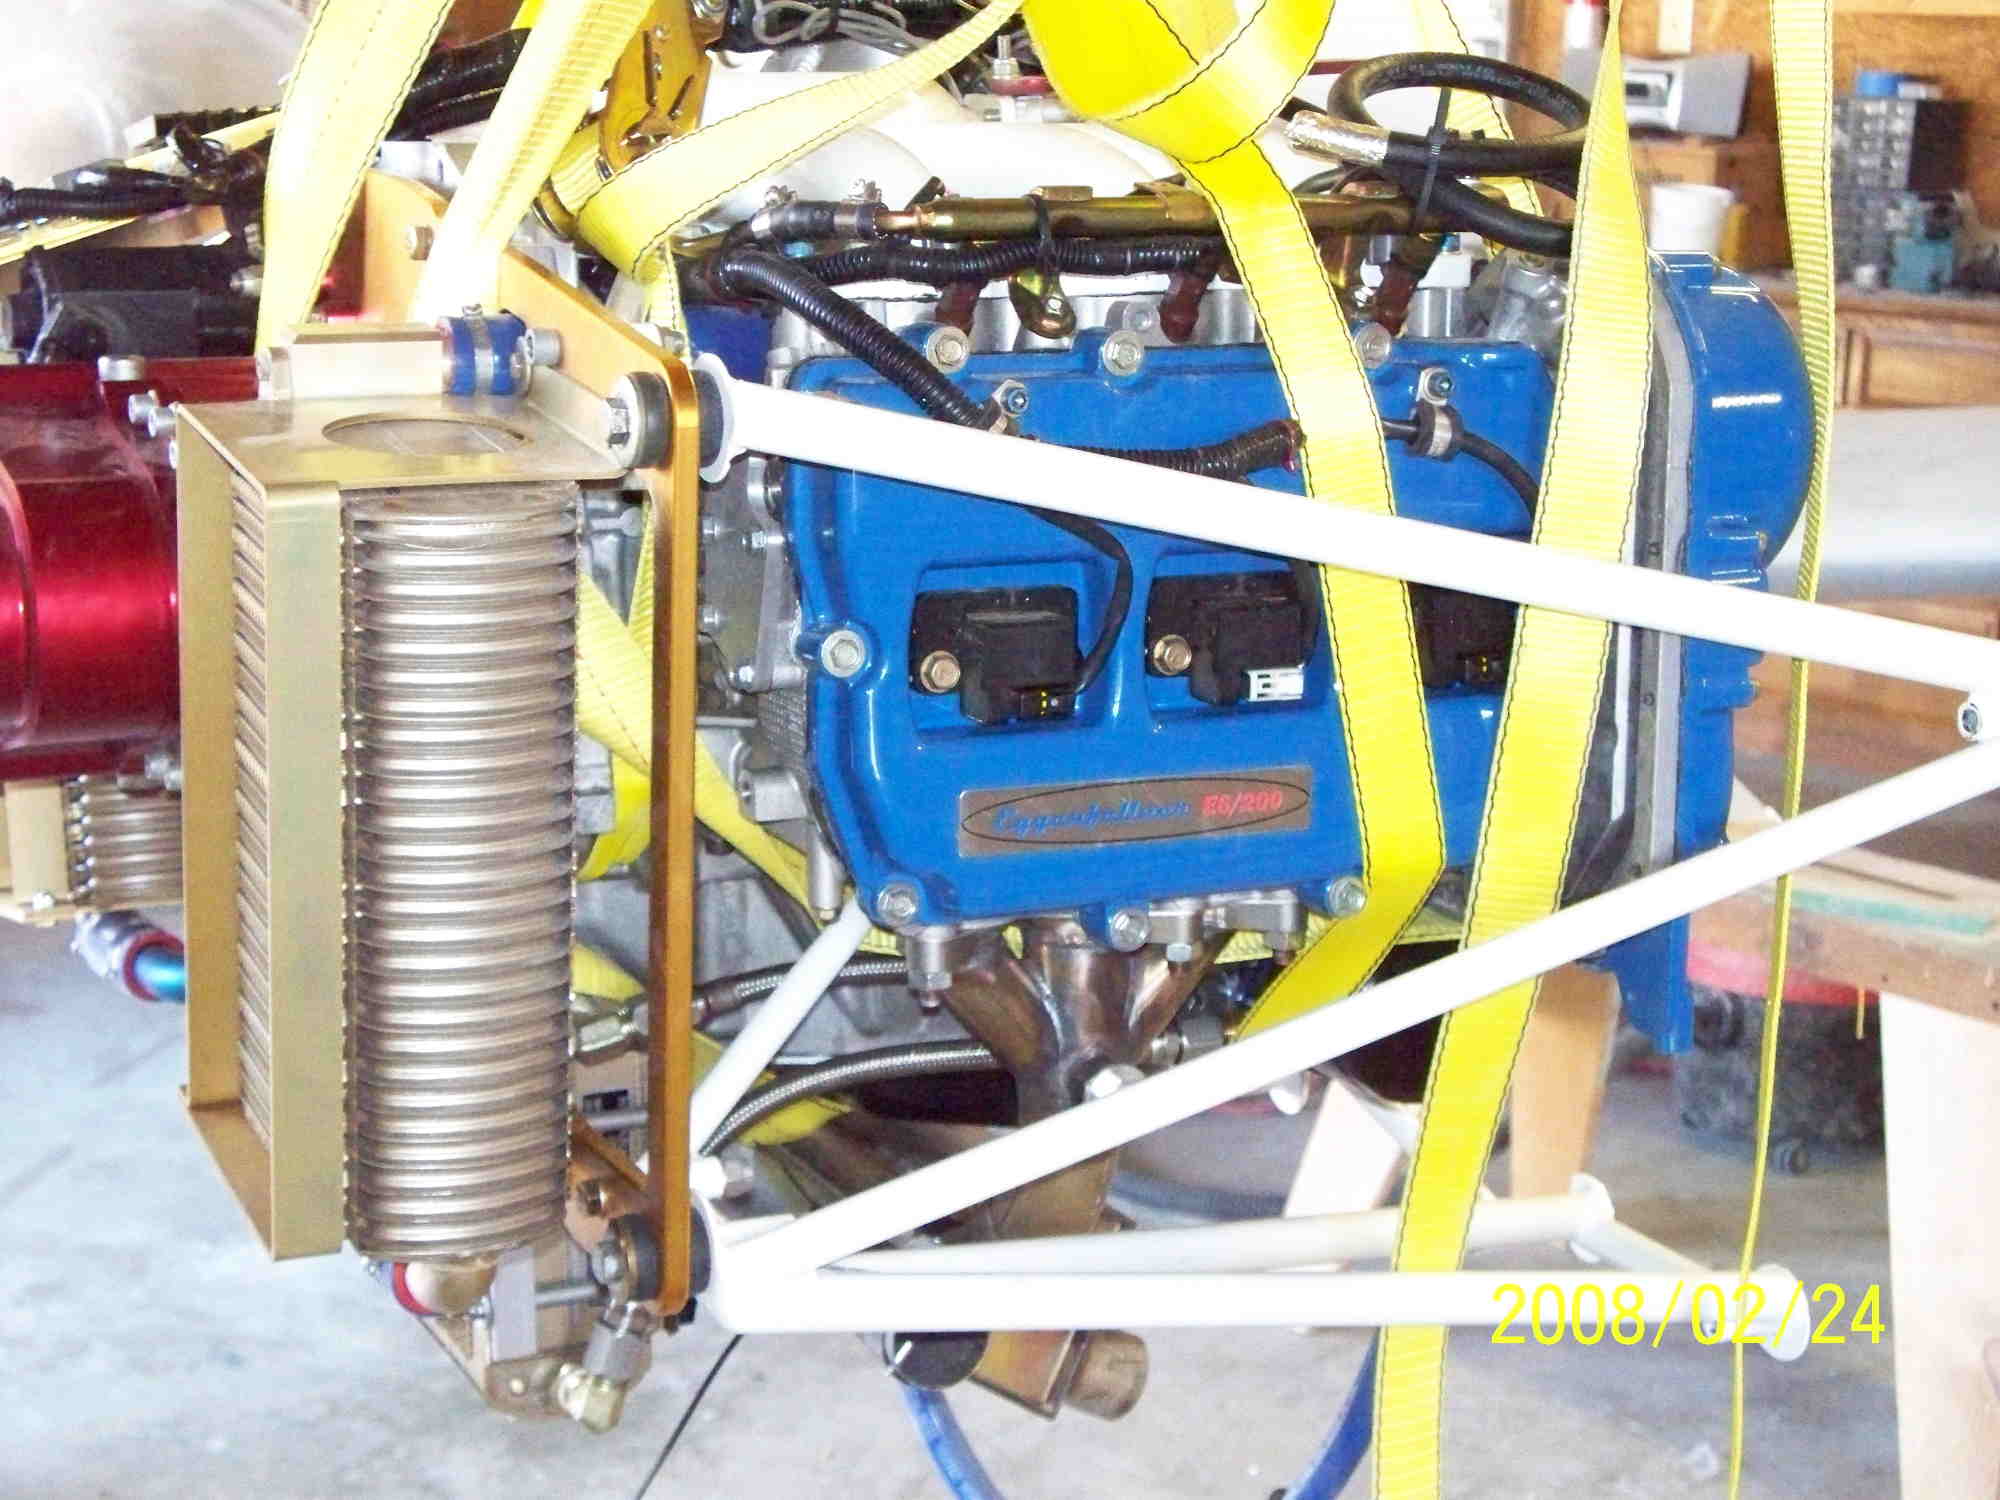
Now for the good part. Here are a few photos I took recently showing the great progress Tim has made on his project. We got together to work on mounting his new engine. The engine is an Eggenfellner Suburu E6/200 (http://www.eggenfellneraircraft.com/) and is really a good looking engine that is a complete turnkey package.
Everything is premounted on the engine including the water cooling and oil cooling system. All wiring is already done as is the plumbing for fuel and oil systems. Talk about removing all the fun parts.
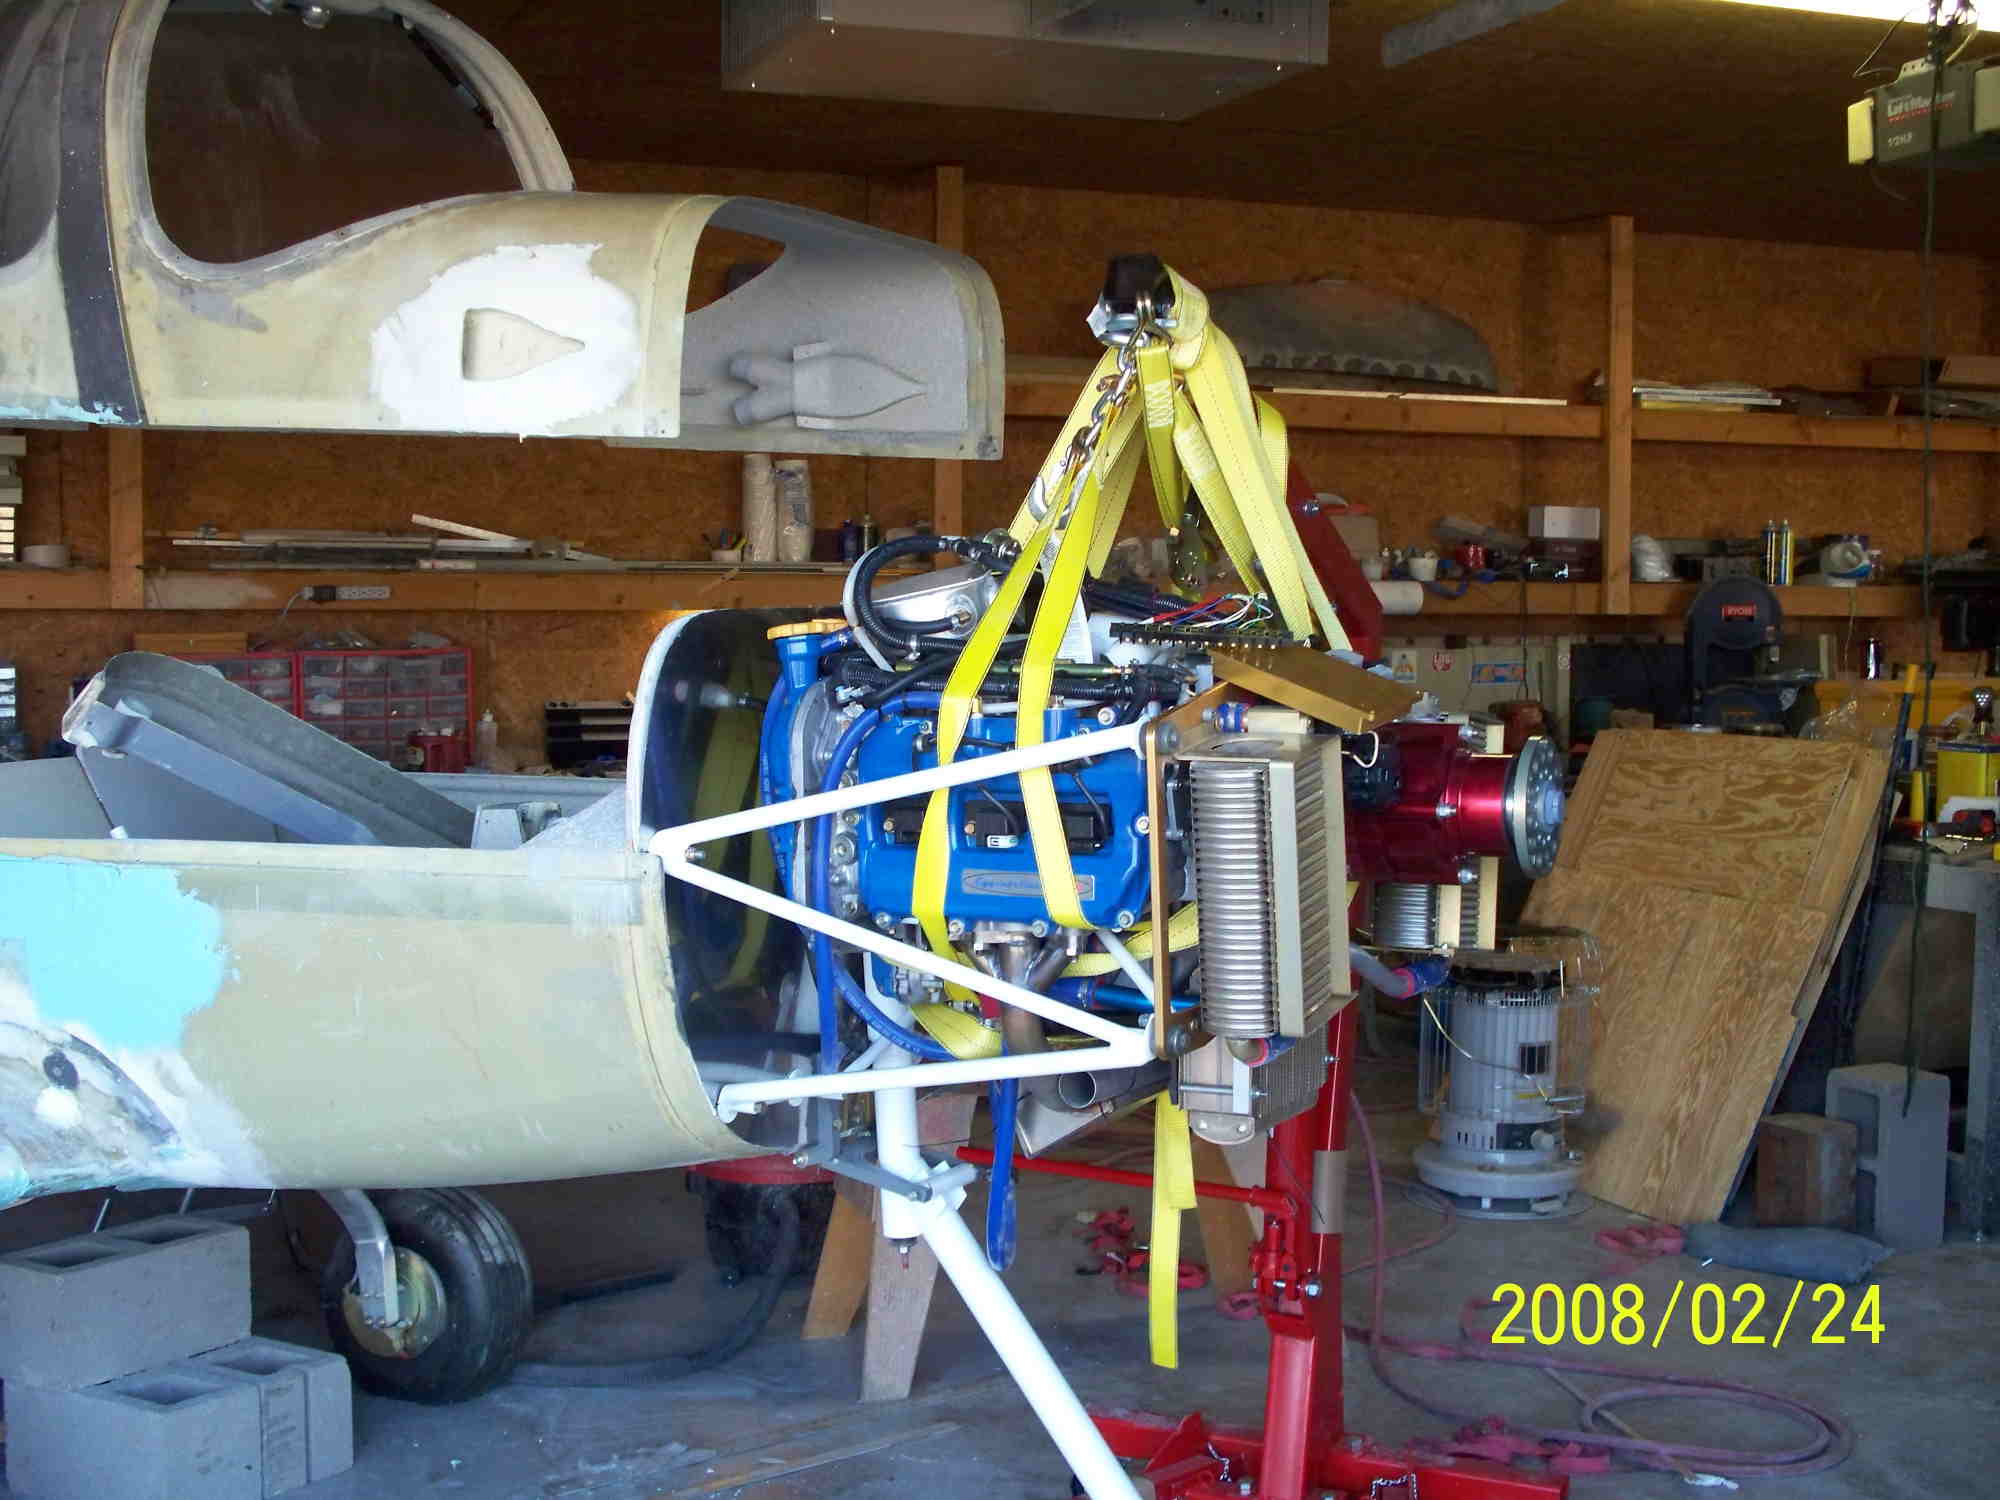
It really is a great looking package. The engine is premounted to the mounting frame and you basically need only to position it on the firewall, drill the mounting holes and bolt it in place.

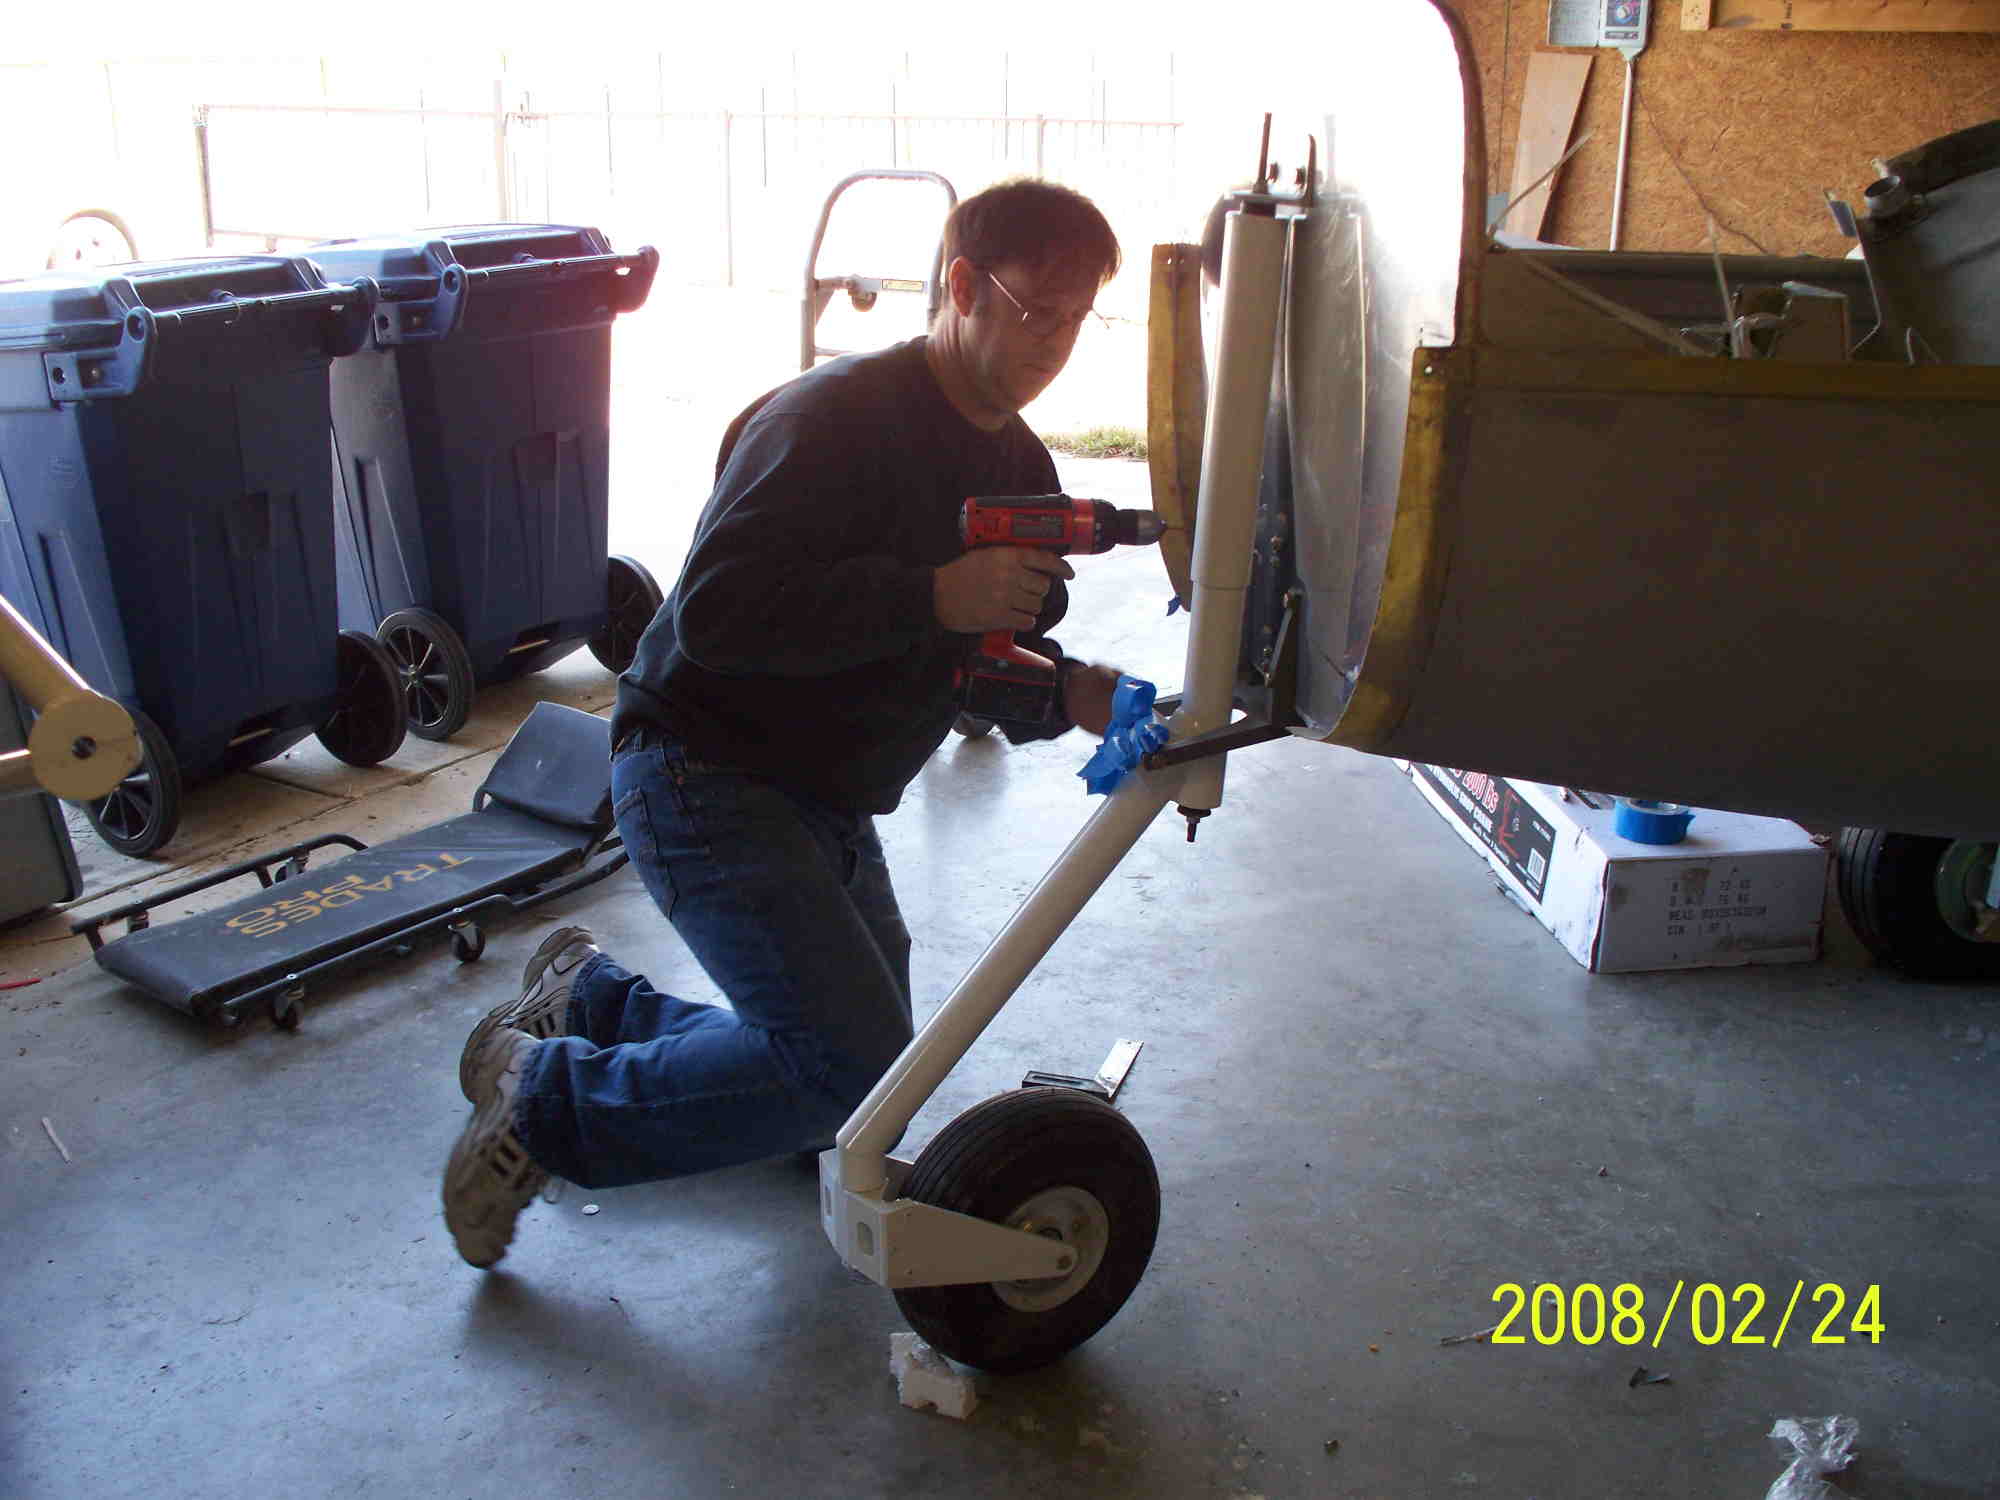
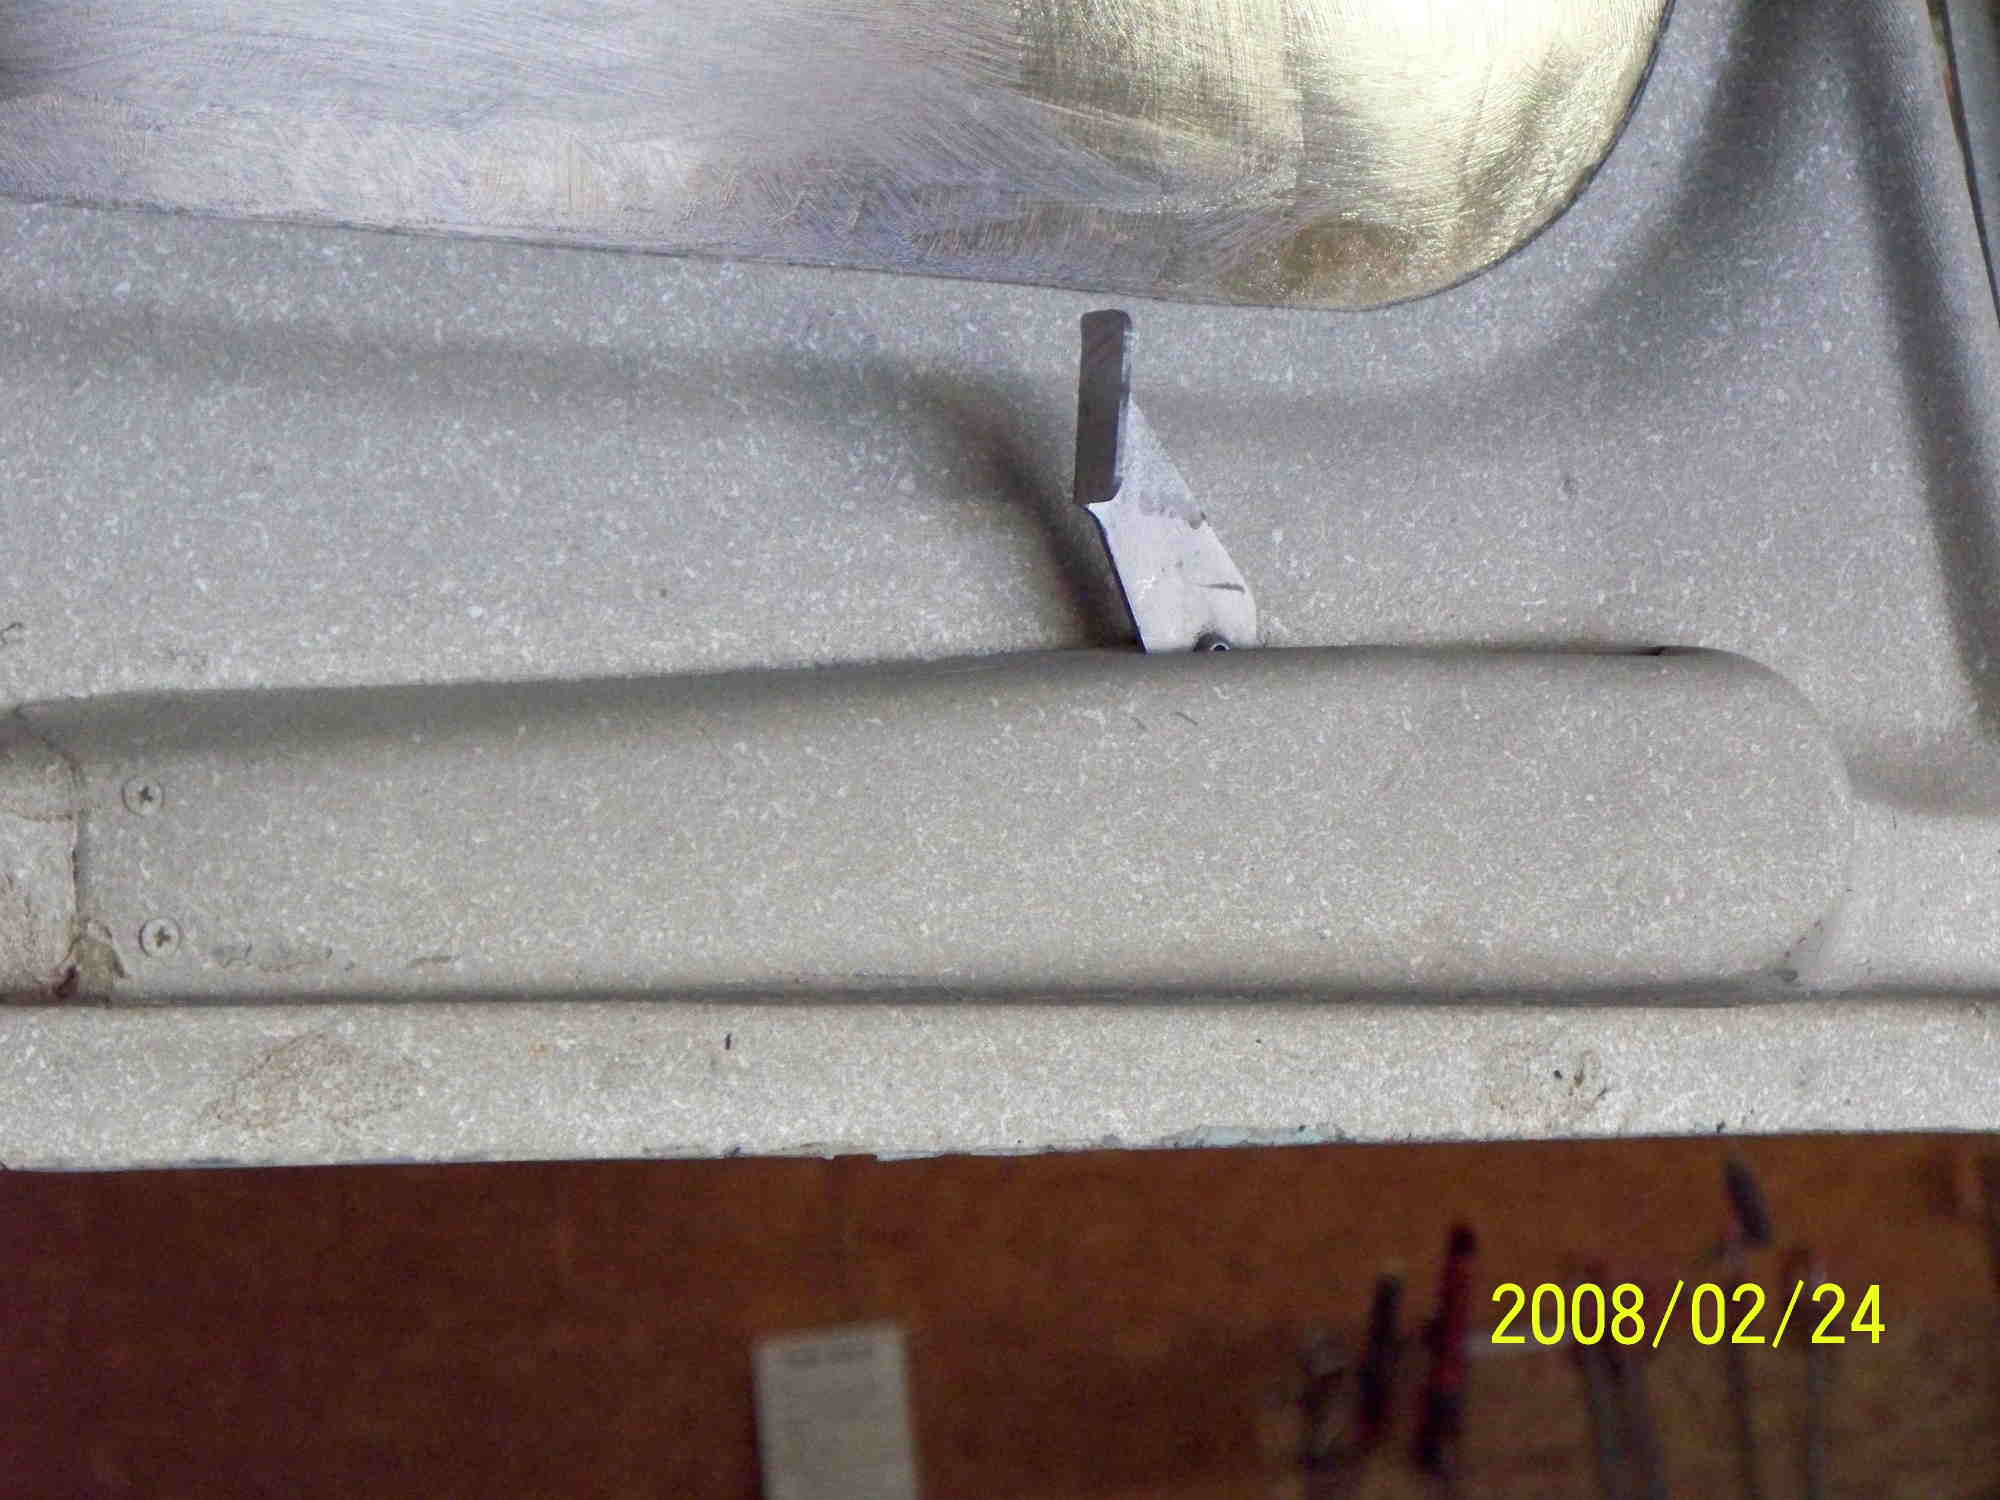
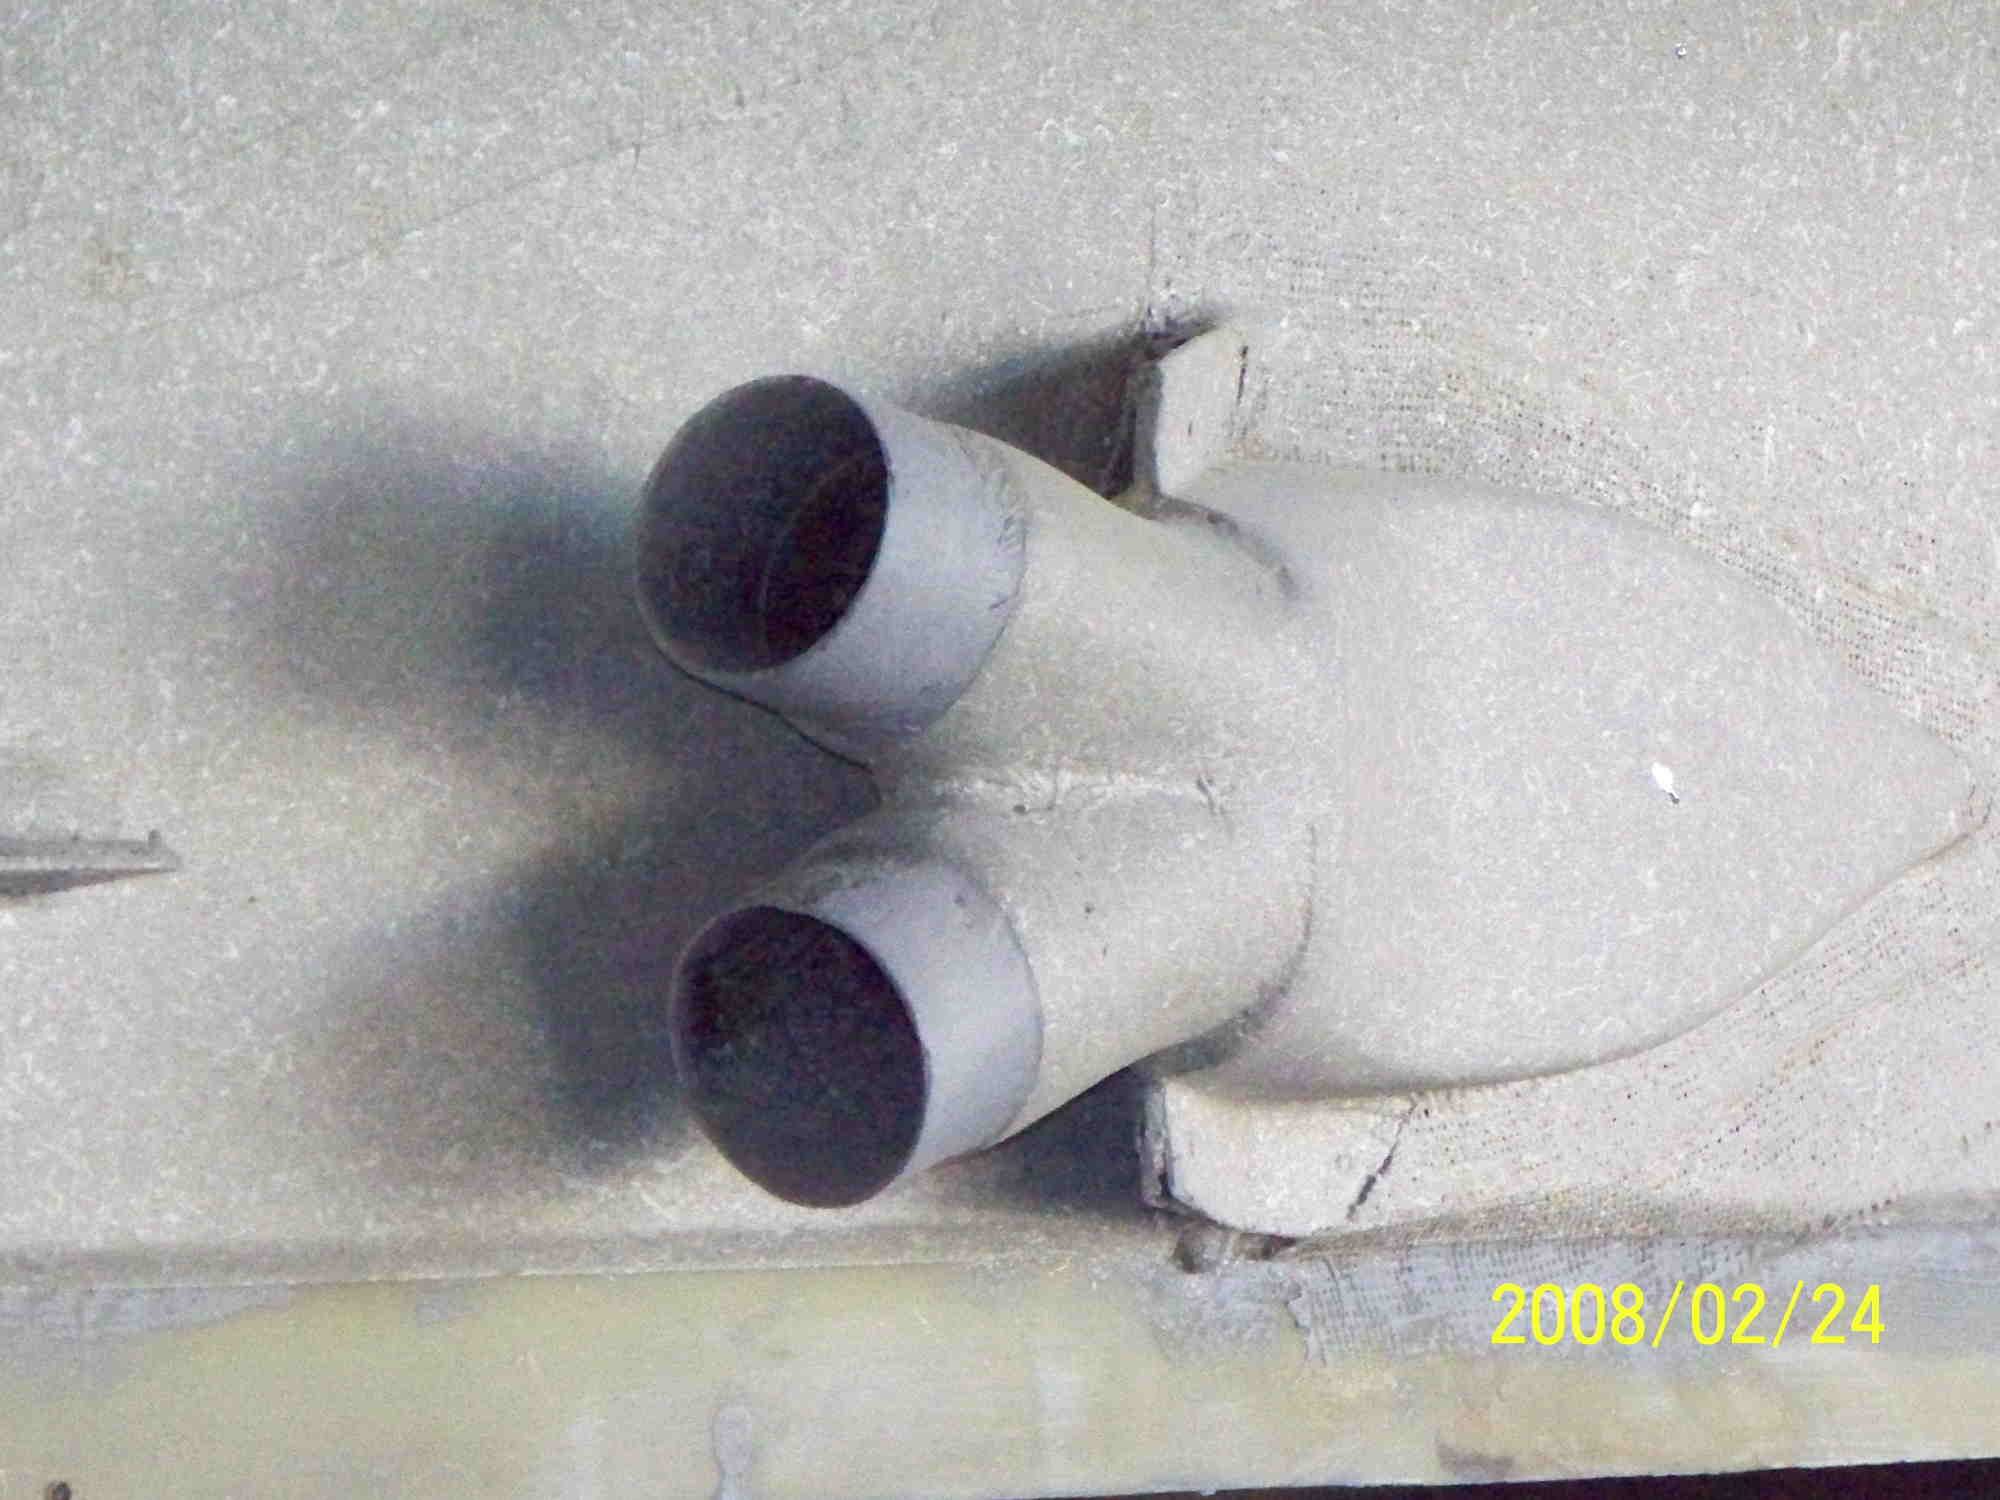
However, don't every believe that Murphy of Murphys Law Fame is ever far from view. Turns out that a lower cross brace and the Nose Gear had a minor conflict. Never to be outdone, we found a hacksaw, performed a little minory surgery and everything worked out OK. The clearance is close but its going to work out great. It will still need some fine tuning but it looks like a good fit.
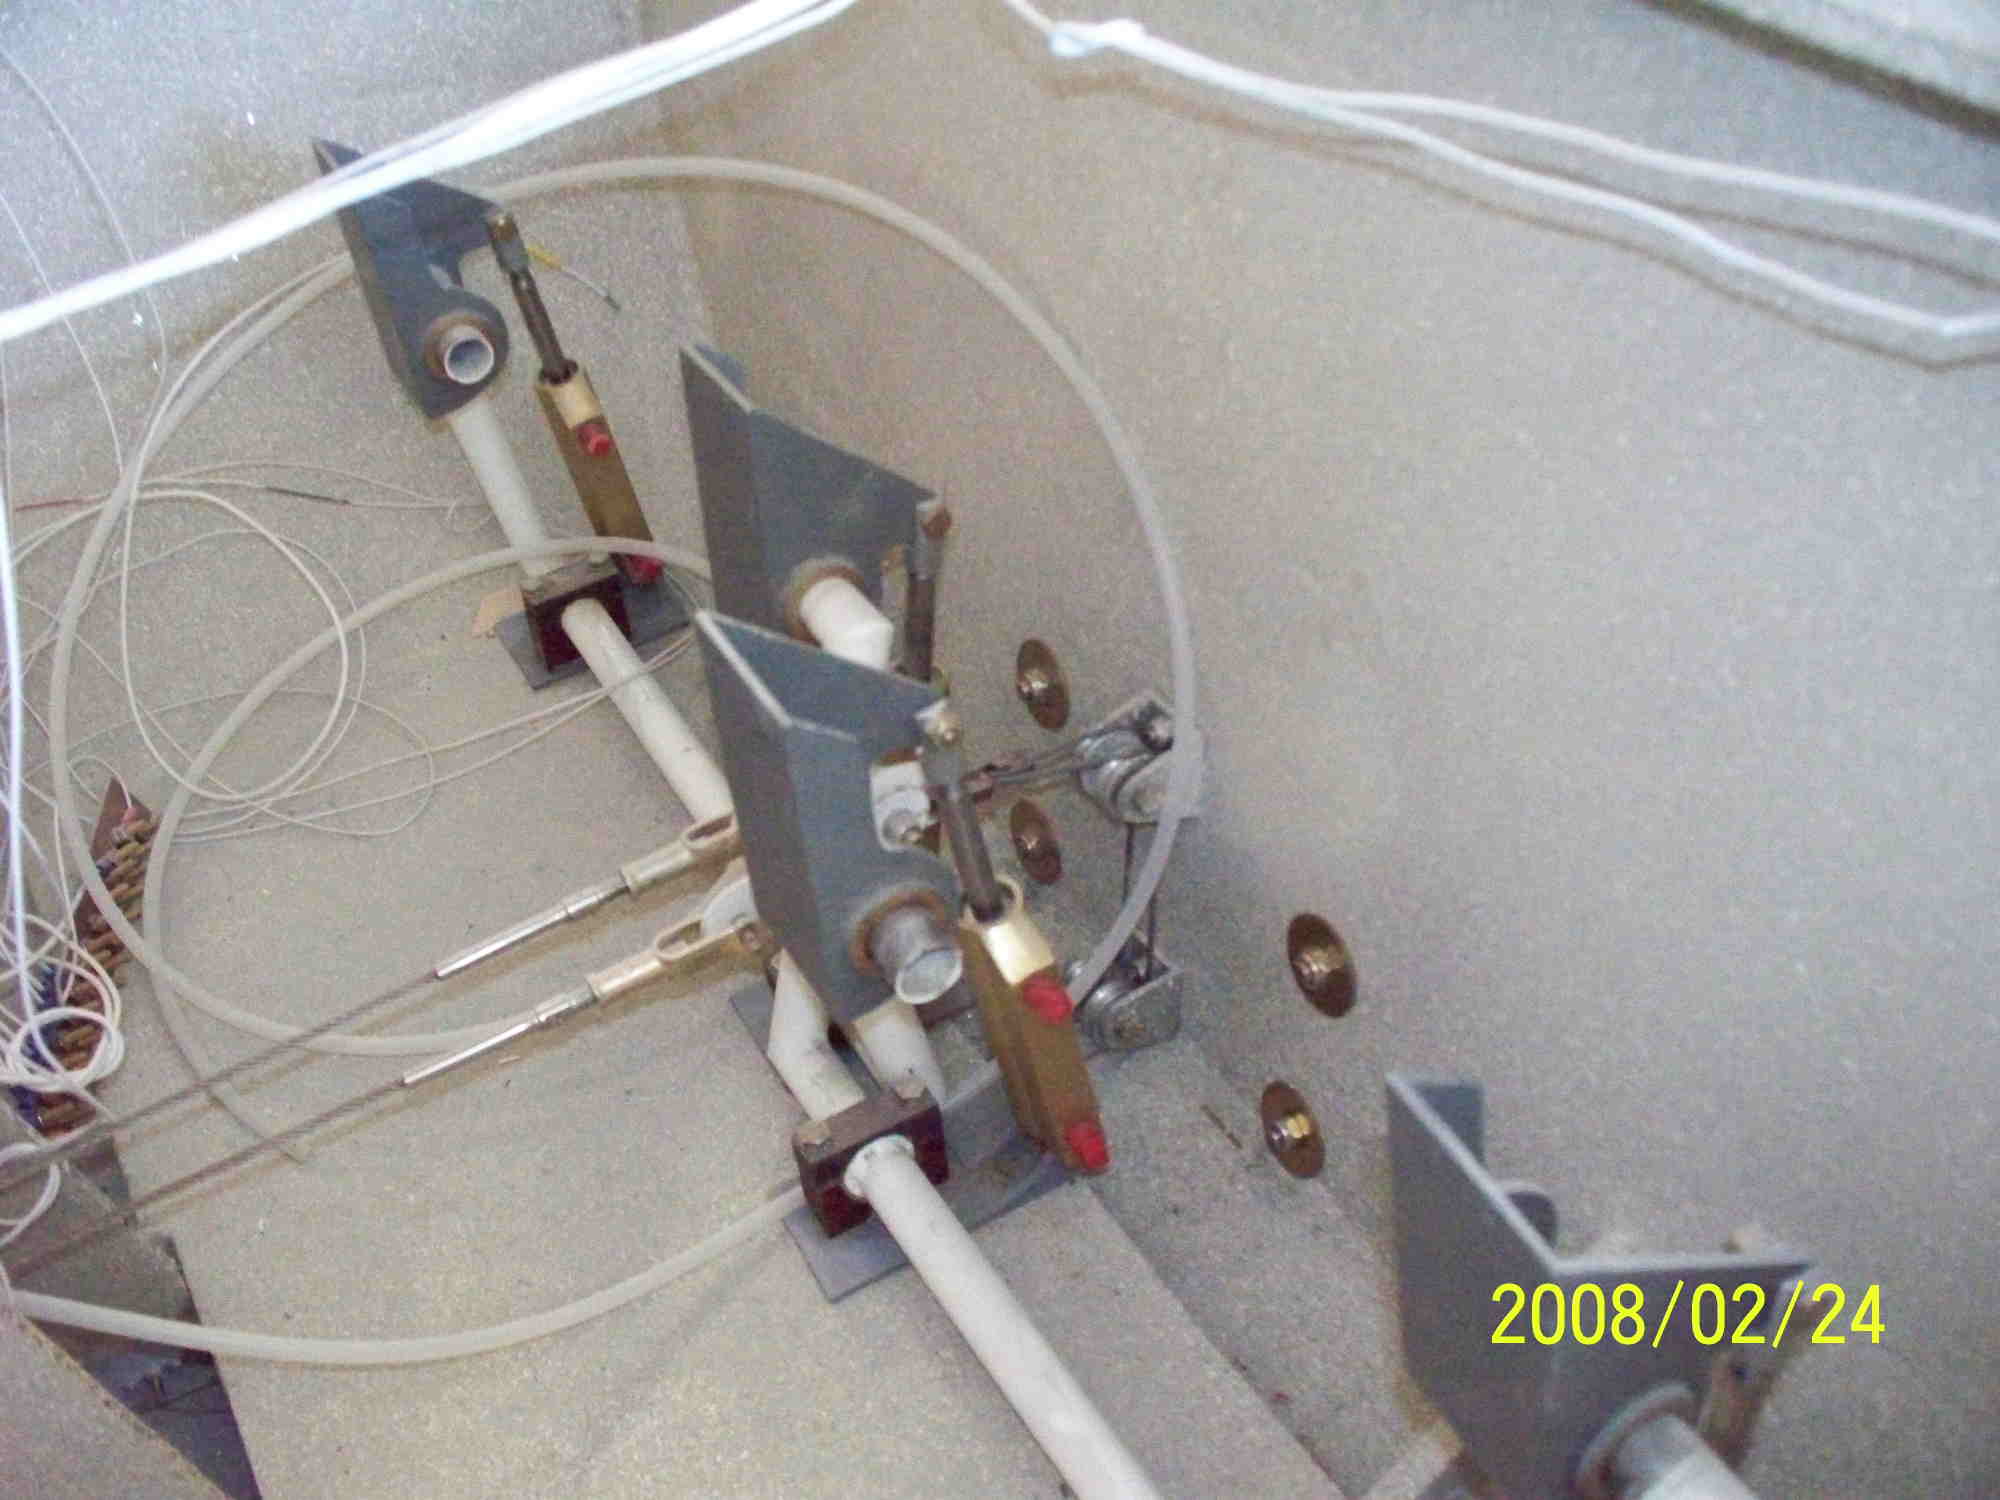
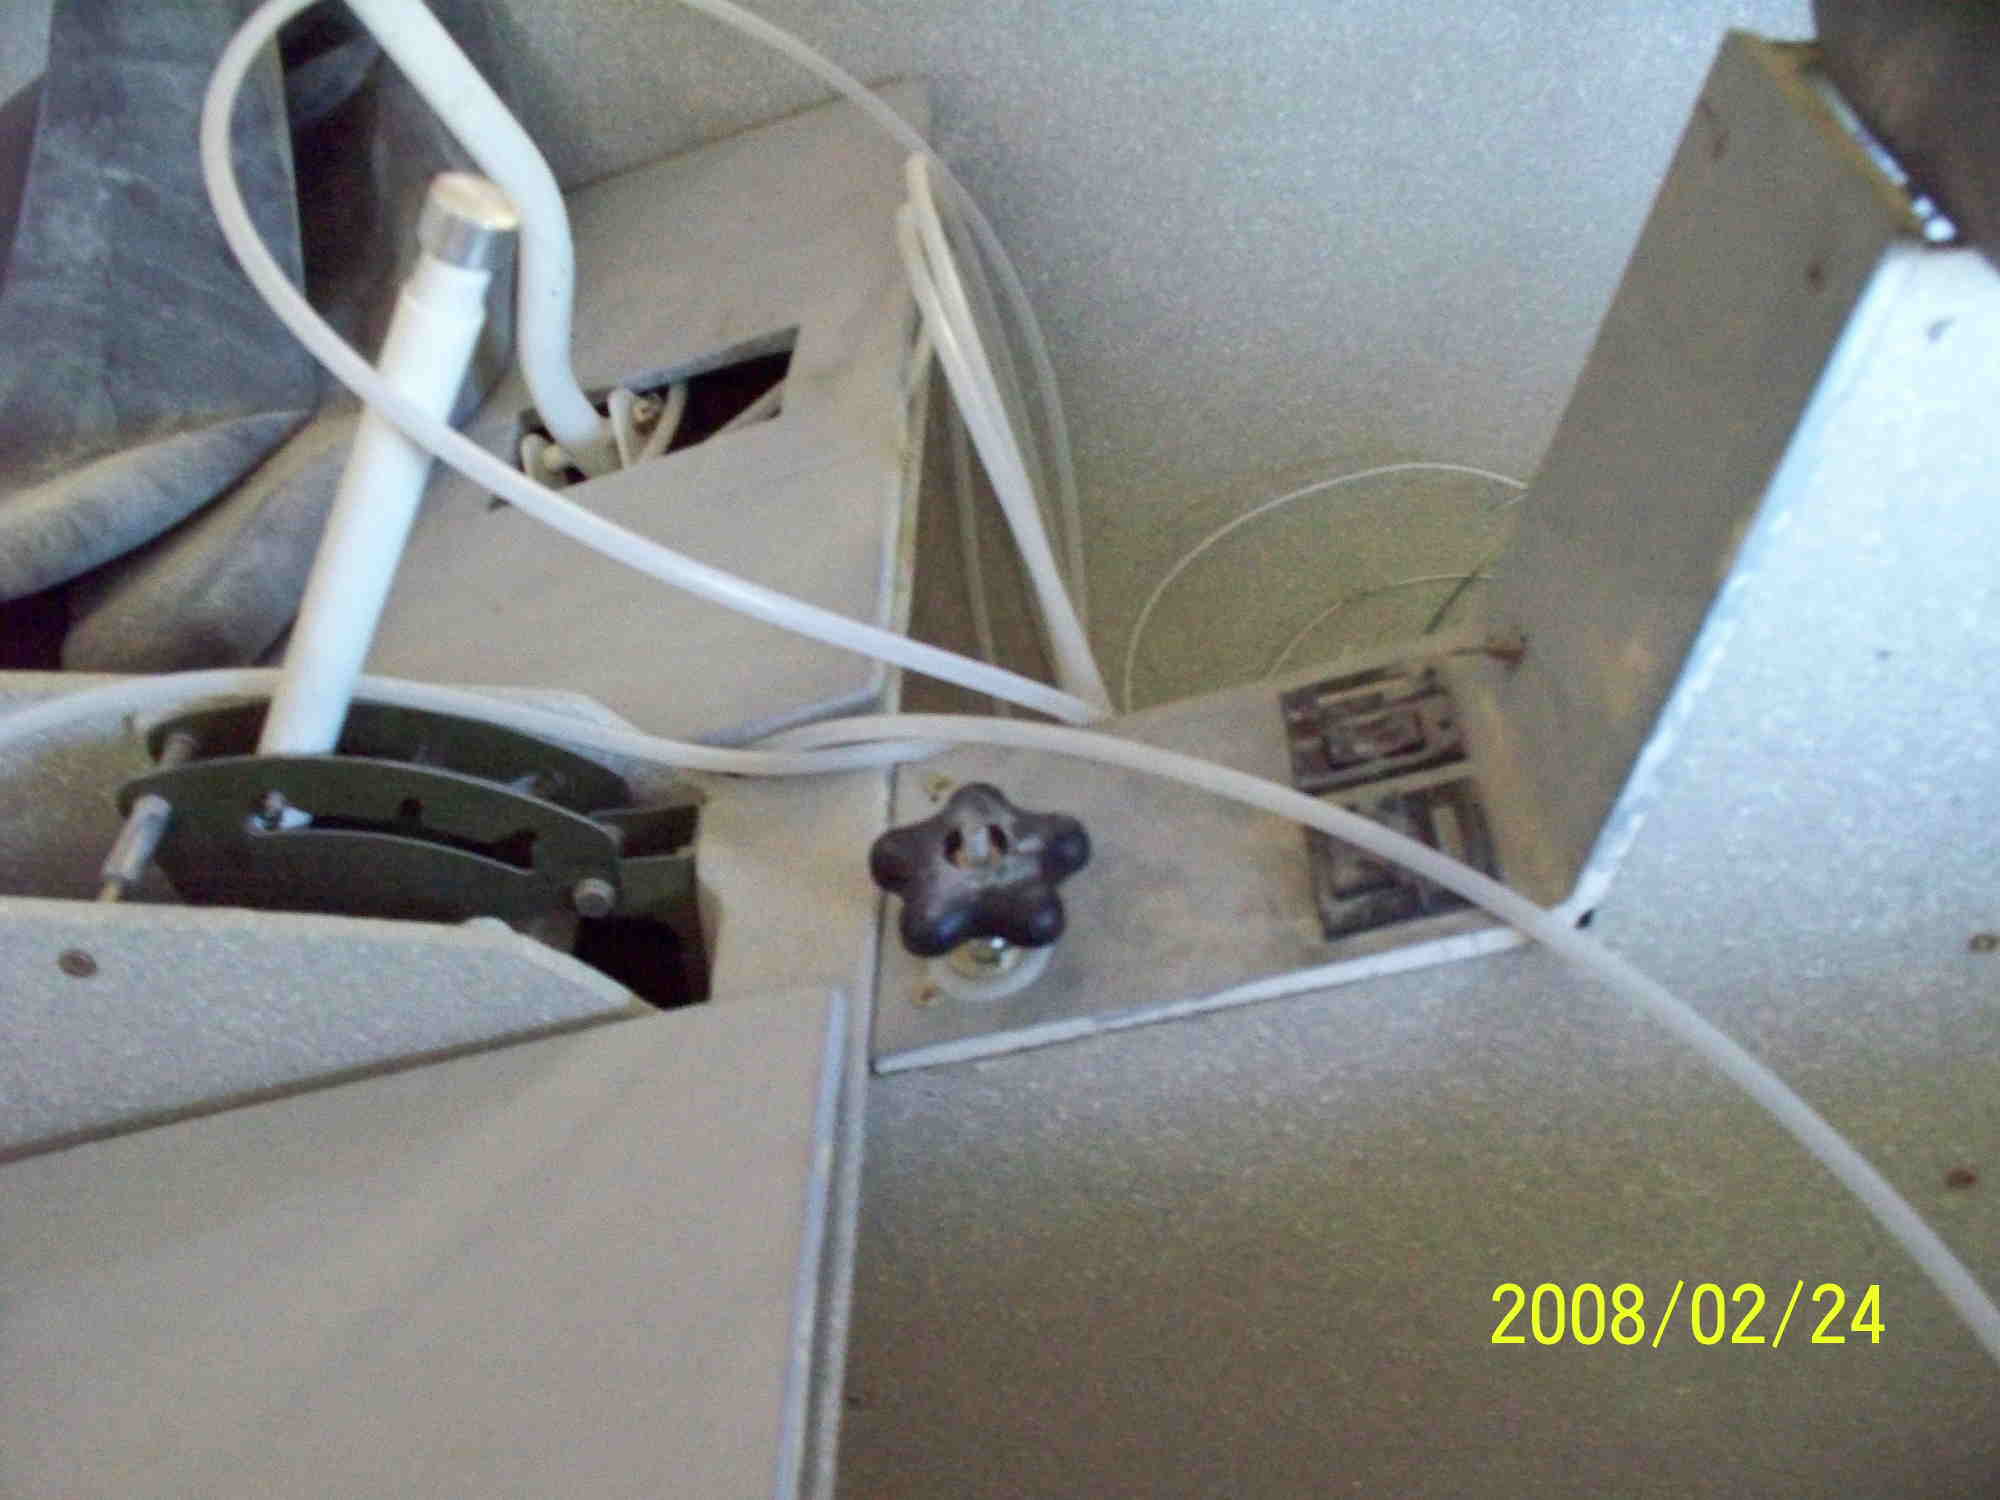
Now for a few of Tim's enhancements of note. What looks like a neat rudder return system shown above is actually part of Tim's ruder trim system. The star shaped knob on the center console is also part of the rudder trim system. Turning one way adjusts the tension on one side of the rudder and twisting the opposite adjust to the opposite direction.
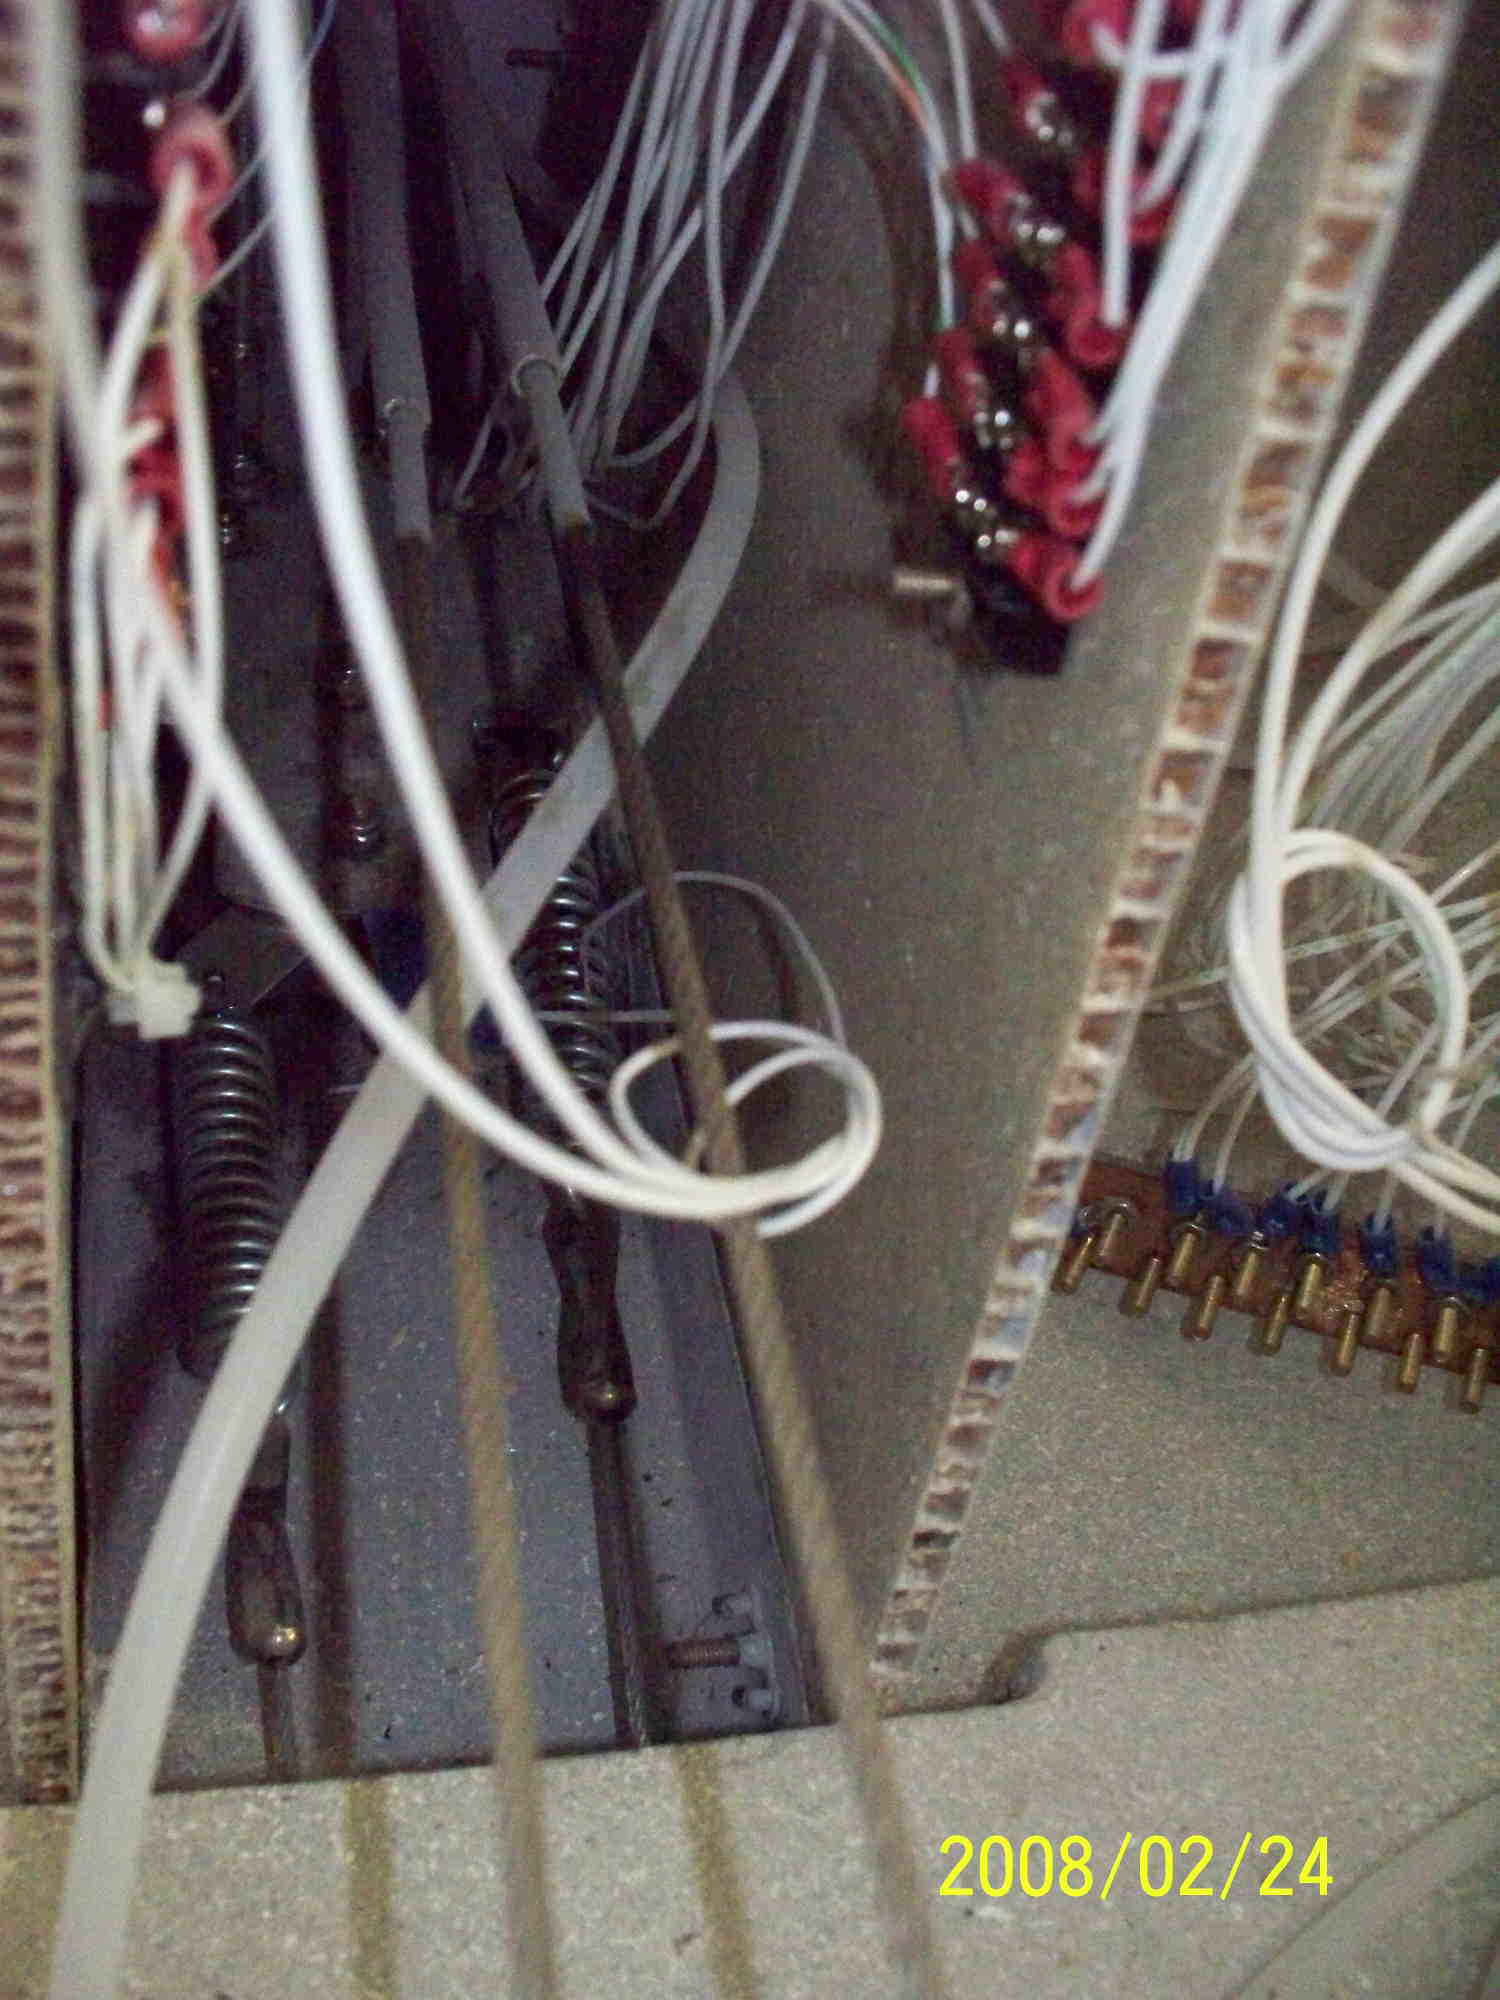
The photo on the left shows the springs inside the console that keep tension on the rudder pedals. The control shifts the position of the springs to adjust the pedal position and in turn trim out the rudder. The other photo shows a very clean and painted interior ready for a lot of things yet to be attached.
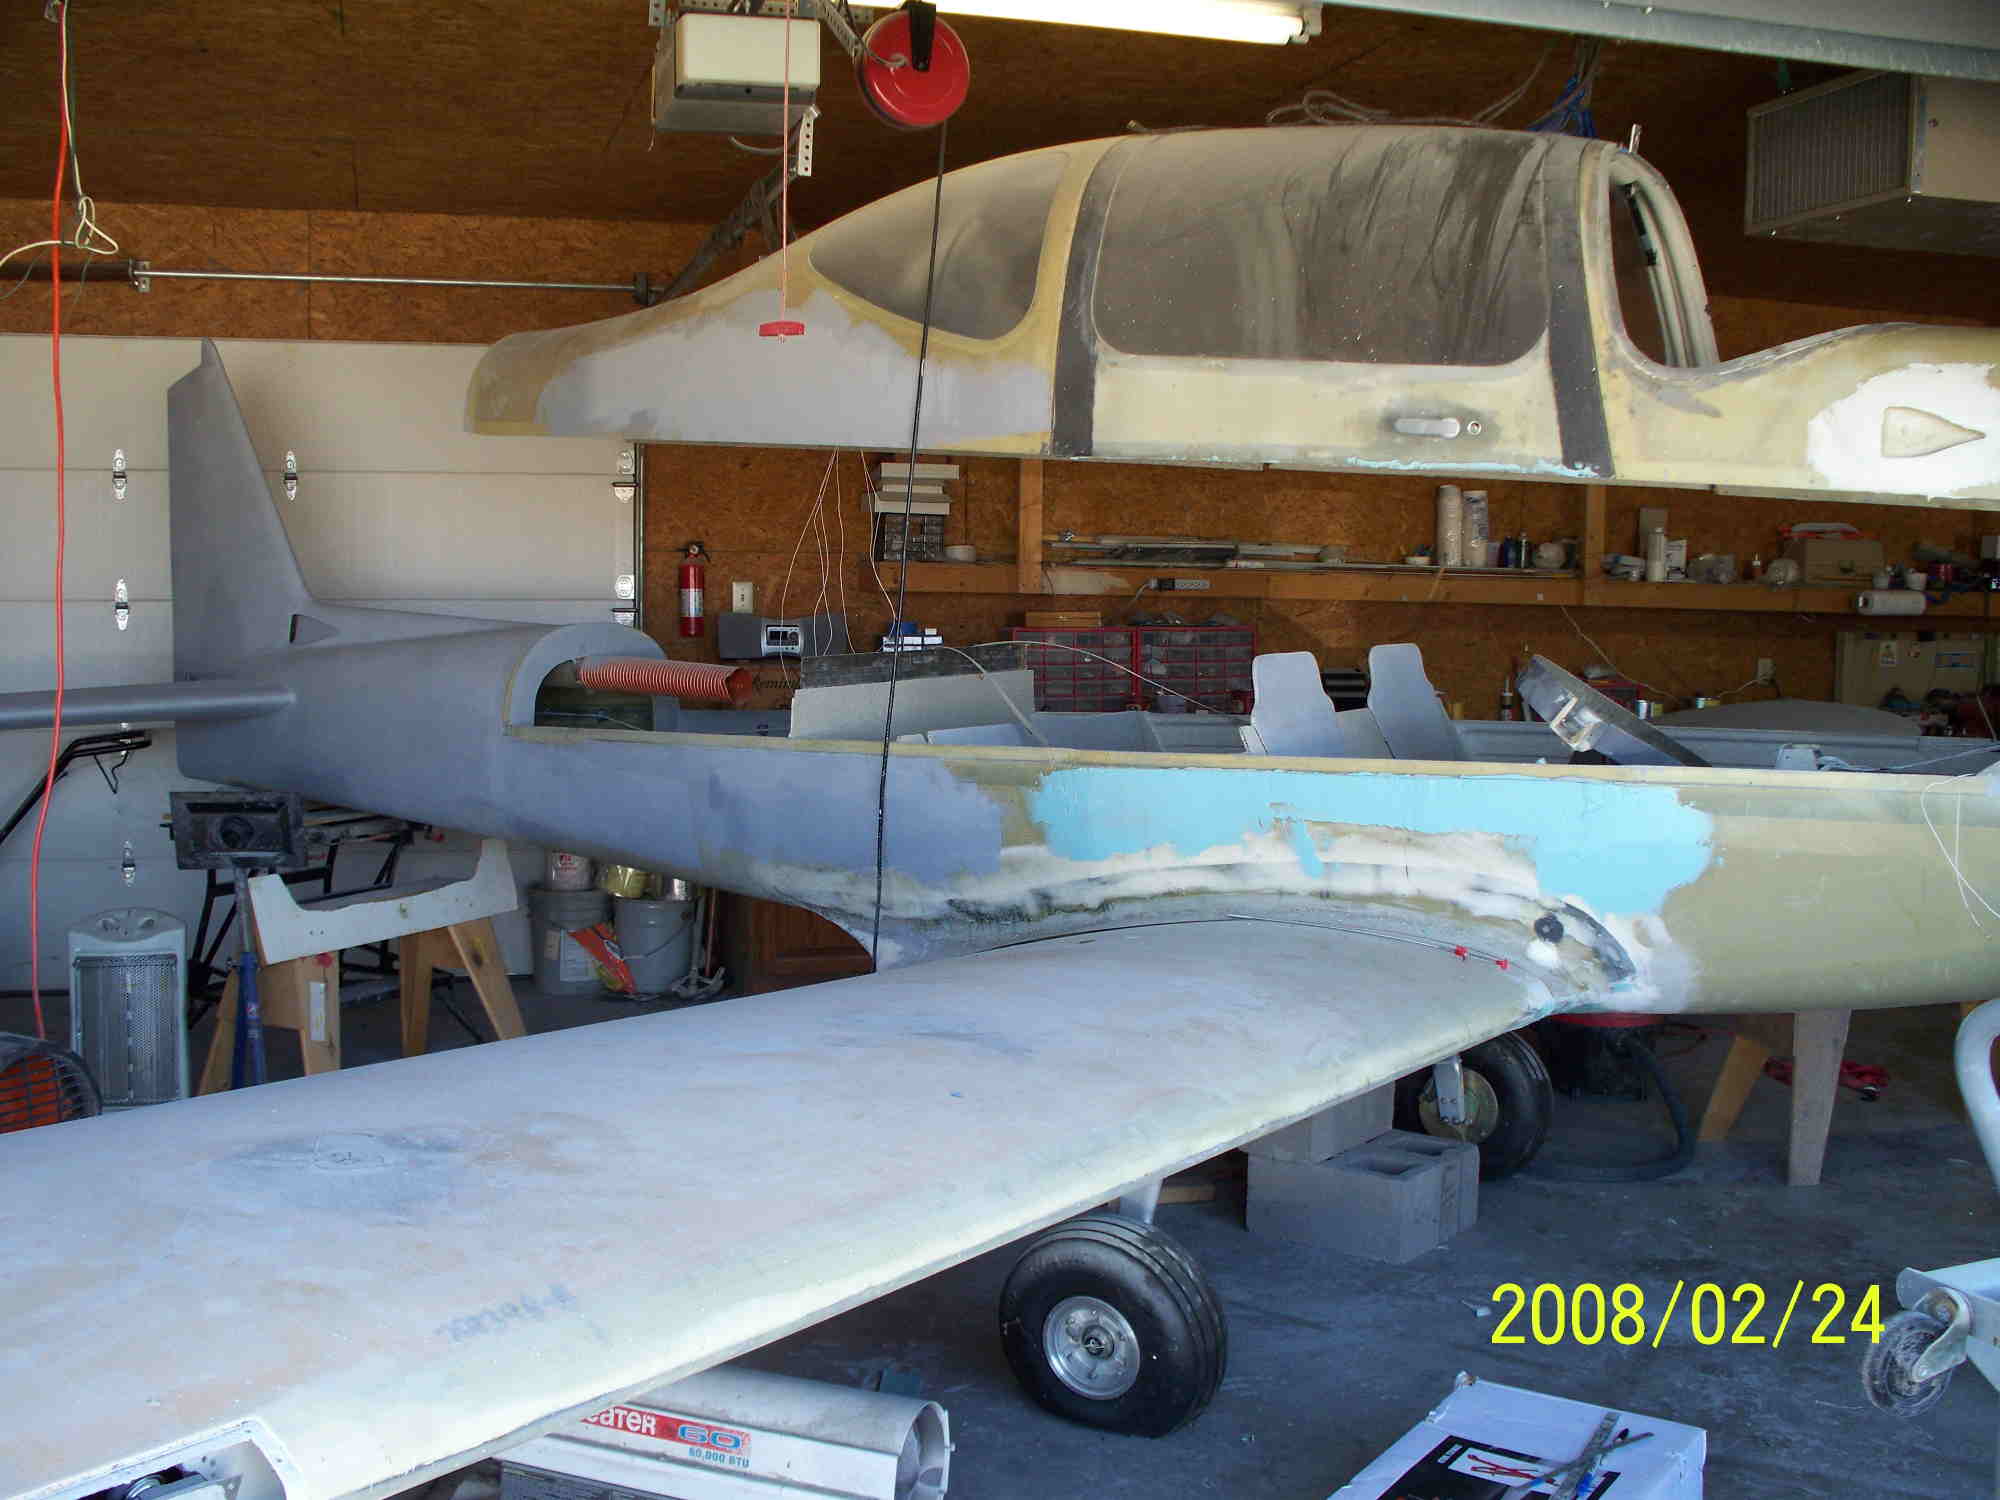
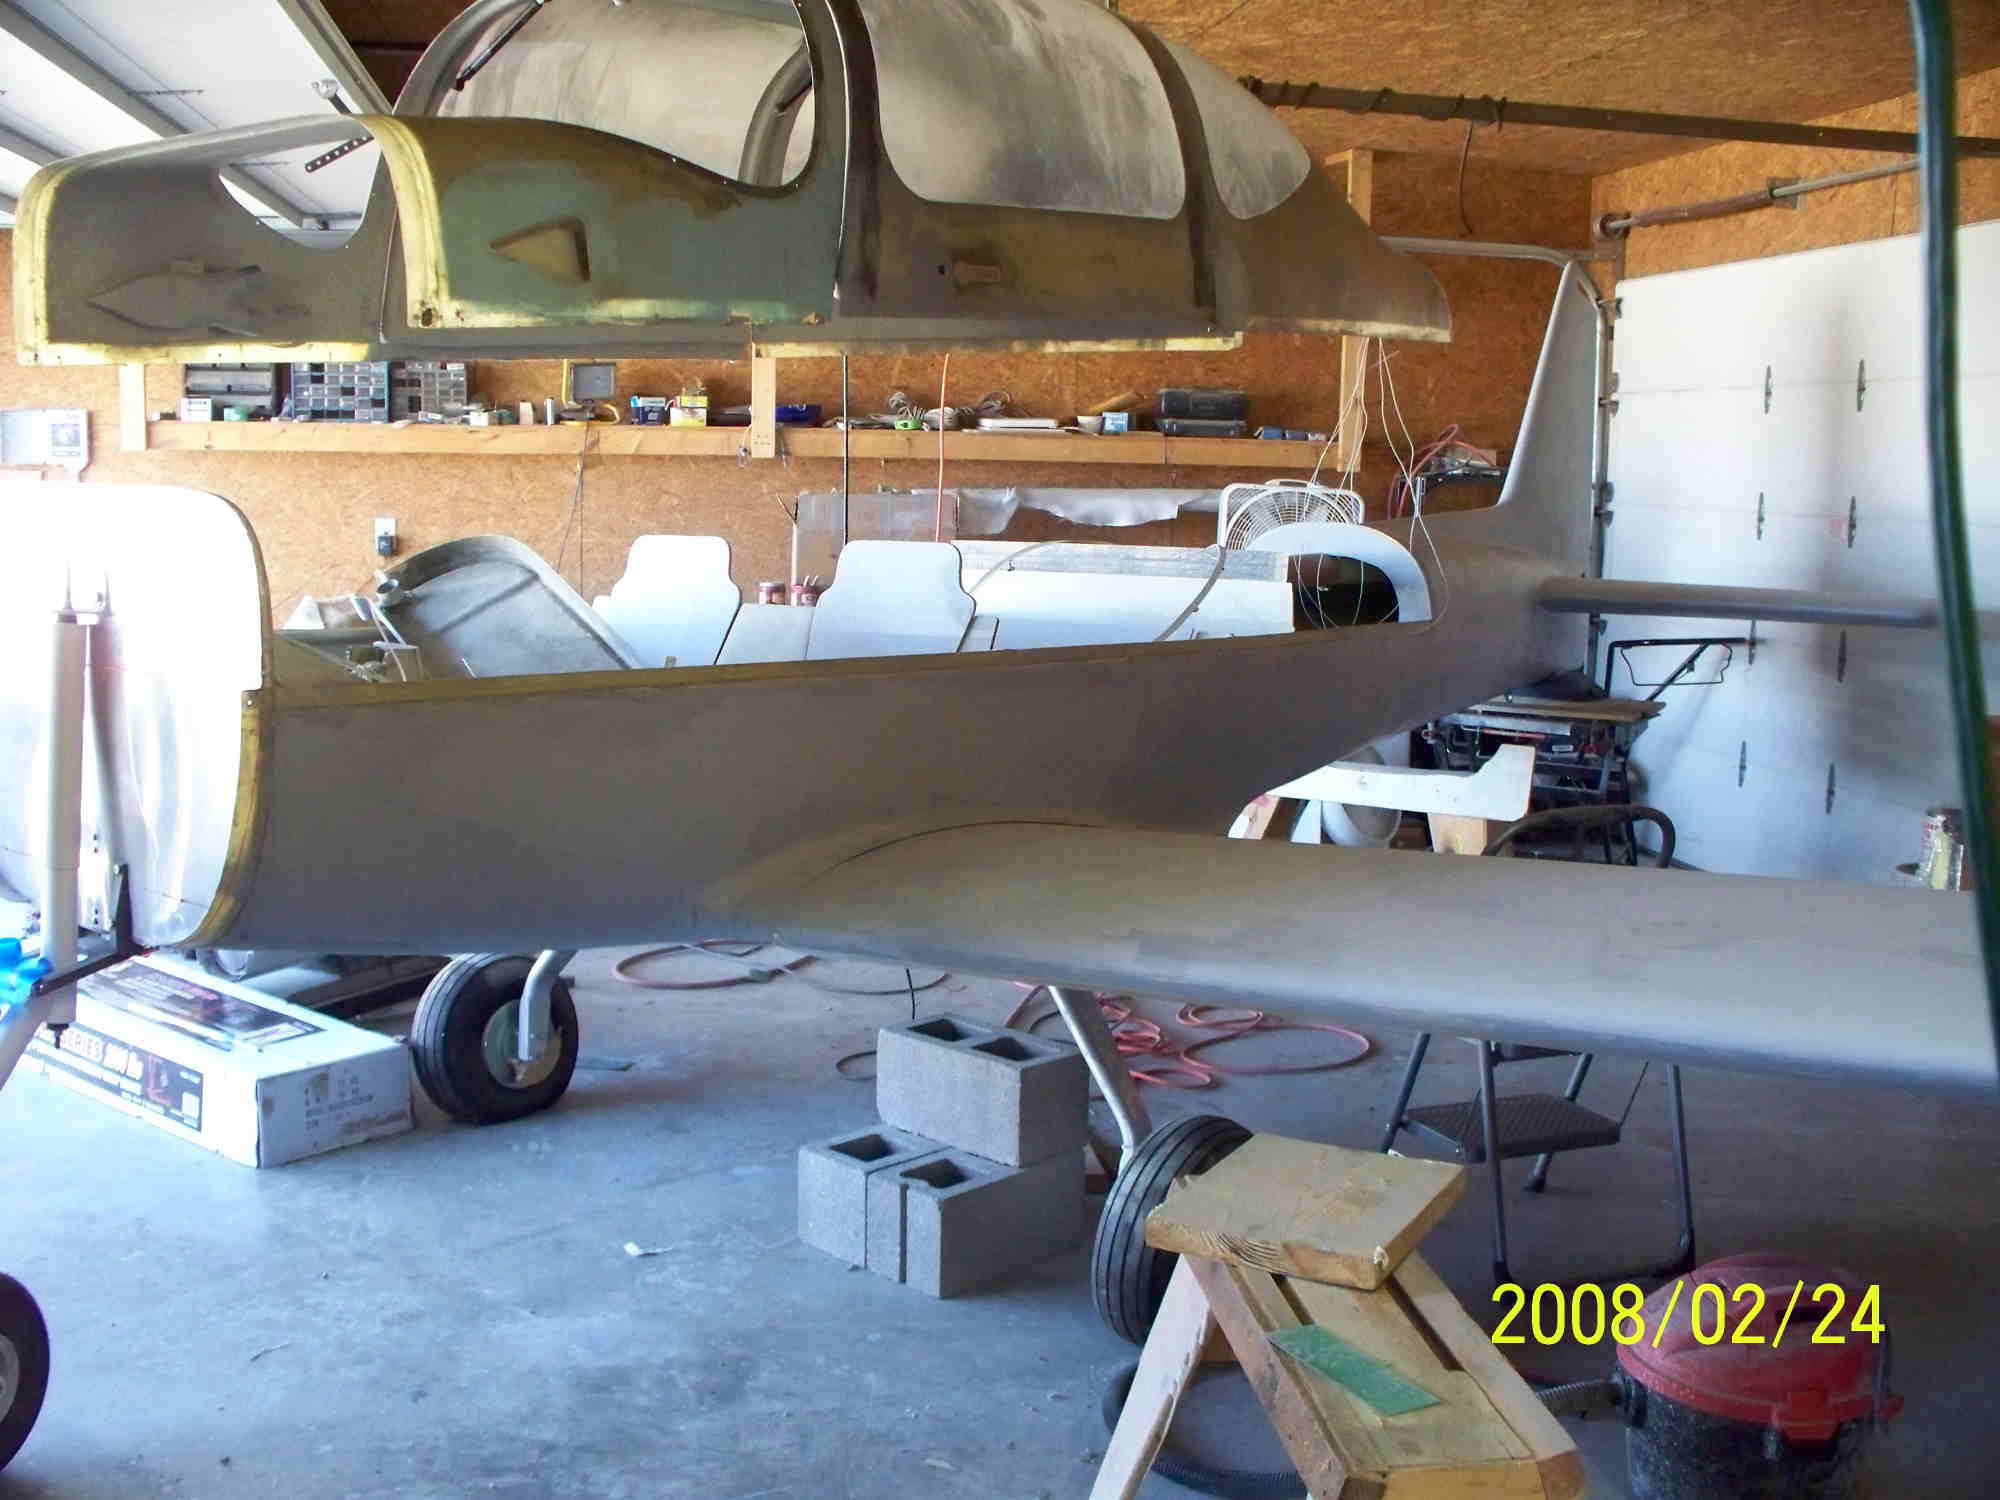
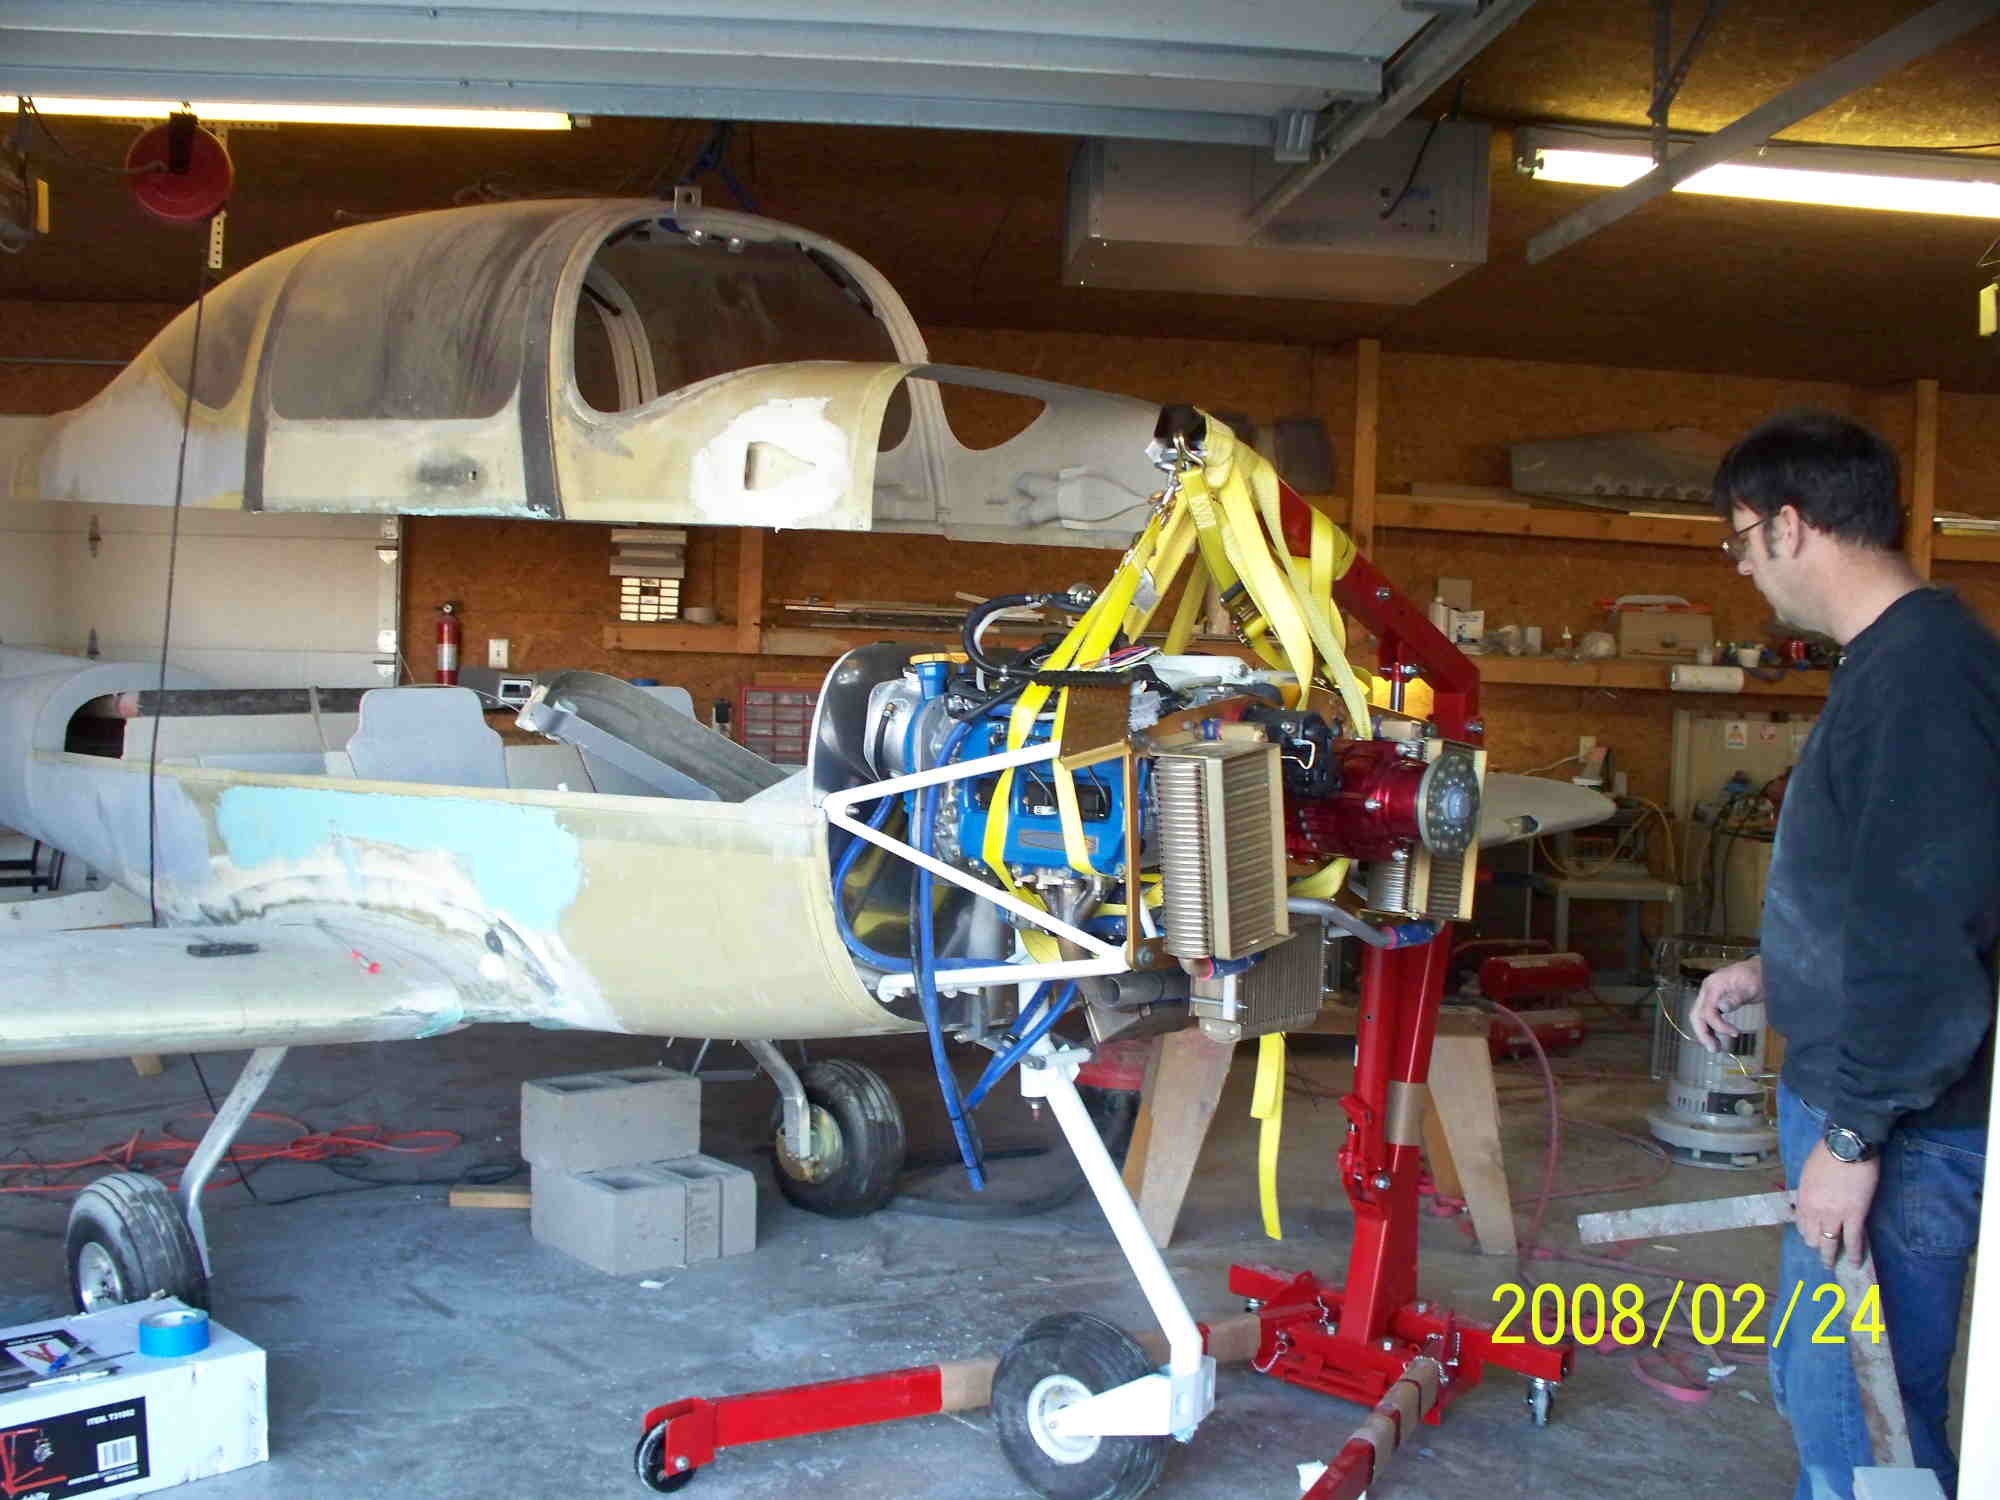
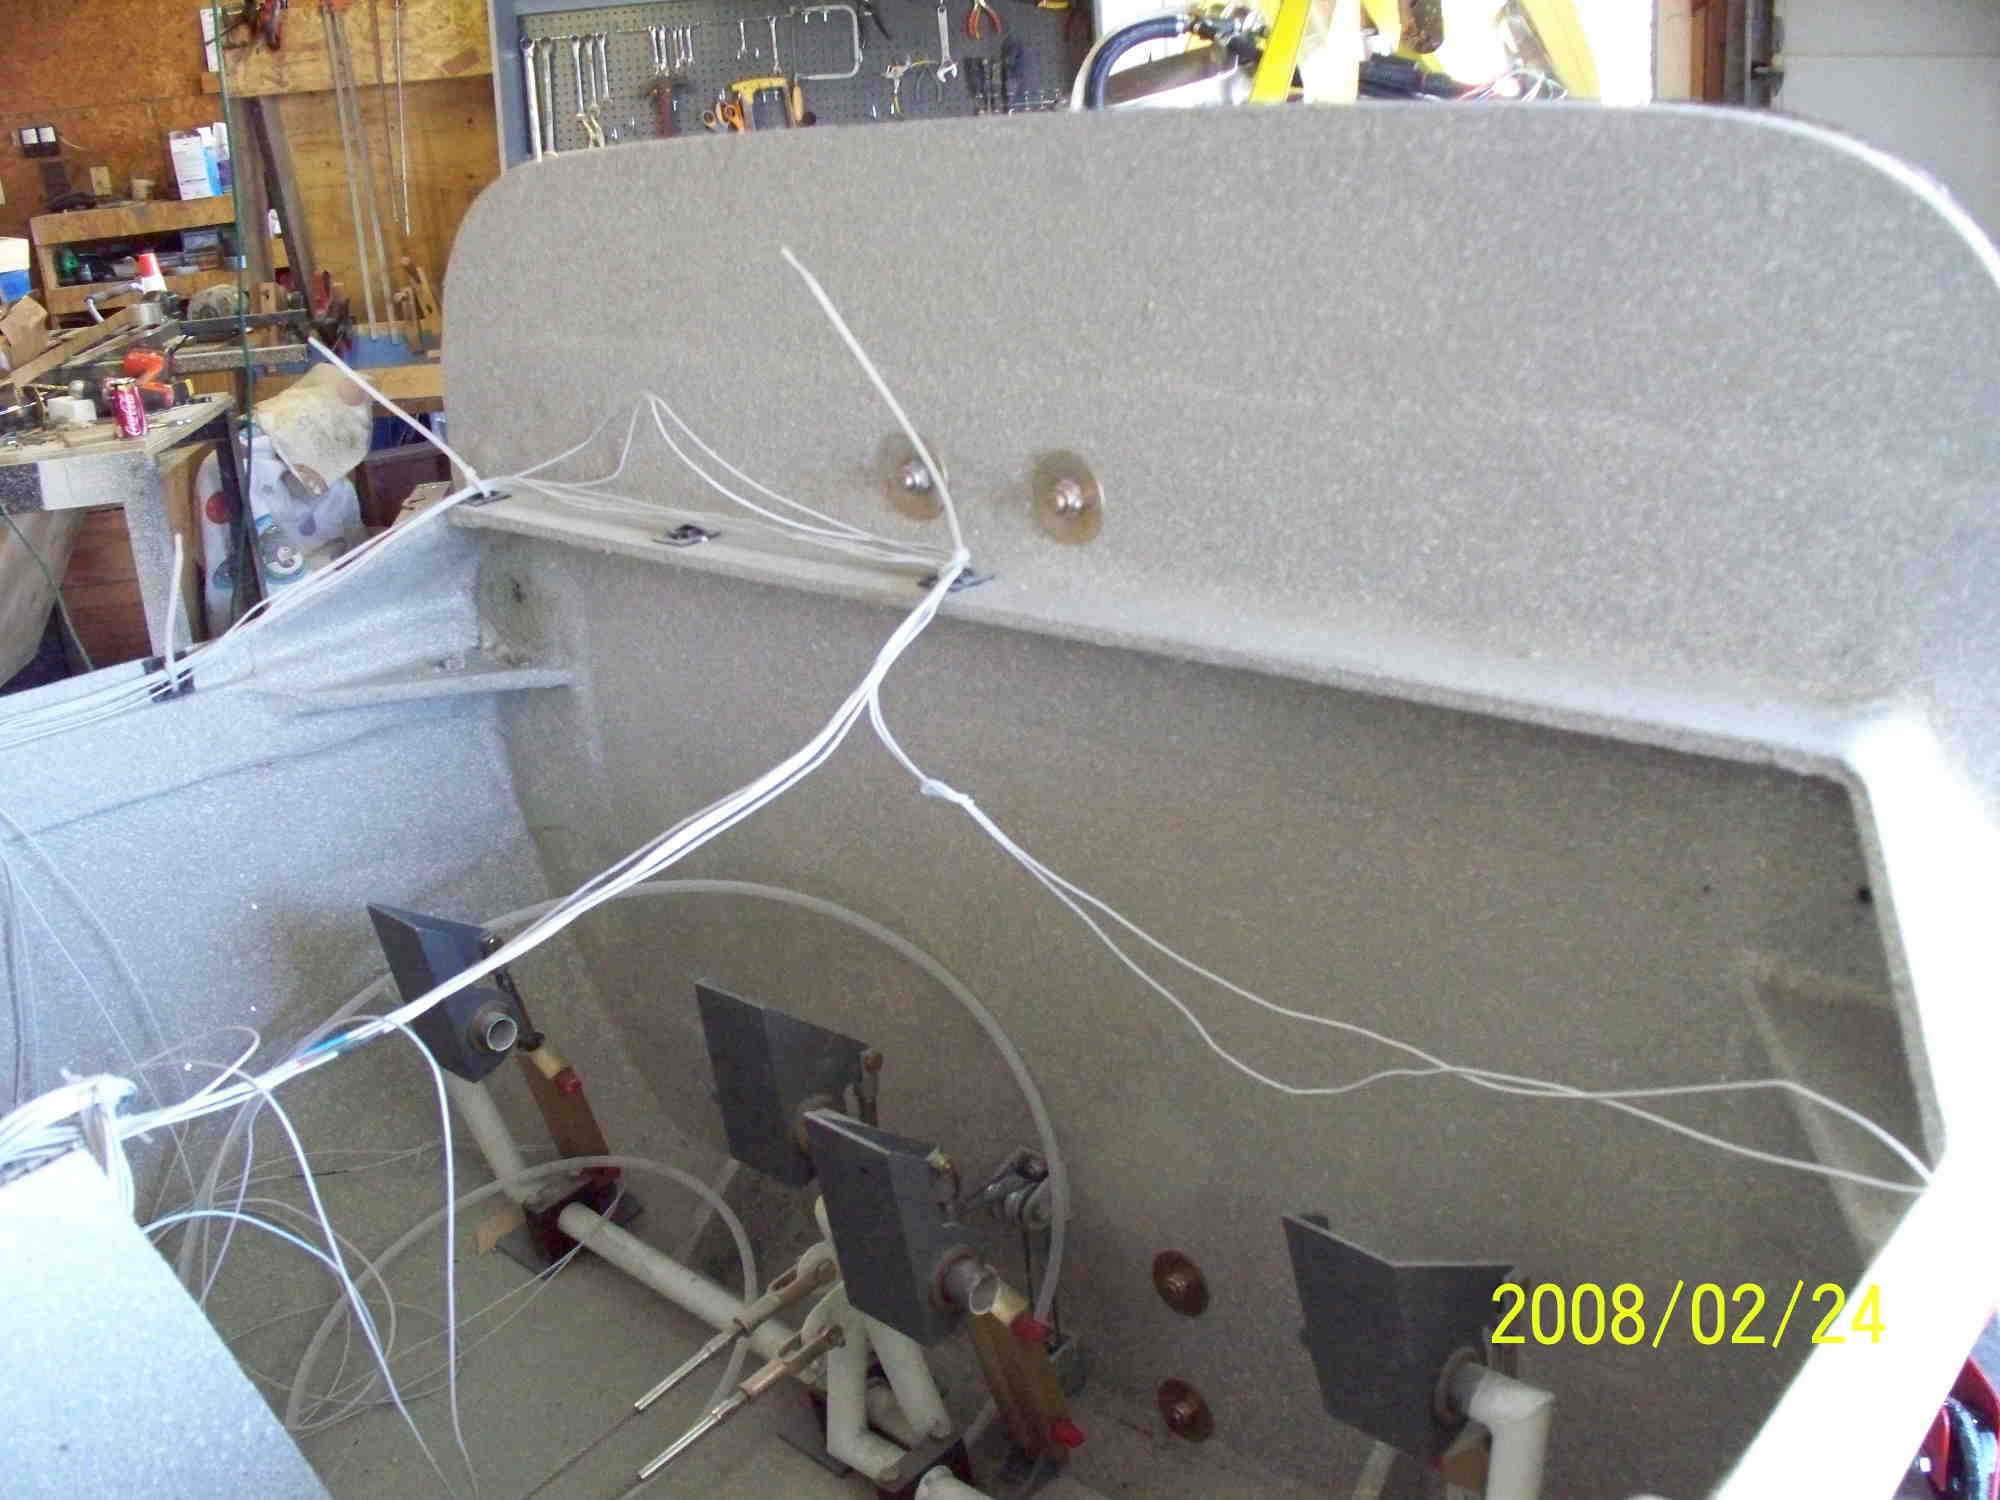
Just a couple of photos showing the work in progress. You will note that both wings are attached. Tim is building in his garage but as you will see in the next photo, it is SOME garage and is how we were able to store both his plane and mine and still provide room for him to continue working on his project.

Now that is a GARAGE every plane builder could love. Is case you are counting....that is a FOUR car garage.
OK, enough with the envy....get back to building.
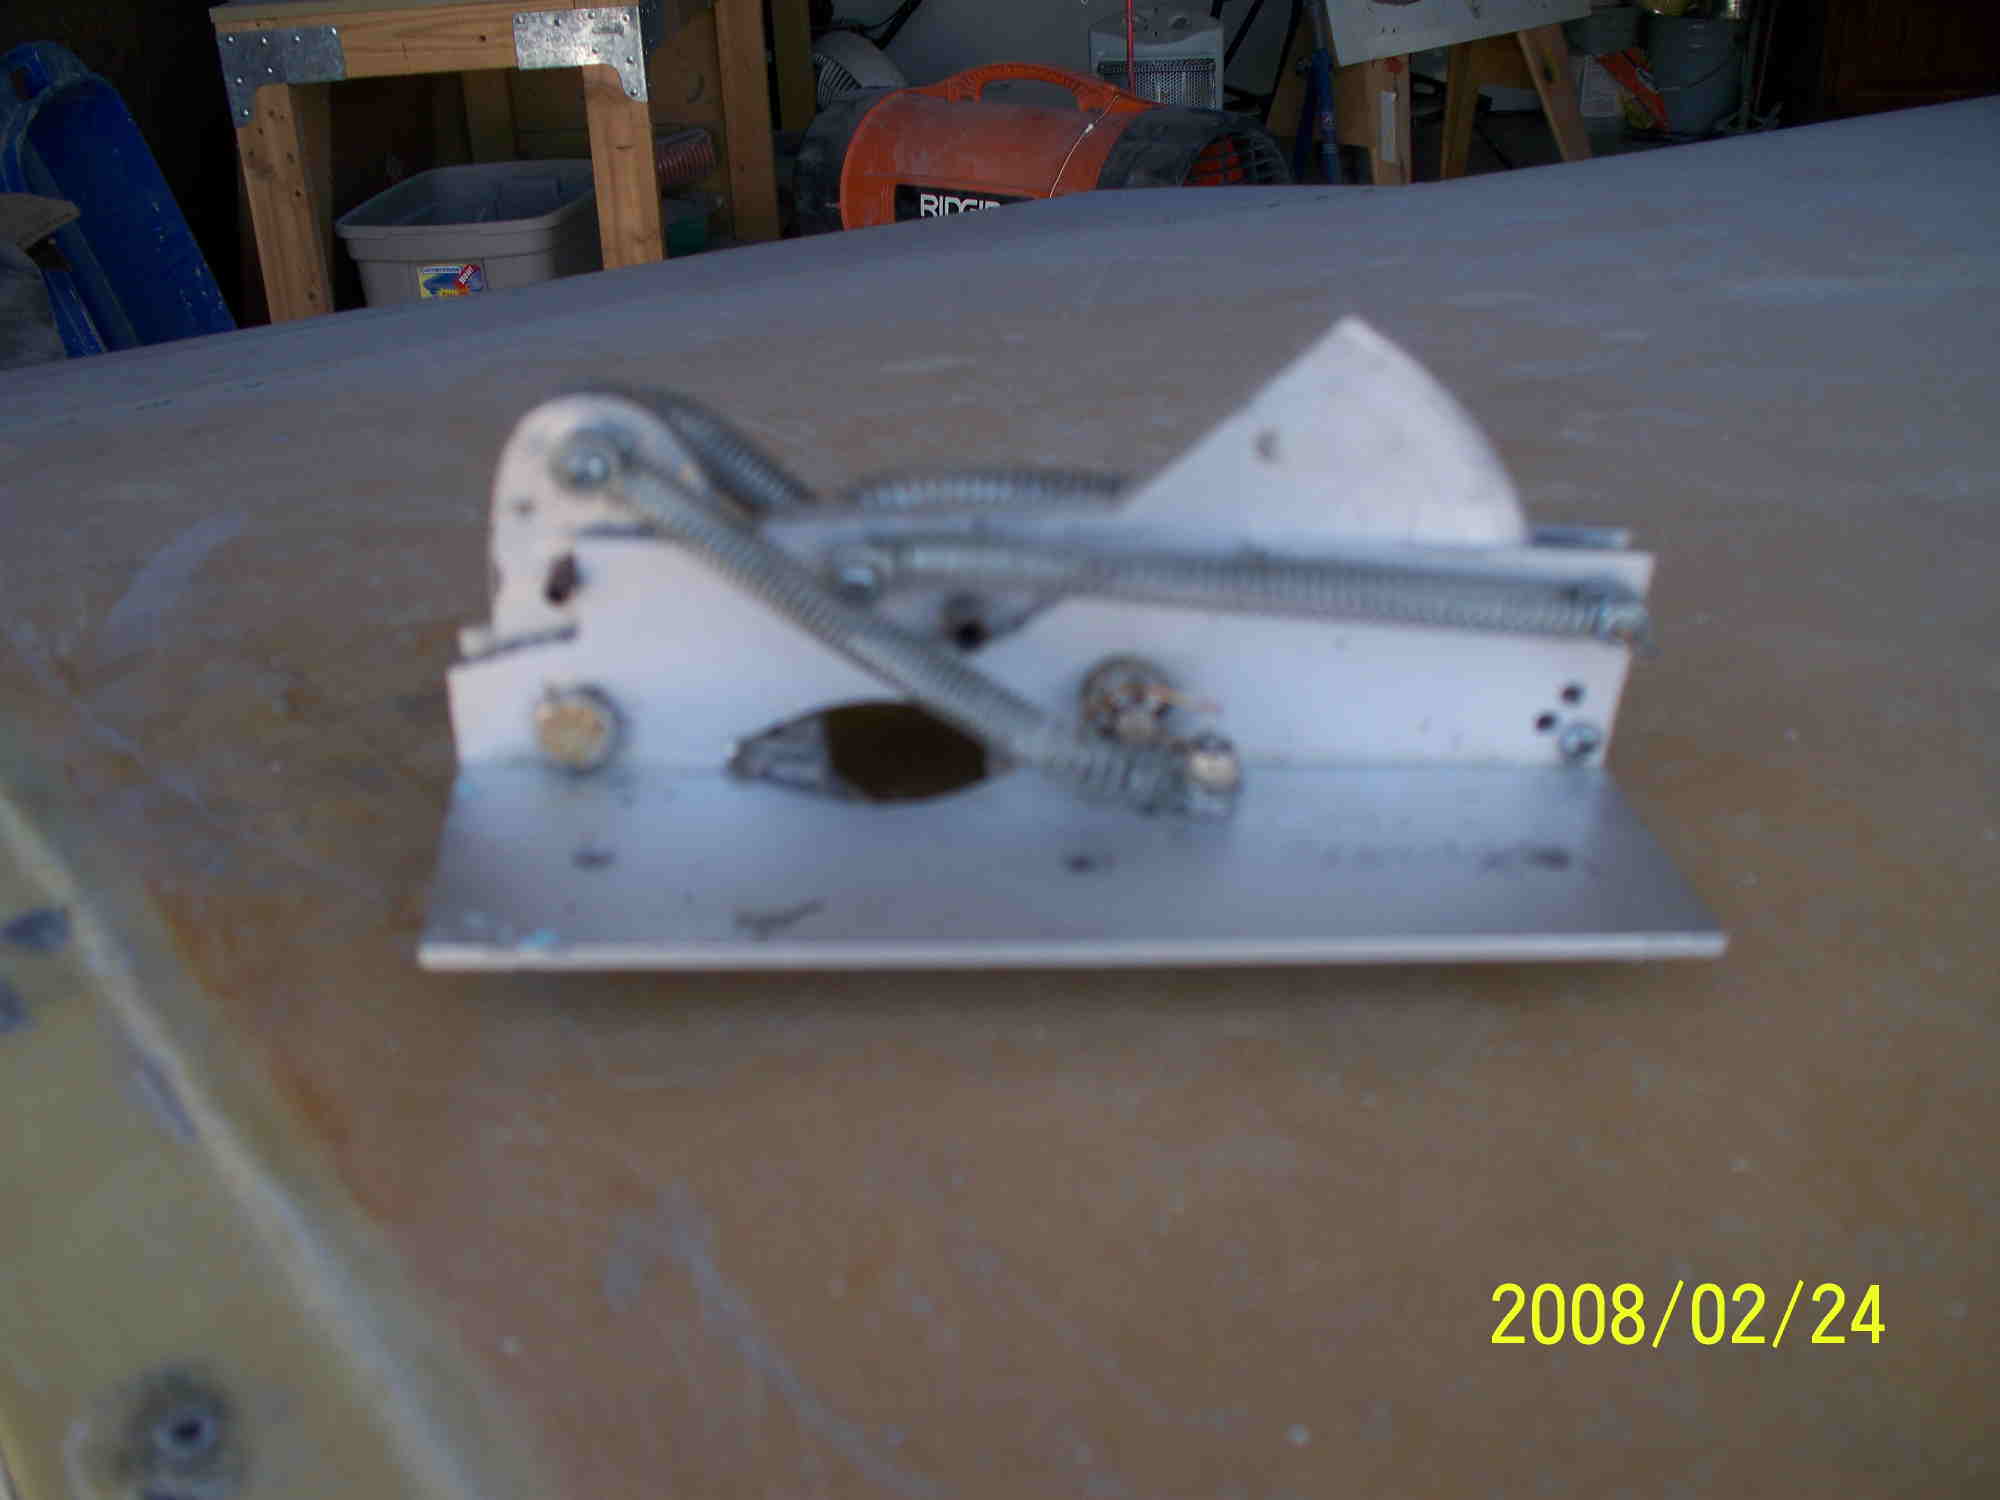
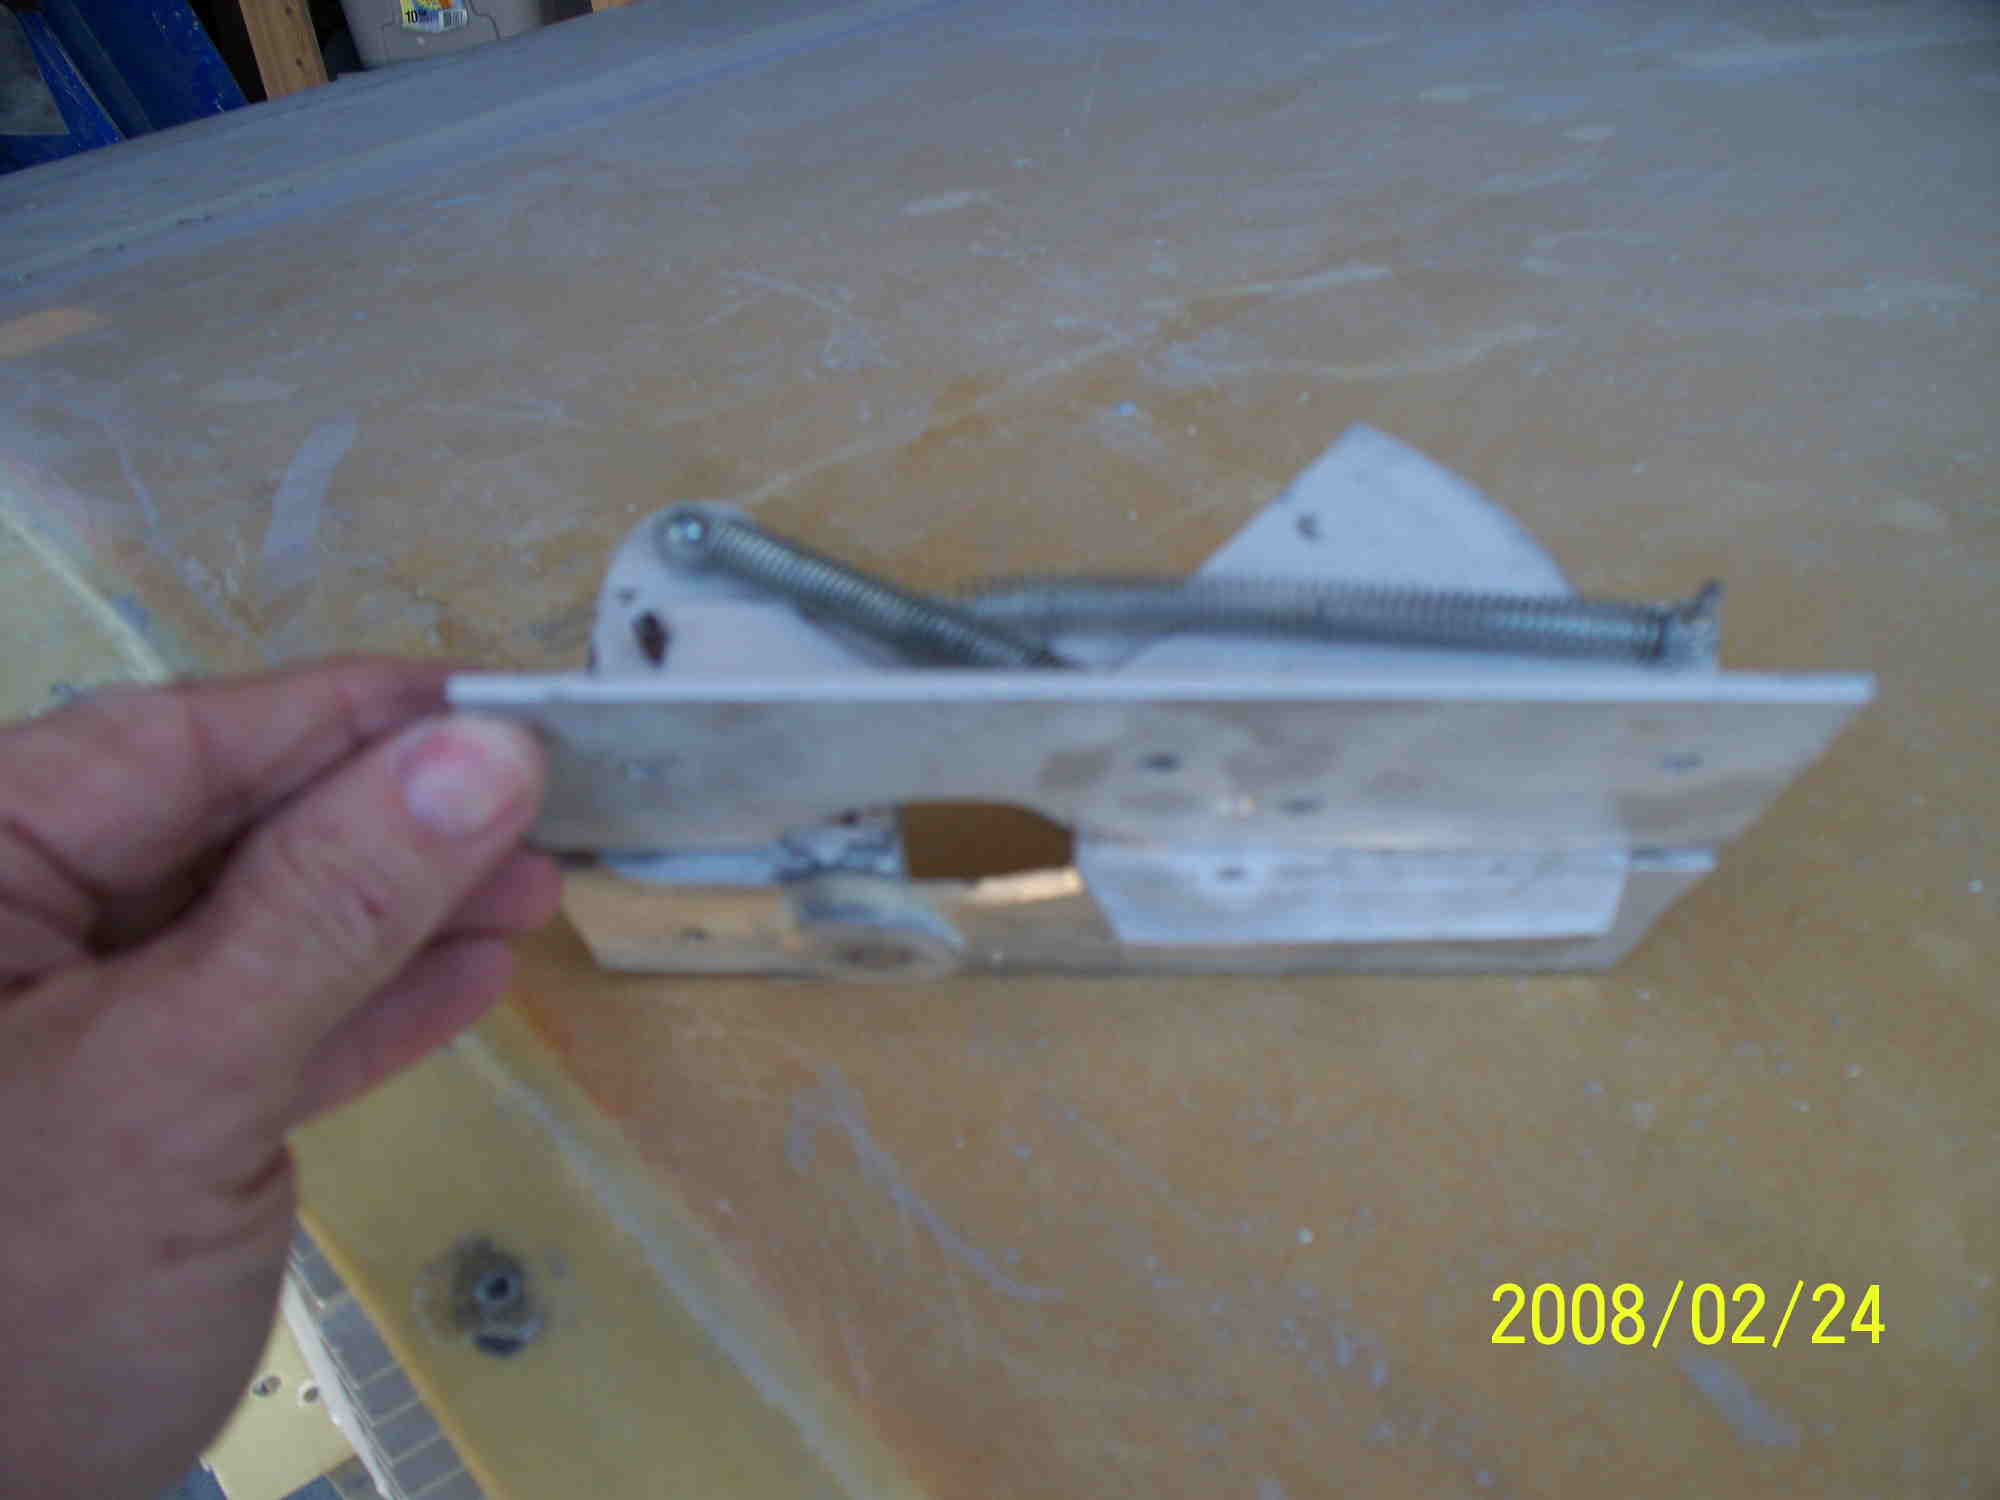
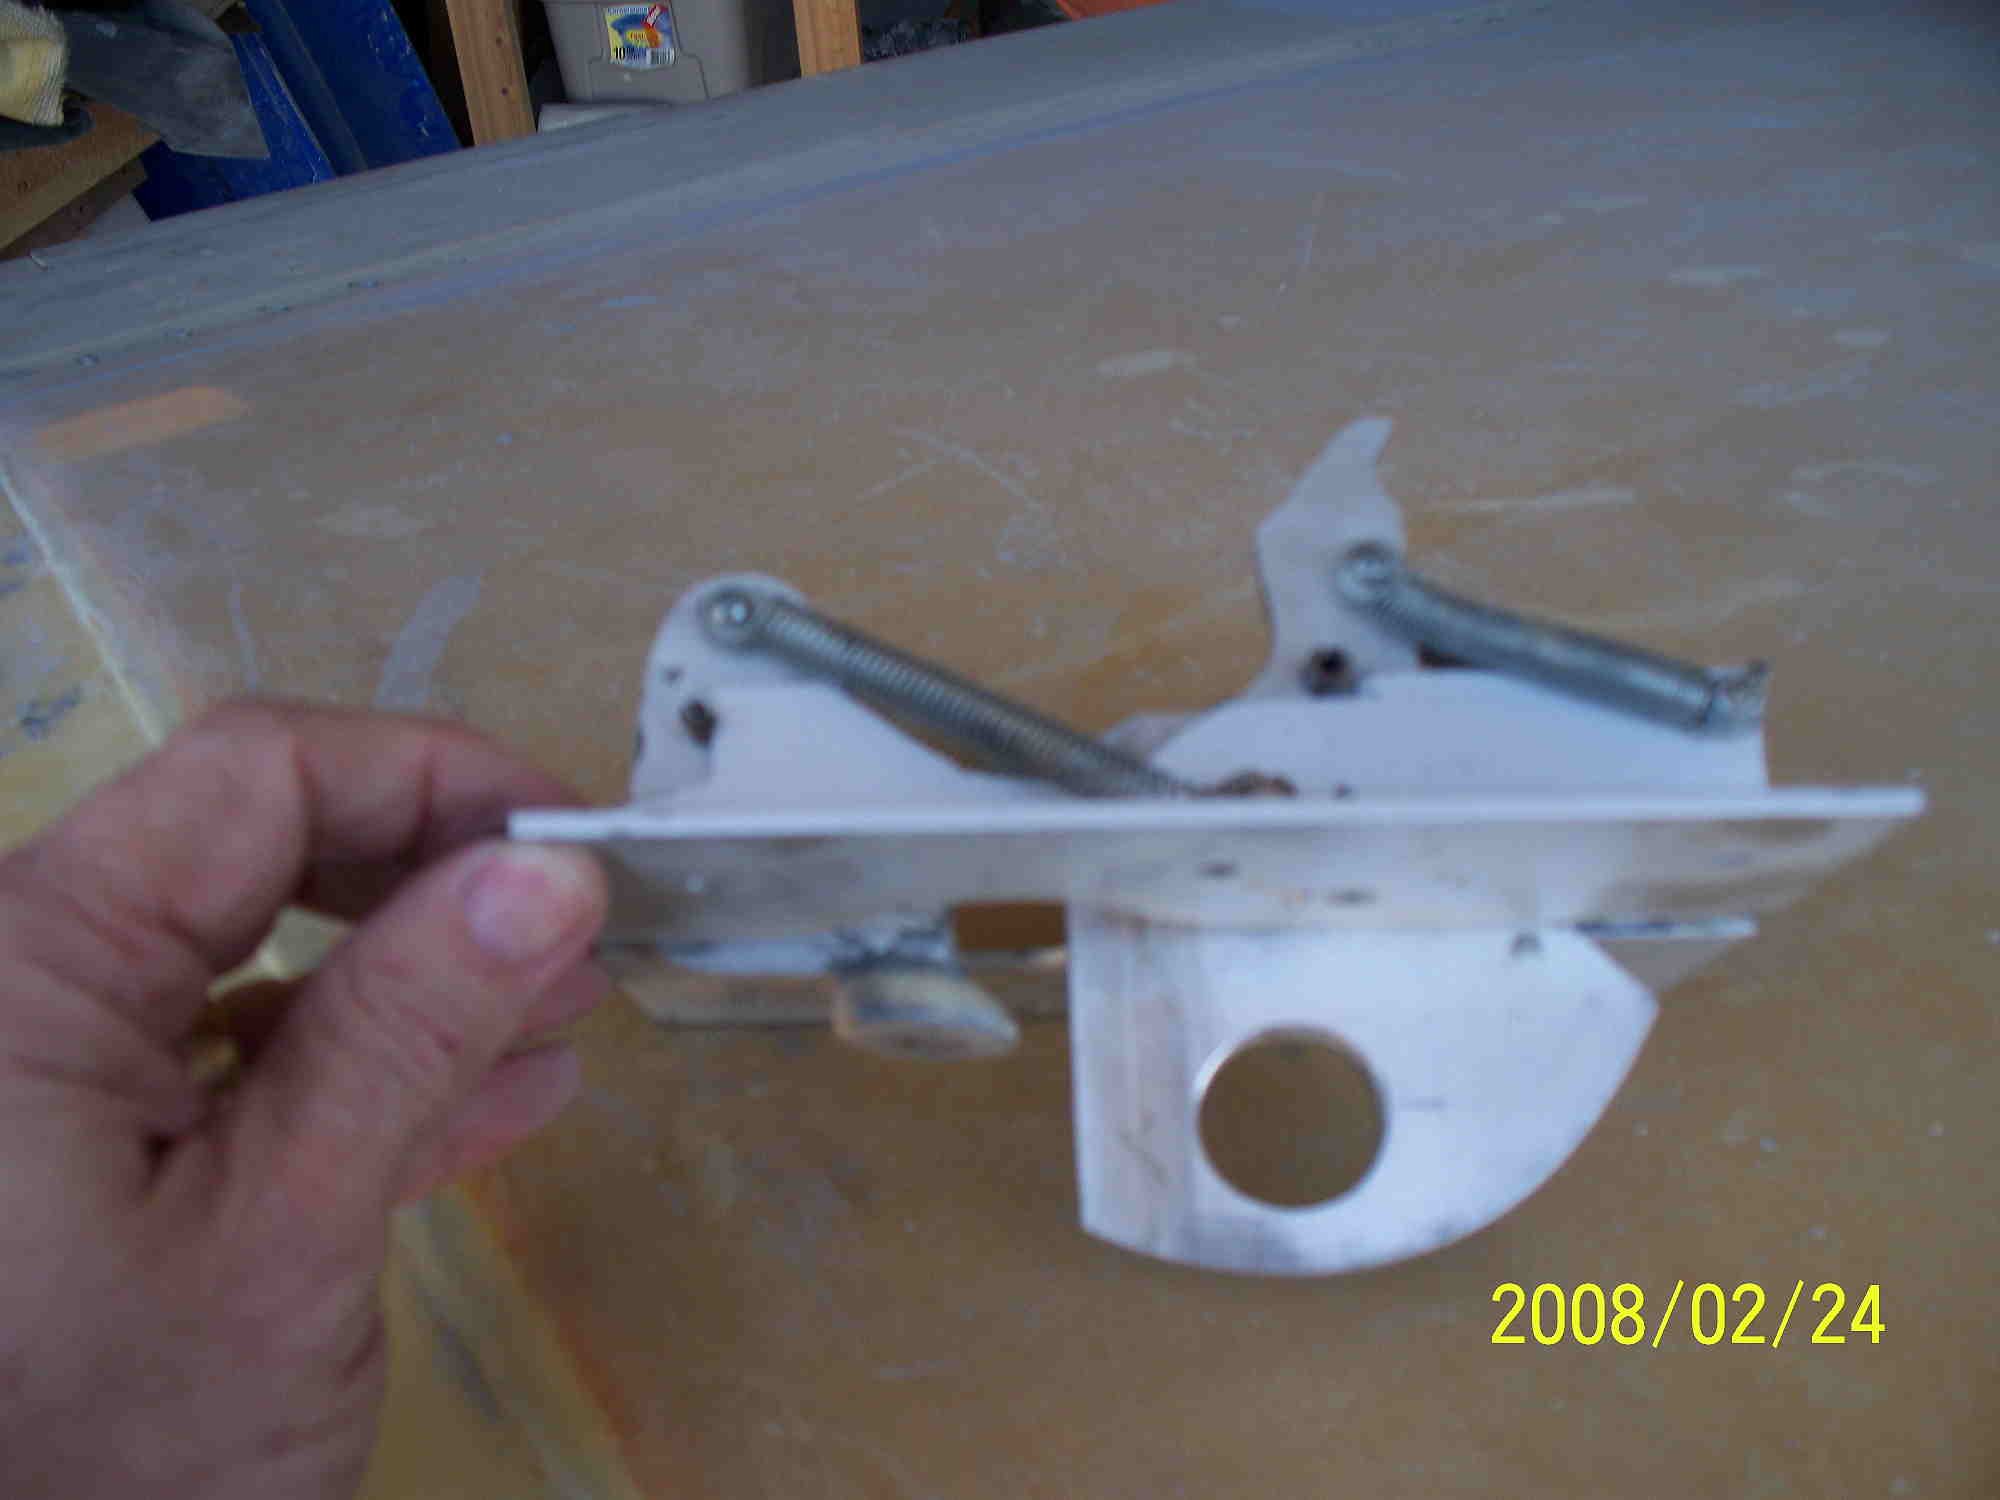
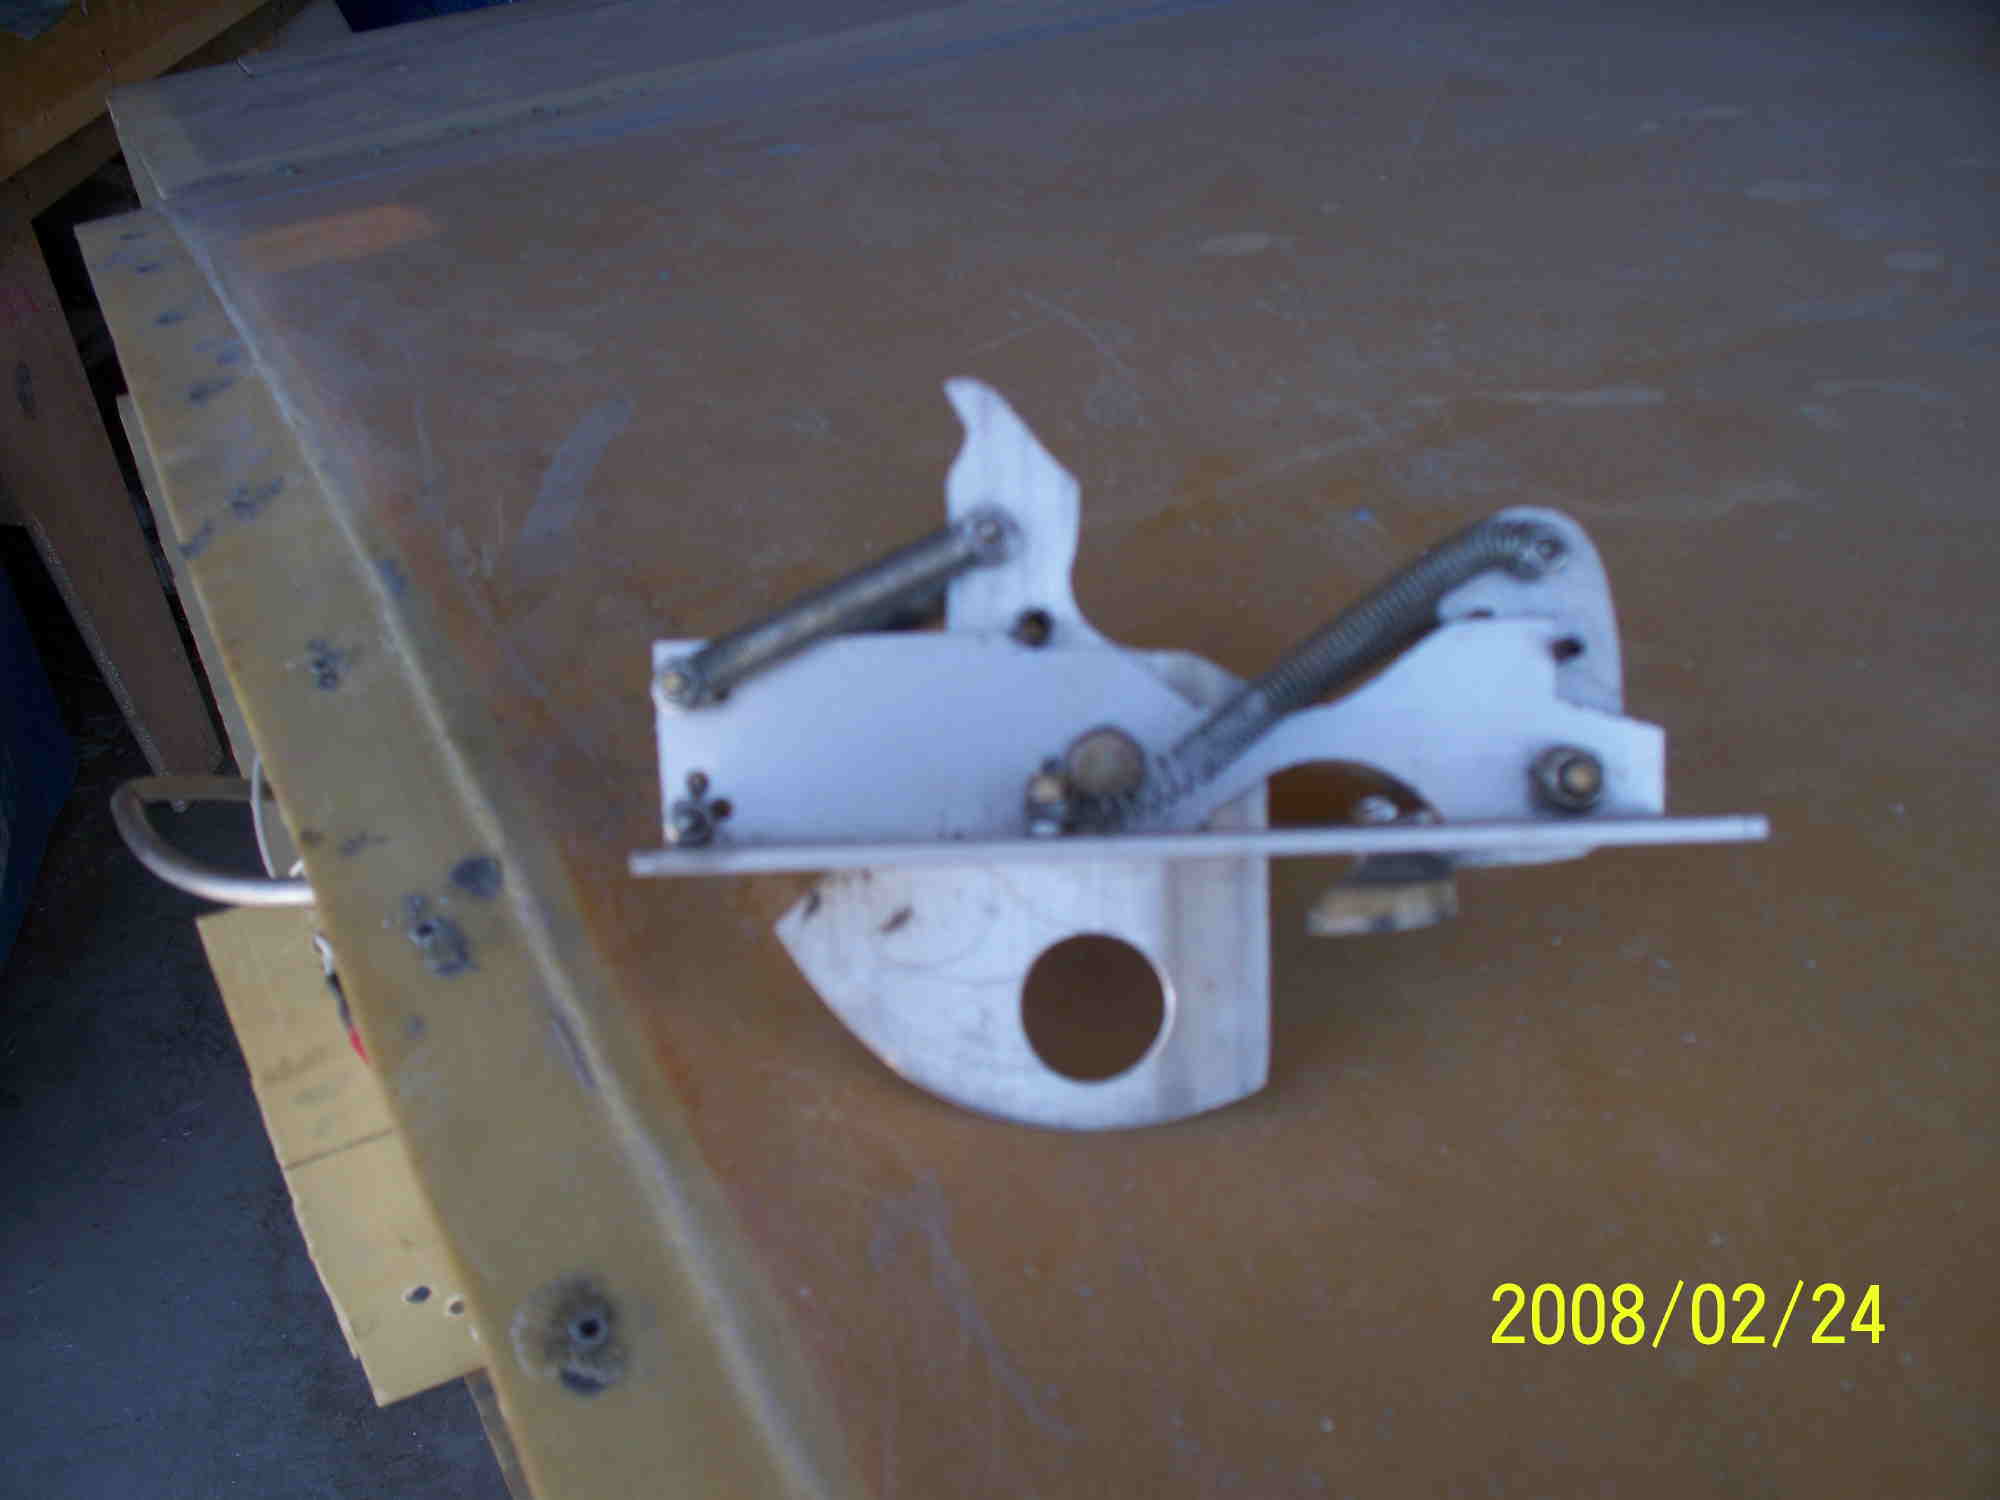
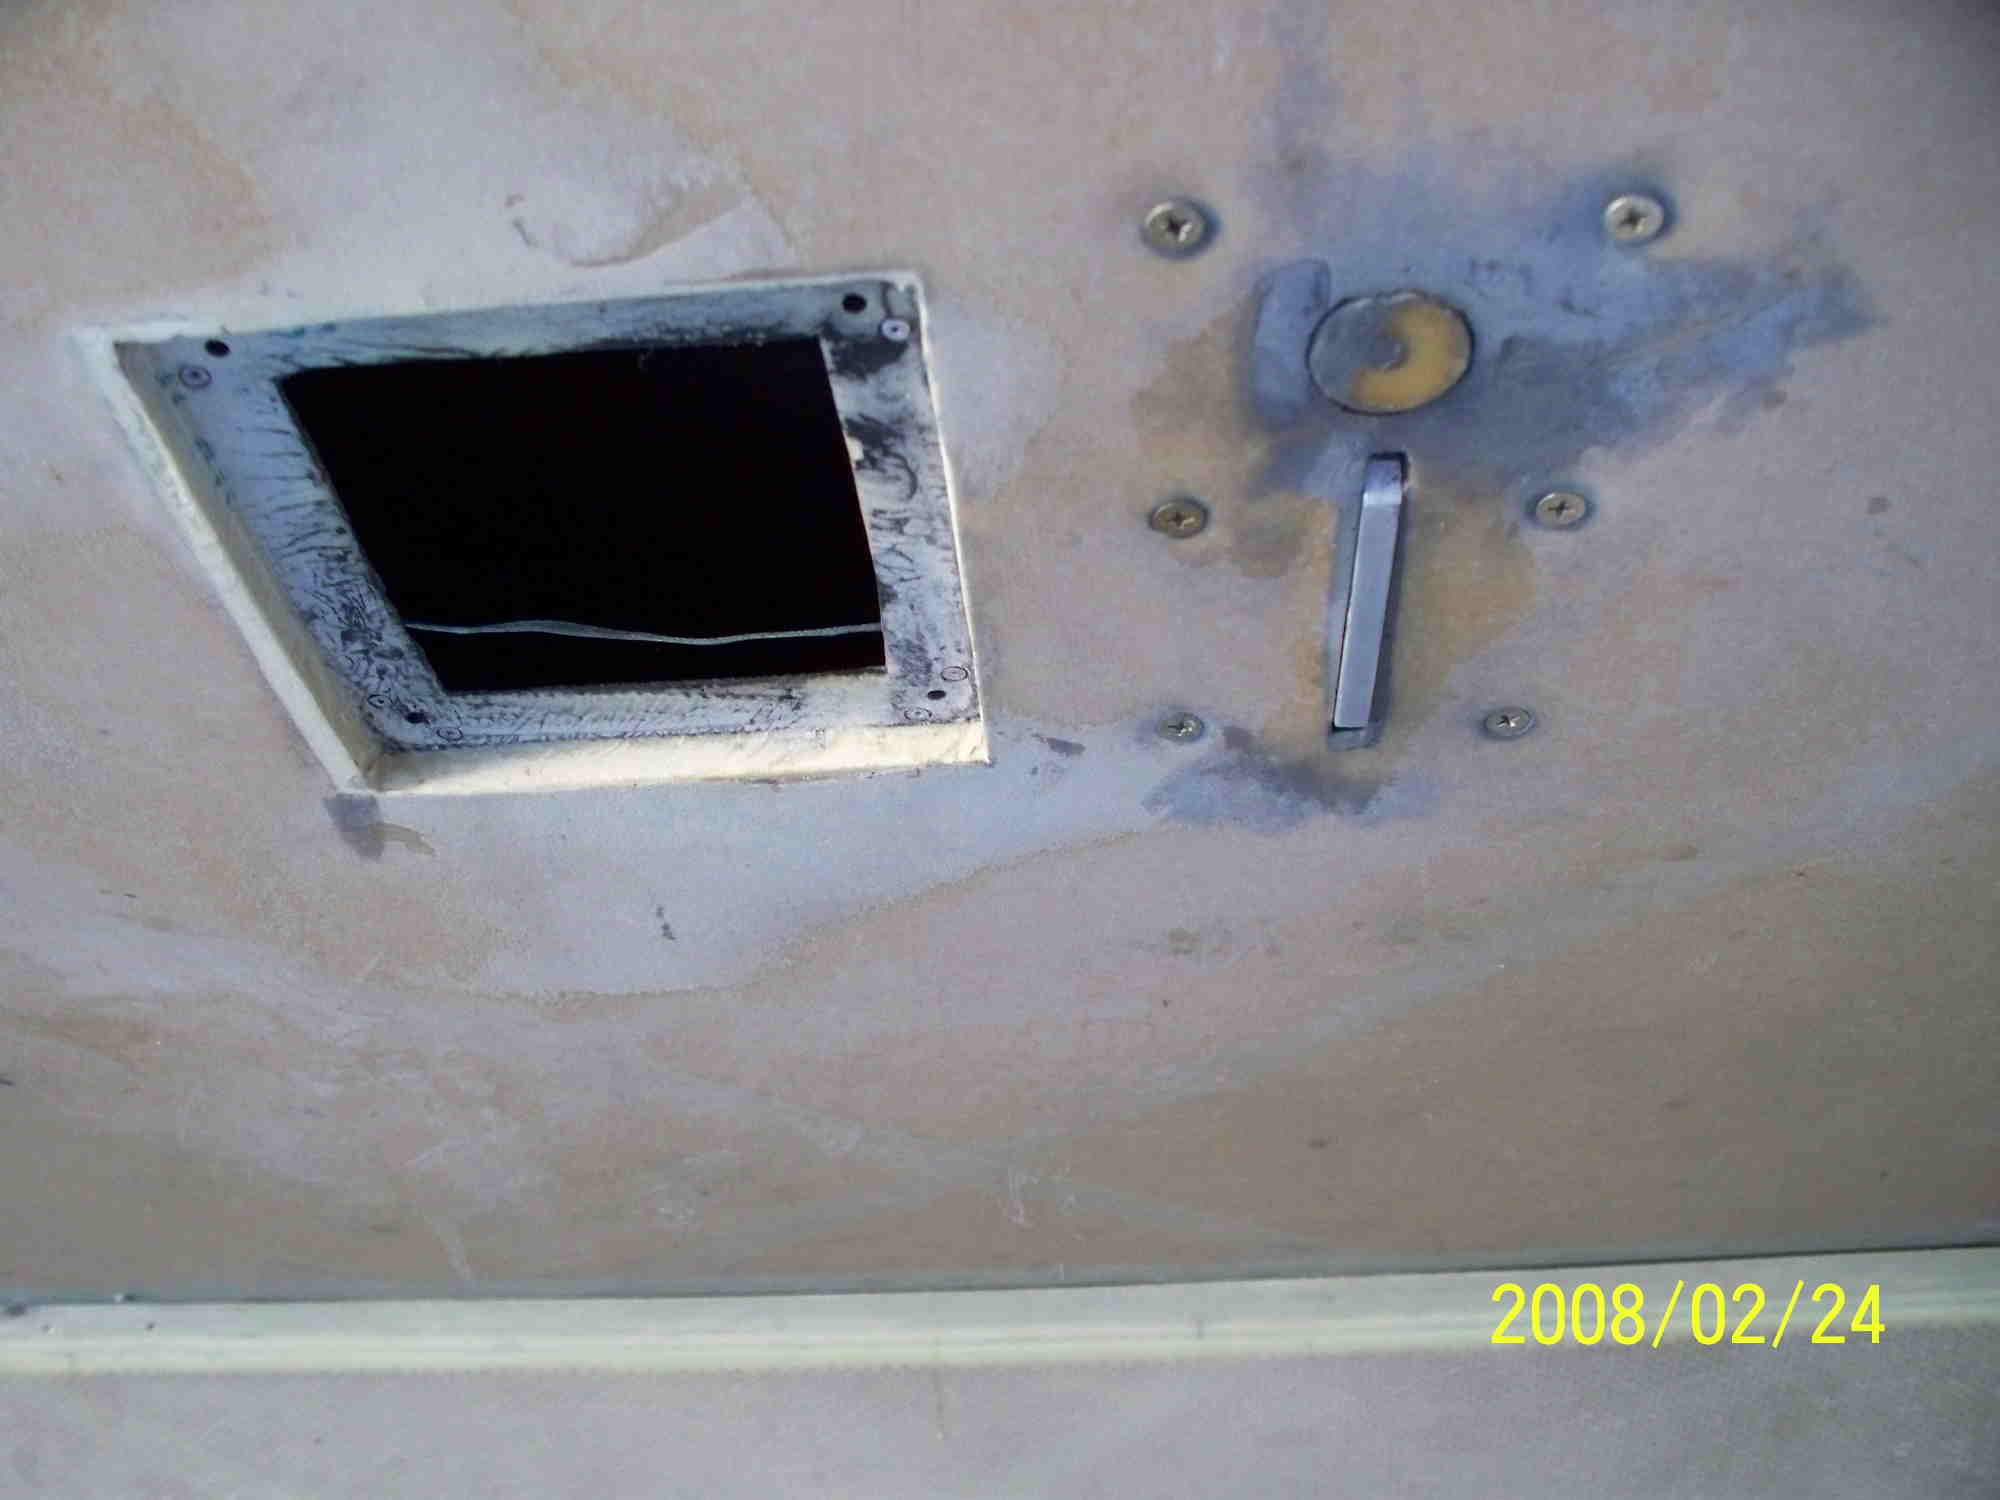
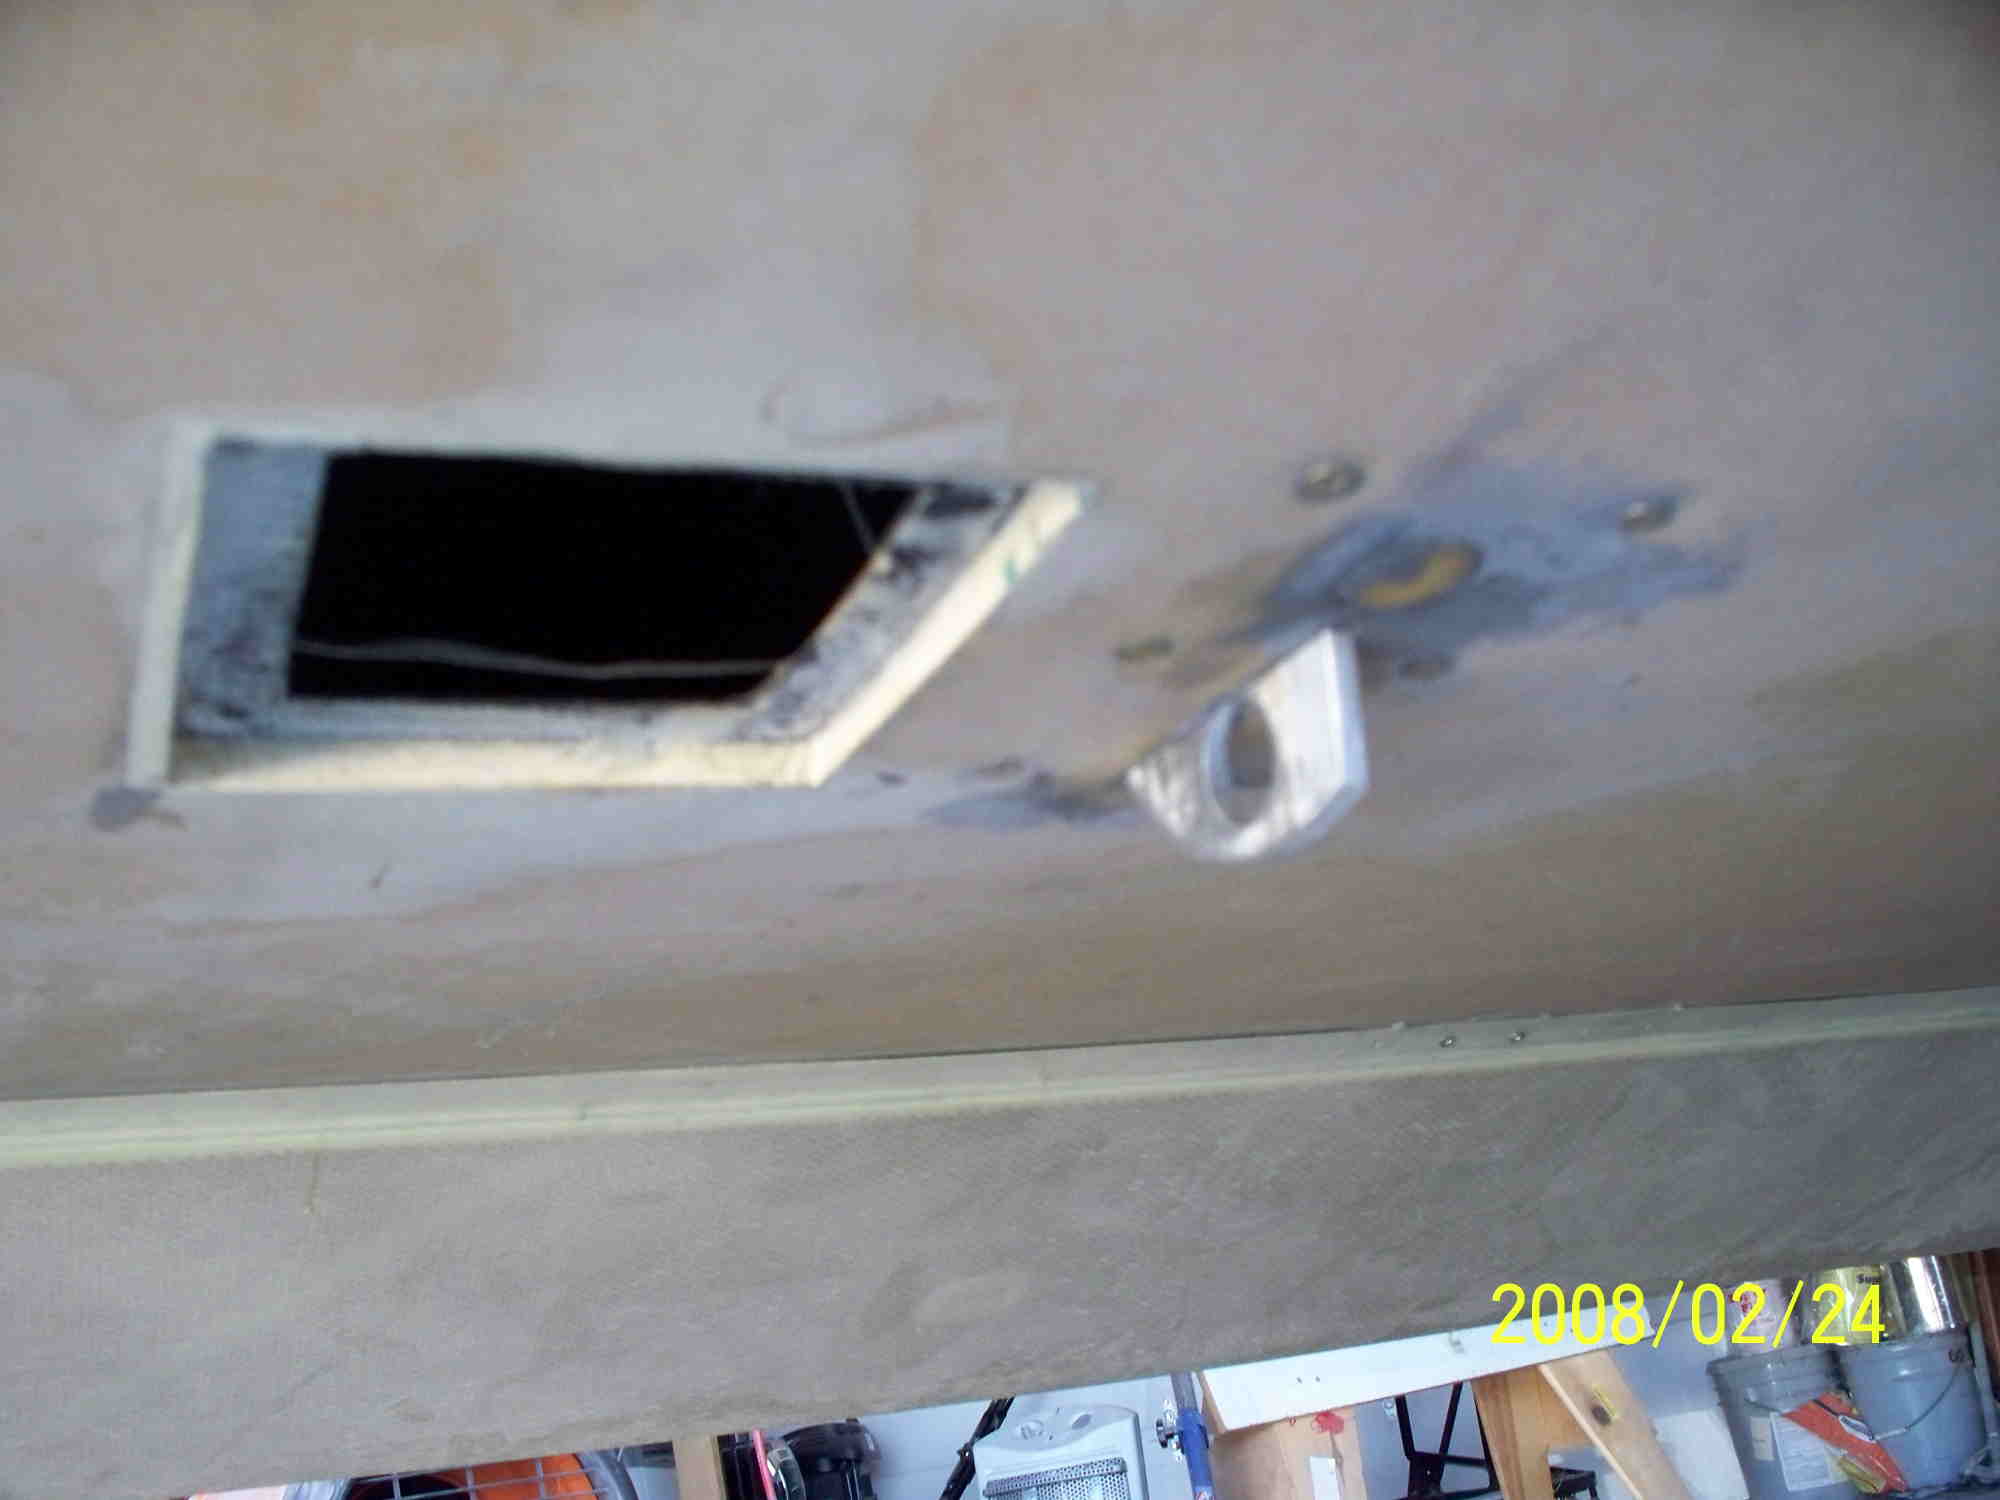
The four photos above and two blow show Tim's design of a retractable wing tiedown. The unit is spring loaded with a quick release triggered by pushing the round button show in the lower left photo. Push it and the tiedown pops down instantly. Pushing the tiedown back up into the wing pushes it into a spring loaded catch that holds it firmly in place. It works great although the first time you push the button, it might shock you when it pops out.
Now for a few of the interior changes Tim has incorporated.
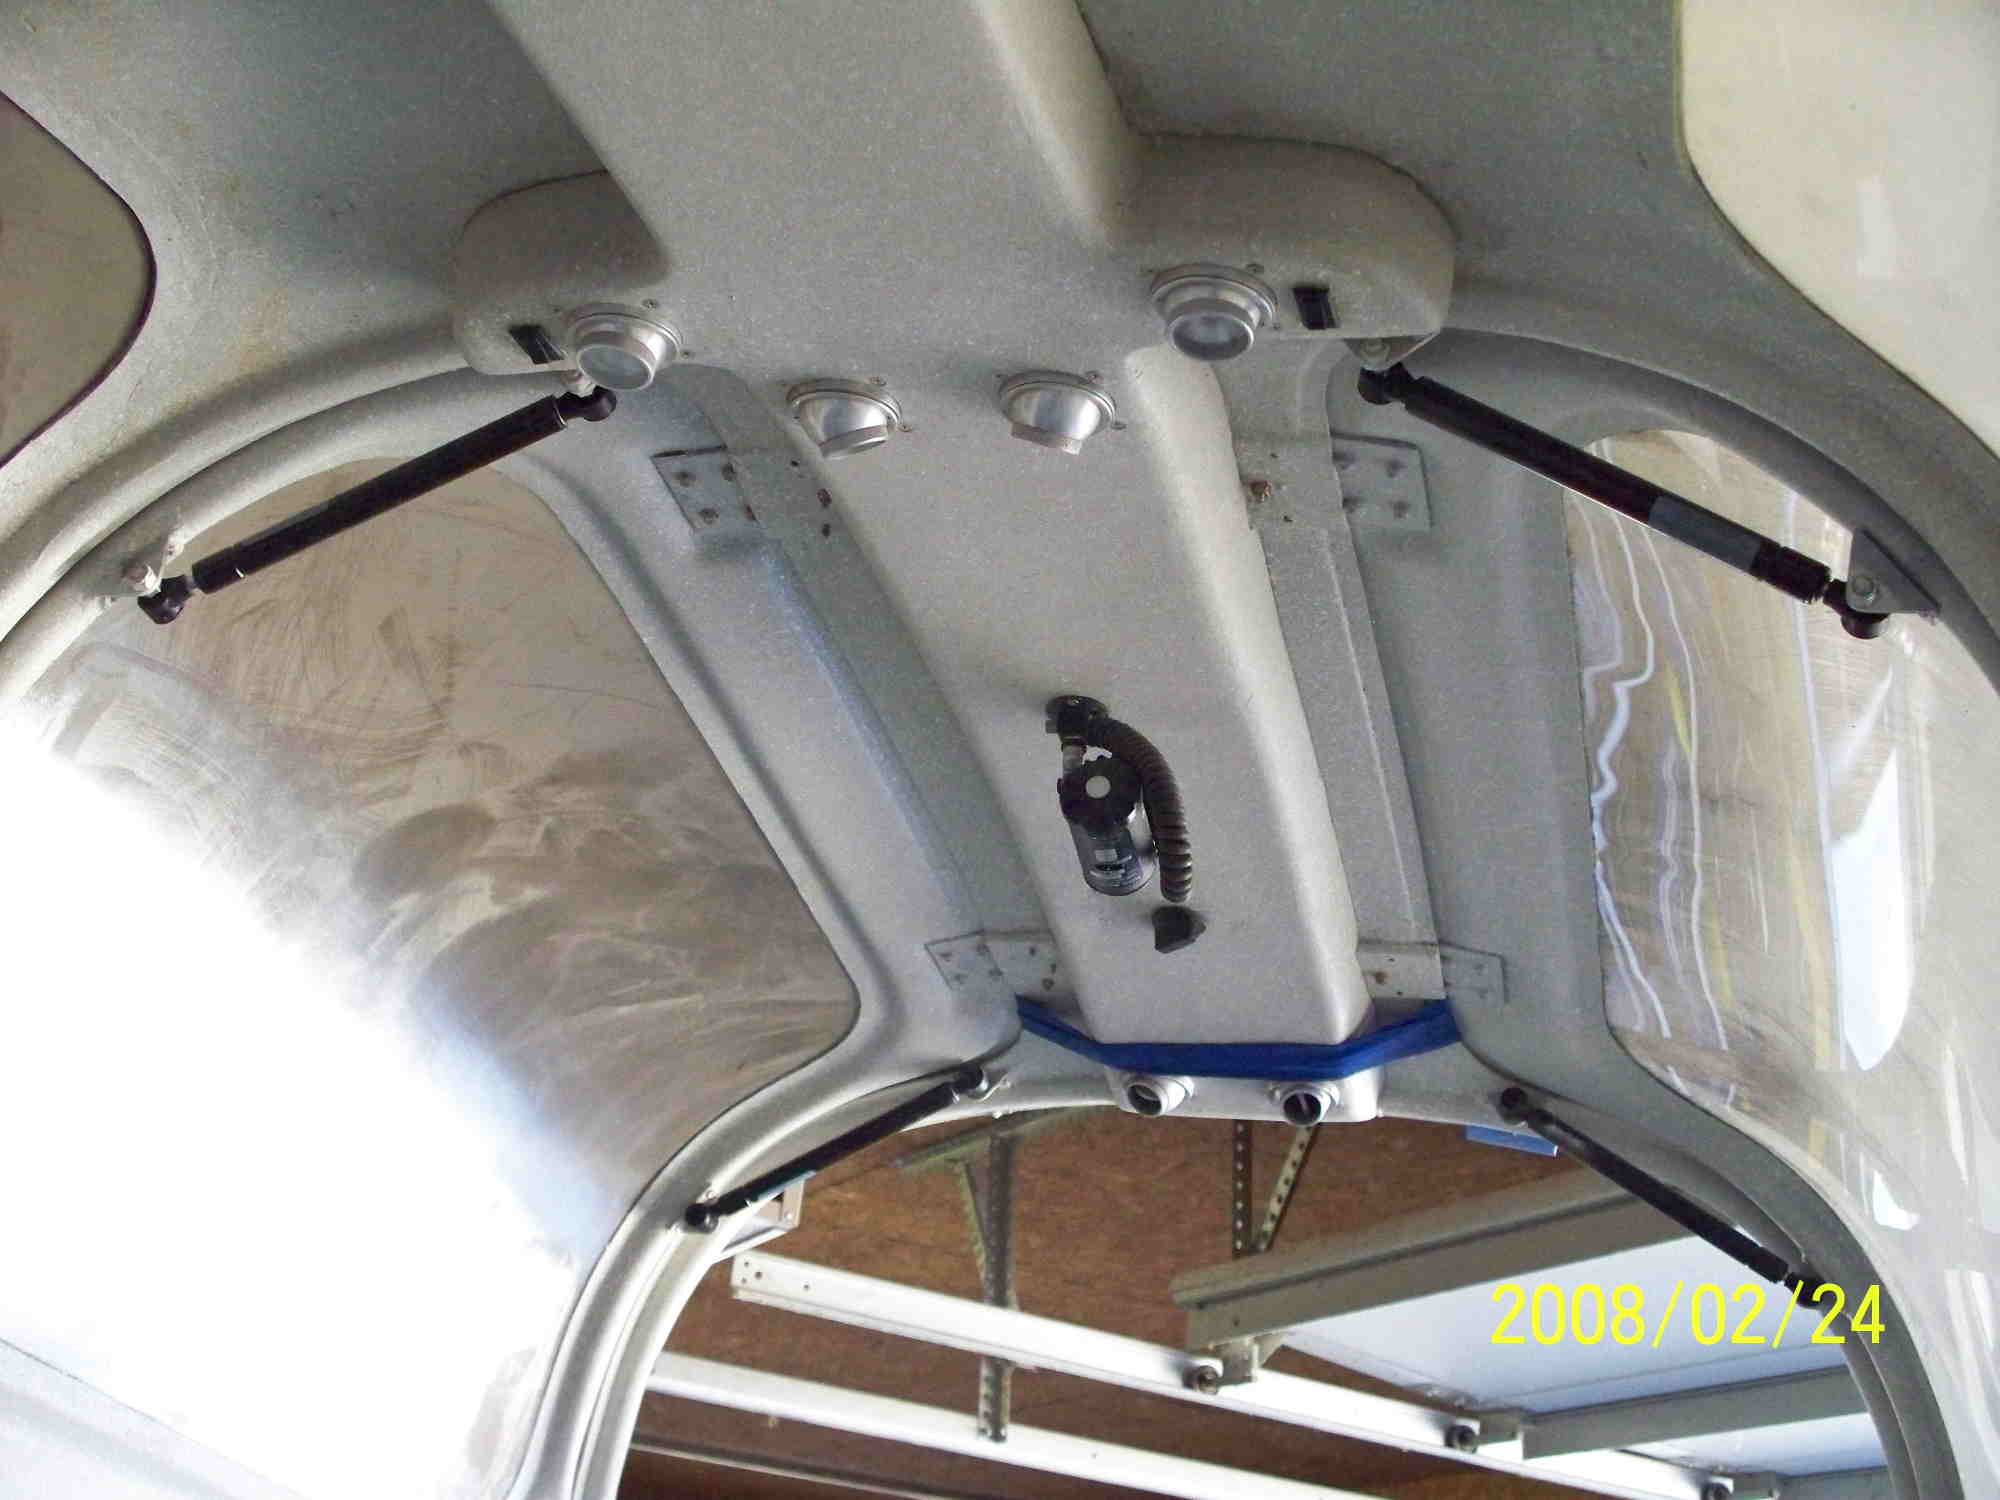
Tim constructed his own overhead console with good results as you can see from above. He also incorporated the dual door support struts which I believe is the only way to go. The overhead has built in air controls and lighting. It looks better in person that the photo shows.
Finally, the door handle is part of the Lyle Hendricks door lock system. Tim has fabricated a great arm rest that allows the door handle to fit flush with the arm rest. The photo on the right shows a double air control inlet that looks like it will direct a lot of air into the cabin to help keep the cool in our HOT Texas summers.